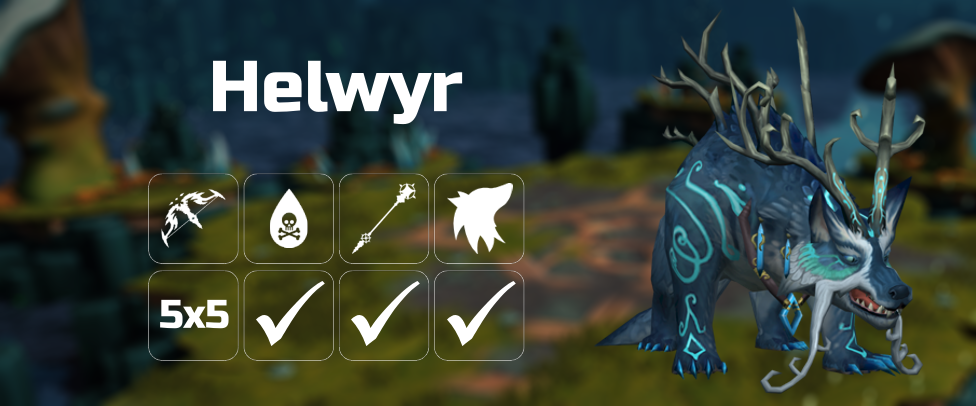
Helwyr Normal Mode
Helwyr
Introduction
Helwyr, the Seren general residing in the Heart of Gielinor, requires 80 magic and 40 Seren killcount to fight. The notable drops for this boss are the Cywir Wand  , Cywir Orb,
  and Crest of Seren
  . These items can be augmented and disassembled for Cywir components
  which are required for Planted Feet
  .
.
Mechanics
 Melee Helwyr Guide
Overview
This method can achieve ~75-77 kills per hour with average kill times of ~22.8s
 ⬥ To make looting more efficient, you can bind the open area loot interface in control settings, and then just hit that bind and the loot bind as soon as Helwyr dies
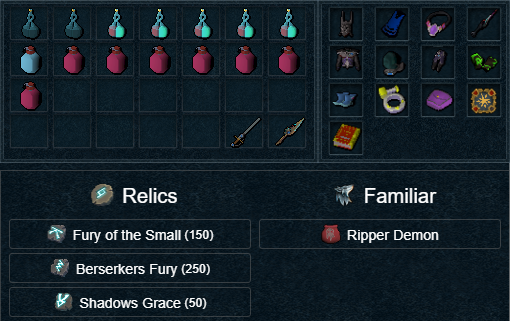
Preset and Relics
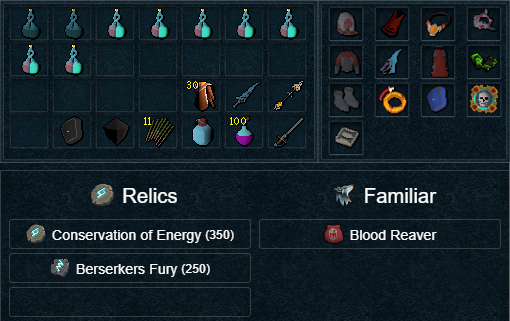
Preset Notes
⬥ 3 pieces of  is required
⬥  helps with consistency, can be omitted
⬥  can be omitted
Rotation
Join instance →  →
→  +
+  /
/  →
→  +
+  → (tc)
  → (
→ (
 )
)  →
→  → ( )
→ ( )  → equip
  →
→  →
→  →
→  → → →
→ → →  (4-hit) →
  →
→
Note: if you are not consistently ending on , swap and around and add a basic after
Note: Always Vengeance  the cleave, ideally with SS
  on (Deflect Melee
  if below <70% hp or if uncomfortable tanking with SS )
 Necromancy Helwyr Guide
Overview
⬥ To save a few ticks, you may wish to summon your conjures on the move, any time after getting 100% adren at Wars Retreat.
⬥ You may wish to equip  to dismiss and renew your conjures.
⬥ Darkness  is optional to reduce damage taken.
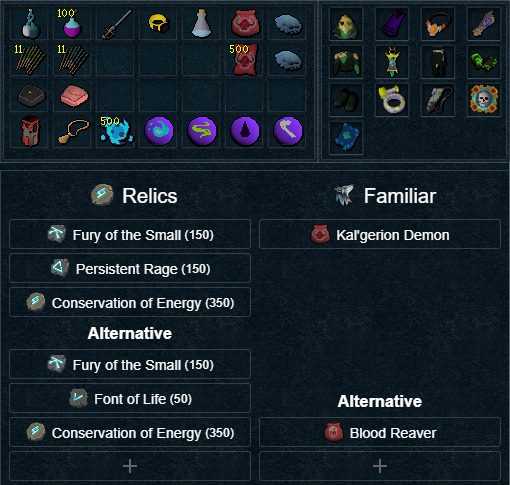
Preset and Relics
Rotation
⬥ This rotation requires  . If you don't have one, remove
  from the rotation and use
  and
and  where possible.
⬥ This rotation consistently hits sub-20-second kills and seeks to hit sub-15-seconds. It requires teleporting to Wars Retreat between kills for adren.
Outside instance
 →
→  →
→  →
→  →
→  + right-click 'rejoin'
Inside instance
 + right-click 'quick enter' →
  +
+ to opposite corner (this will bring your conjures inside) →
Main fight
+ (tc) + →  → →
→ → 
 → →
→ →  → →
→ →  (repeat auto if not dead) → switch
  → loot →
 Magic Helwyr Guides
Overview
Method 1: Altar-reset Method (High Effort)
⬥ This method can achieve ~65kph with average kill times of 30s
Preset and Relics
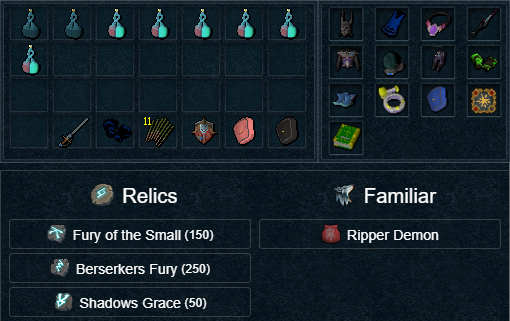
Preset Notes
⬥ Make sure your  is filled with
  (and auto-casting them, if desired).
Rotation
Join Instance → →  → non-
  + / → (tc)
 →
→ 
 →
→  (4t) →
  →
→  (4-hit) →
  (swap to
  autocast) → (
 )
)  → →
→ →  →
→  → → → (
 )
)  →
→
Loot → to altar to reset cooldowns → to crystal to build adrenaline (use Excalbur while building) then repeat.
Note 1: Walk 2 tiles back after (similar to walking )
Note 2: If you get shroomed, either tank it, or in such a way that you stay in but do not walk Helwyr
Other Notes
⬥ Refer to the linked video to see how the BDs and Surges between kills look like - https://youtu.be/12qTzSHLTTs
⬥ If you walk Helwyr any more than stated in the above rotation, then your Combust will not be walked
⬥ The Blood Barrage autocast change is solely for reducing cost/hr, feel free to ignore it if is not of concern
⬥ To make looting more efficient, you can bind the open area loot interface in control settings, and then just hit that bind and the loot bind as soon as Helwyr dies
⬥ If you wish to use Vulnerability Bombs , throw it after Sunshine
• Replace the Vuln in the rotation to Smoke Cloud  to compensate
⬥ Ideally Vengeance the Cleave through Deflect Melee
• The rotation does not assume it so it should not matter outside improving consistency
Method 2: AFK for Sunshine Cooldown (Low Effort)
⬥ This method can achieve ~55kph with average kill times of atleast 35s
Preset and Relics
Preset Notes
⬥ Make sure your is filled with (and auto-casting them, if desired).
⬥ You can swap Super Restores  for Spiritual Prayers
  , but extra ripper specs do not aid much as you are already gated by Sunshine's cooldown in this guide, likewise with using a Scrimshaw over Zamorak Book
  .
.
Rotation
Join Instance → → →  → (tc) → → (Walk 2 tiles back) →
  → / → (3t) → → (2-hit) → → → →
  → → →
→ → → 
 → → → + OH Auto → (3t) → → Improv with basics
Note 1 If you get shroom, either tank it or in such a way that you stay in but do not walk Helwyr
Note 2 Rejoin instance when is at ~4s or so cooldown remaining
Other Notes
⬥ If you end a kill at <100 adrenaline, teleport out and use Adrenaline Crystal to build.
• If you end at 91-99 adren, use an ability on a wolf instead if they spawned.
⬥ If you are consistently ending <100 adrenaline, replace some better abilities for Wrack 
⬥ If you wish to use Vulnerability Bombs , throw it after Sunshine
AFK Strategy
A full guide on how to AFK Helwyr is available here: #AFK Helwyr