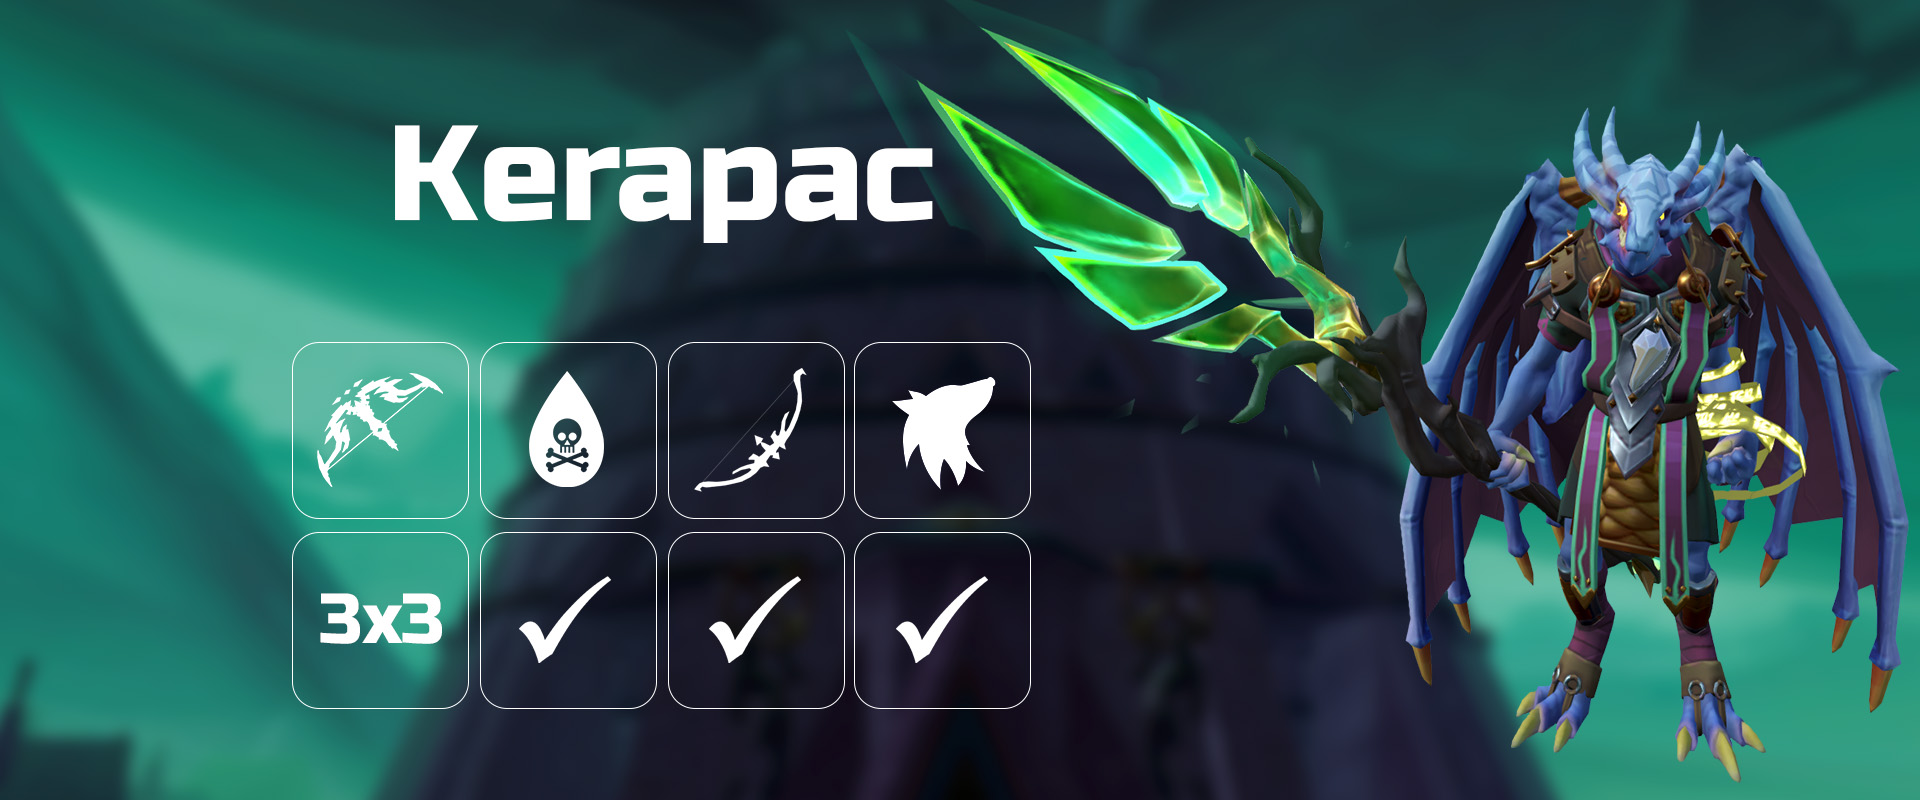
Kerapac HM Basic Guide
Hard Mode Kerapac Basic Guide

Preset and Relics
General Knowledge
Phases
⬥ Kerapac has 4 phases, he transitions into next phase when brought down to 50k HP.
• Kerapac has 450k HP per phase (phase 4 excluded), making it so you need to deal 400k damage each phase.
Mechanics Summary
Auto Attacks
⬥ Kerapac uses magic attacks throughout the entirety of the fight.
Special Attacks
⬥ Shatter
• Kerapac raises his staff in the air before slamming it down, stunning the player and spawning a time rift.
⬩ Move under Kerapac before he slams the ground to deny both the stun and the time rift.
⬩ Utilize channeled thresholds  /
/  while under Kerapac.
⬥ Jumping Slam
• Kerapac flies into the air before diving on top of the player, stunning them and dealing constant melee damage, repeats 3 times.
• After Kerapac lands on top the player, he receives decreased damage until the player moves out of range.
⬩ Overcharged  passive effect protects against the stun.
⬩ Pray  and move out of range after Kerapac lands to stop the melee hits.
⬩ Alternatively, use a mobility ability ( /
/  /
/  ) to dodge the slam. If dodged with perfect timing, the cooldowns of the these abilities will be reset.
⬩ Past slams will be present in the phases that follow, and are carried out by Kerapac echoes that only hit once when landing.
⬥ Lightning Strike
• Kerapac spawns a lightning wall that travels across the room in a random direction, dealing hard typeless damage upon contact.
⬩ Use  /
/  /
/  to pass through the lightning walls.
⬩ Past lightning walls will be present in the phases that follow, meaning there is one lightning wall in phase 1, two walls on phase 2, and three walls on phase 3.
⬩ Lightning walls keep going even if a new phase starts.
⬥  Time Warp
• Accessible after phase 2 starts.
• 10.2s after activation, your position, adrenaline, cooldowns and HP are all reverted back to the point before activation.
⬩ Special attack weapon cooldowns such as  /
/  are not affected.
⬩ Adrenaline potion  cooldowns are unaffected; however, Limitless
  is.
is.
⬥ Echoes & Clones
• On phase 4, Kerapac spawns 3 echoes of himself and 3 clones of the player in the North, West and South sections of the platform.
⬩ You will have to kill all 3 clones before you're able to deal damage to Kerapac.
⬩ Clicking a clone of yourself will teleport you to the clone's location as well as replacing your health with the clone's health.
⬩ Not clicking a clone in P4 will result in you dealing heavily reduced damage to the echoes.
⬩ Clones' health are affected by  potions.
⬥ Fury
• Exclusive to phase 4, the more stacks Kerapac and his echoes have, the stronger their damage.
• Kerapac and his echoes start at 0 fury stacks.
⬩ 50 fury stacks are added upon each death of a Kerapac echo.
⬩ 25 upon each death of a player clone.
⬩ 25 upon the death of all Kerapac echoes.
Kerapac Attack Pattern
Phases 1-3
⬥ 3 Autos → Shatter → 3 Autos → Jumping Slam → 3 Autos → Lightning Strike → 7 Autos → Repeat from Shatter
Phase 4
⬥ Kerapac will only use auto-attacks.
⬥ Kerapac heals up to 200k HP and becomes untargetable.
⬥ Kerapac spawns 3 echoes of himself (100k HP each) and 3 clones of the player.
Basic Rotations
Note: resort to 
 /
/ 
 where possible.
Phase 1
⬥ Magic:  +
+  →
→  +
+  →
→ 
 →
→  +
+ 
⬥ Range:  +
+  →
→  +
+  →
→  →
→  +
+ 
Phases 2 and 3
⬥ Magic:  →
→  →
→  →
→  +
+ 
⬥ Range:  →
→  →
→  →
→  +
+ 
Phase 4
Note: You will be under extremely heavy damage so spamming food is expected and required. Switch to your  during this phase in case of death.
Magic
⬥ Enter a side clone and place yourself between two Kerapac echoes.
•  →
→  → hop to the farthest clone →
  → hop back to the original clone.
• Echo 1: Basics →  →
→ 
 before
  ends.
ends.
• Echo 2: 


⬥ Go between Kerapac and the remaining echo,  +
+  while eating close to full.
• Echo 3:  →
→  → basics →
  →
→  +
+ 
• Kerapac:  + remaining thresholds +

⬩ Utilize 

 how you see fit.
Range
⬥ Enter a side clone and place yourself between two Kerapac echoes.
•  →
→  → hop to the farthest clone →
  → hop back to the original clone.
• Echo 1: Basics →  →
→  +
+  before
  ends.
ends.
• Echo 2: 
 + basics.
⬥ Go between Kerapac and the remaining echo,  +
+  while eating close to full.
• Echo 3:  →
→  → basics →
  →
→  +
+ 
• Kerapac:  + remaining thresholds +

⬩ Utilize 

 how you see fit.
Example Kills
⬥ Magic: https://youtu.be/RaVAlzwmKJY
⬥ Ranged: https://youtu.be/JiHCvhgtYN8