Banner Creation Guide
Introduction
⬥ The PVME Banner Template should be used atop every guide (where relevant)
⬥ This guide provides the essentials to build you own banner and contribute to PVME!
⬥ The banner itself is 1440 x 600px, and has the following components:
• A blurry background representing the arena/area the monster lives in
• The name picture of the monster
• The monster's size (2x2, 5x5 etc)
• Whether poison can be used
• Which weapon the monster is vulnerable to
• Whether familiar damage can be used
Guide: Building your banner
⬥ There are three steps listed below to follow - if something doesn't make sense then please ask for help in #unknown-channel
⬥ This guide will work in the following editors:
• Photoshop
• Gravit.io
• PowerPoint
• Paint.net
⬥ Unfortunately, MS Paint will not work as it does not support transparency
Step 1: Create a blurry background and add the boxes
- Save this template file to your machine and open it in your chosen editor
a. Note: If using PowerPoint, unlock aspect ratio to fix pixel dimensions, then type the pixel value into the boxes that say "cm/inch" (e.g. "1440px")
- In-game, visit the monster's area and use the Freecam or Orb of oculus to find a nice backdrop for your banner
a. Note: A darker environment skybox will usually make the banner look cleaner - experiment!
-
Screenshot the chosen area, and copy the image into your editor
-
Re-order your objects so the background is behind/under the template you started with
-
Crop the background image to the same size as the template
-
Add a strong blur effect to the background image so you can still see the general vibe of the area but not the details
a. Note: If using PowerPoint, right-click image → Picture corrections → Sharpness (-70 to -90%)
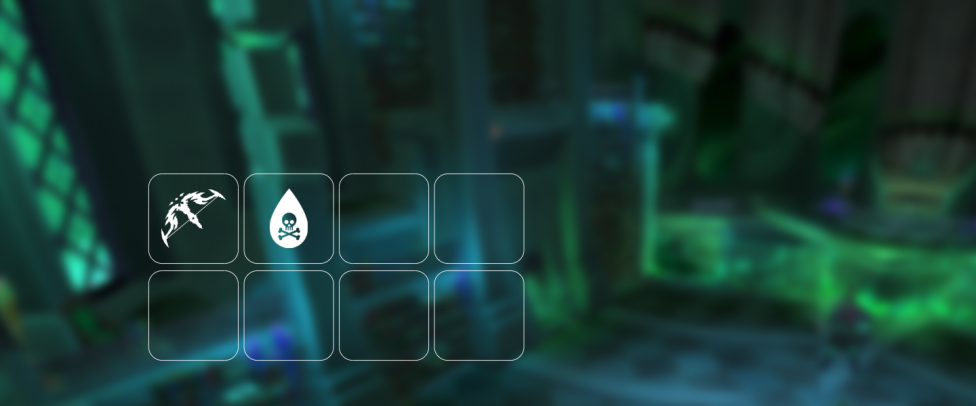
Good job! You should now have a banner that looks something like below:
Step 2: Add the monster's name and image
-
Download the Russo One font and install it to your machine
-
Open and copy this guide layer into your editor
-
Staying within the red lines, add a text box (start with font size 102px) and enter the boss' name
a. Note: If the monster has a long name, reducing the font-size is okay as long as it stays within the red lines
b. Note: If using PowerPoint, you will need to eyeball the font-size rather than use pixel font-sizes
-
Centre the boss' name horizontally in the middle of the white boxes (it should be off-centre to the left)
-
Get the image of the monster from the Runescape Wiki:
a. Open the Runescape Wiki, navigate to the monster's page
b. Click on the main image - it should maximise the image file
c. Right-click download this image
d. Import it into your editor (note: this is an important step in some editors, as copying sometimes loses the transparent background)
-
Move the monster's image to the empty space on the right, and resize as appropriate
-
You can now safely hide or delete the red guide layer
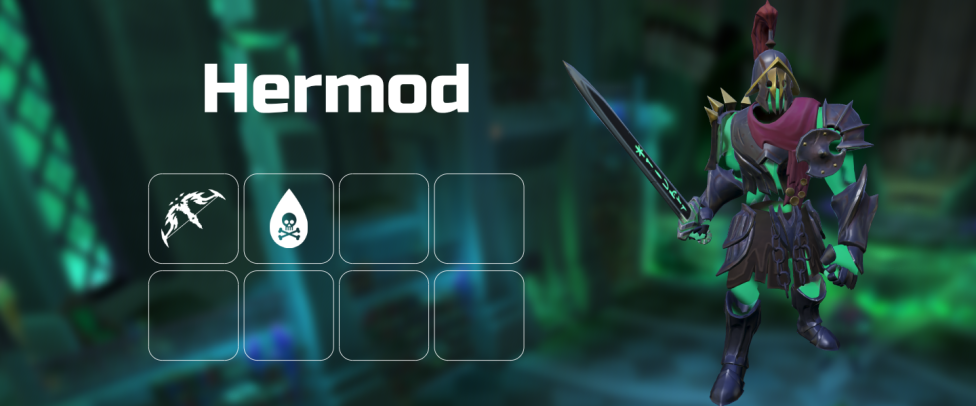
Good job! You should now have a banner that looks something like below:
Step 3: Add the summary boxes
- Now comes the fiddly part! Copy in the relevant icons from the below list to the remaining white boxes, ensuring they are centred within their box.
a. Note: The only non-icon box is the bottom-left, where you will need to use the same font as before to type in the boss' size (start with font size 53px)
b. Note: You should be able find the boss' size in a table on the Seren godbow Wiki page
c. Note: If using PowerPoint, the align tools are under "Arrange"
⬥ Icons (download or copy these into the editor as required):
• Box 3 - Inquisitor Staff
• Box 3 - Hexhunter Bow
• Box 3 - Terrasaur Maul
• Box 3 - Omni guard
• Box 4 - Familiar
• Tick
• Cross
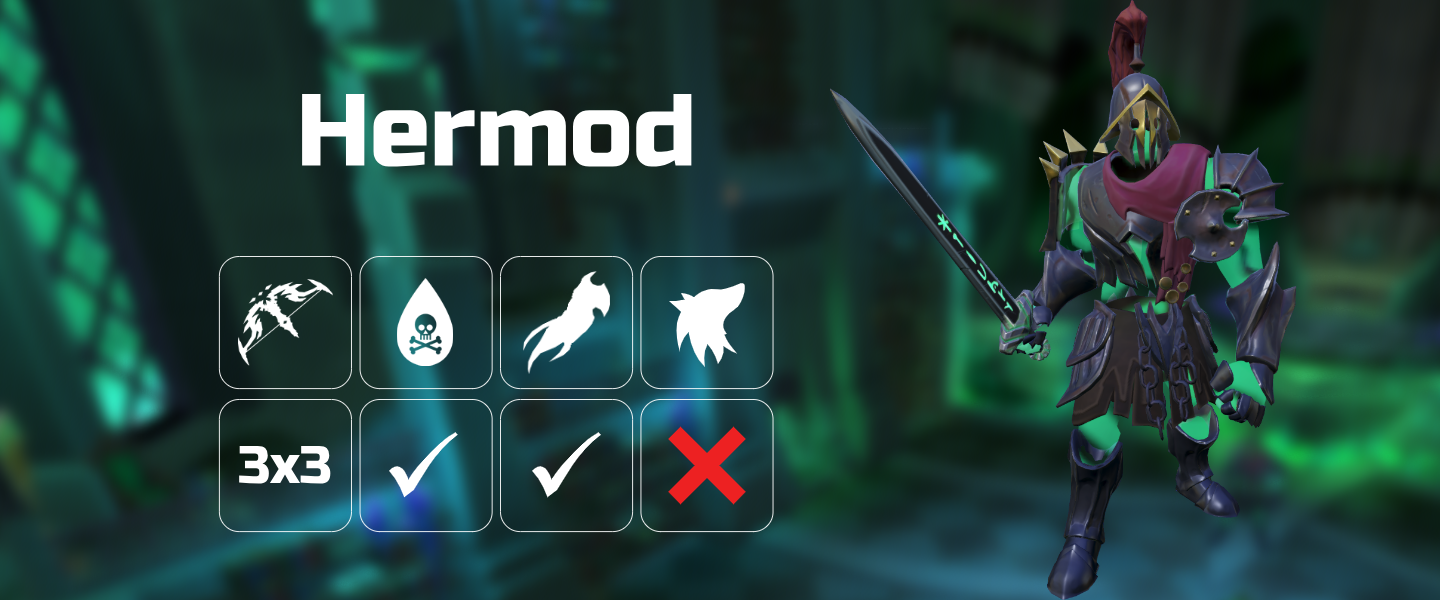
Good job! You should now have a finished banner that looks something like below:
Video Tutorial
For a video tutorial, see here