ED3 Basic Guide
Basic Guide: Shadow Reef
ED3 is generally considered the hardest Elite Dungeon in the trilogy, in most part due to its final boss: the Ambassador.
Preset and Relics
Recommended Upgrades
 ⬥
⬥  w/ Guthix Staff
  w/ Dragon 2H
 w/ Caroming 4
  w/ Dark Bow
Dungeon Walkthrough (1/3)
This guide is organized according to the structure of the dungeon itself, and alternates between clearing mobs, and defeating the bosses.
The first few areas of the dungeon are relatively trivial. Generally, you can camp  - though, if struggling with some enemies you can use
  . Avoid the Sea Horrors.
Group mobs together and use your area of effect abilities:
 /
/  /
/  /
/  /
/ 
 /
/  /
/  /
/  /
/ 
 /
/  and
and  + strong abilities
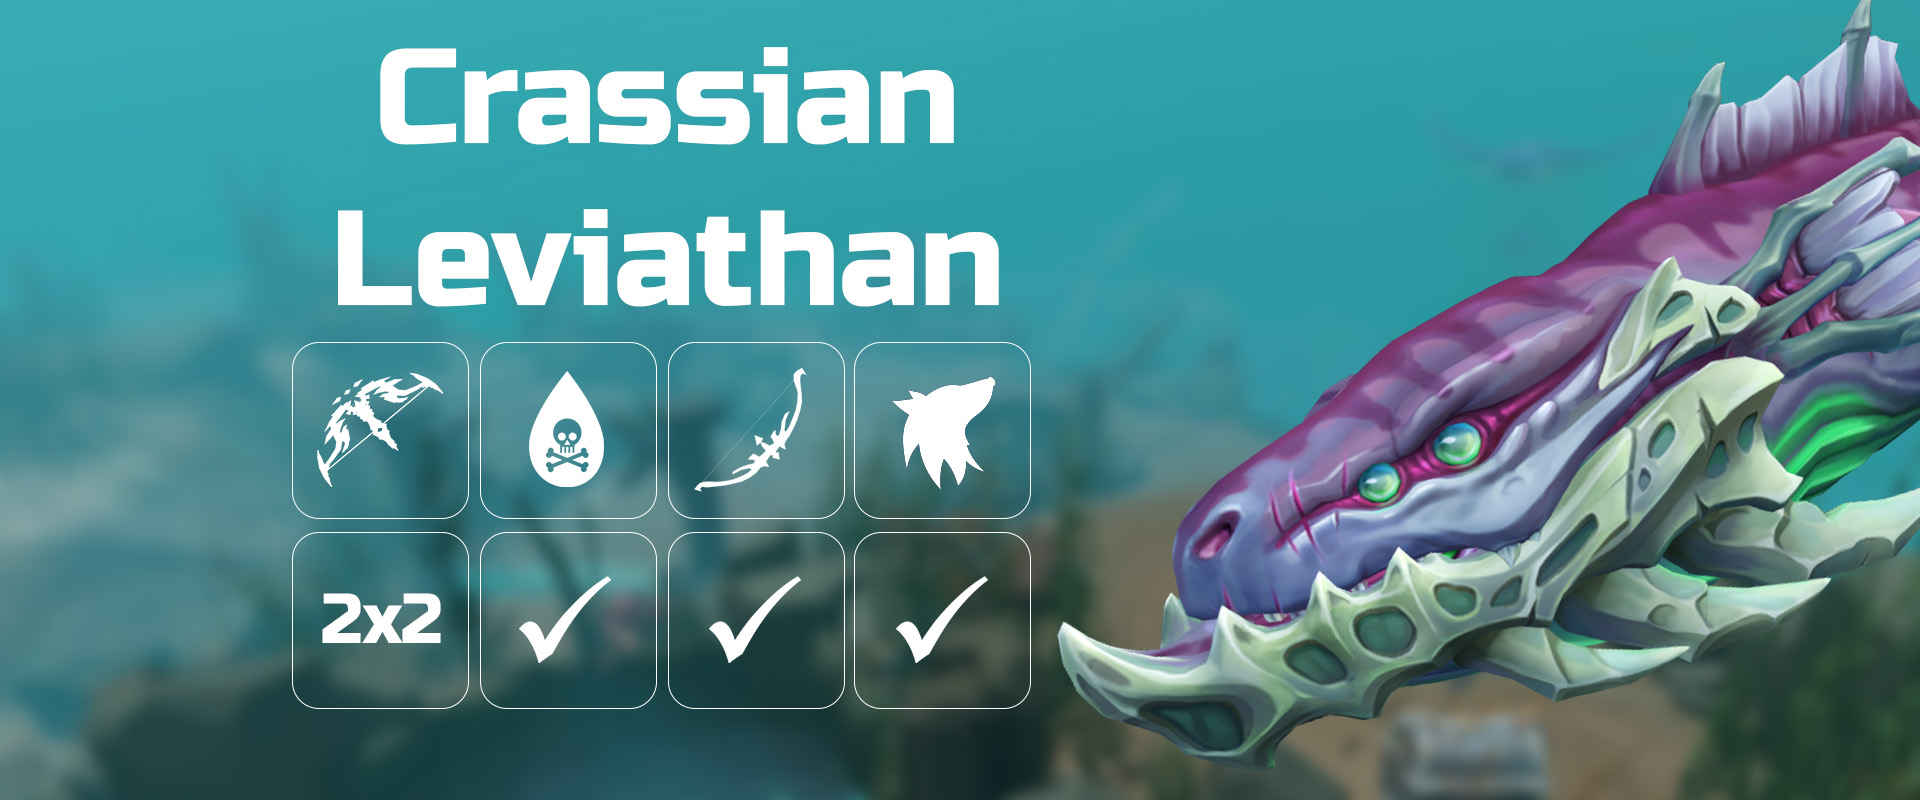
Crassian Leviathan
Overview
A video version of this basic strategy can be found here: https://youtu.be/bpvq0Li-pTg
⬥ Attacks with  , or
, or  if in melee distance, however it is recommended to simply
⬥ Heals over time. Use  and
and  to slow the healing.
⬥ The mechanic cycle is Poisonous Breath → Head Sweep → Head Sweep → Tactical Retreat → repeat.
Key Mechanics
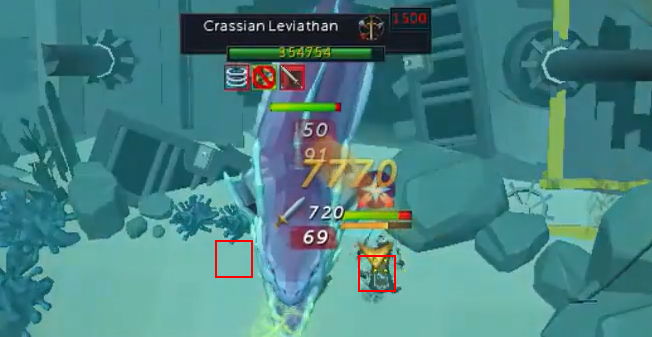
⬥ Poisonous Breath: a green blast through the centre of the arena dealing high damage.
• Stay near the sides of the arena to avoid it.
⬩ If using - use a Halberd to more easily stay in the safe spots: https://img.pvme.io/images/wKjEfc9.png
⬥ Head Sweep: Leviathan will slam its head side to side, twice, dealing high damage.
• Move quickly to the opposite side of each slam to avoid it.
⬥ Tactical Retreat: Leviathan will switch to the other end of the arena.
• It is possible to be stunned while following it;  or
or  to avoid this.
• It is also possible to be poisoned by the green gas; eat food if required.
Basic Approach
⬥ Camp +  /
/  /
/ 
⬥ Execute a strong ultimate rotation at the start of the encounter, then maintain strong ability usage until Leviathan uses Tactical Retreat. Repeat until boss is defeated.
• Take care to avoid both the Poisonous Breath and the Head Sweep while inside of your ultimate.

 → strong basics and
  /
/  /
/ 
 /
/ 

 → strong basics and
  / /
/ /  / / /
/ / / 

 → strong basics and
  /
/  /
/  /
/ 
Dungeon Walkthrough (2/3)
The first few areas after the Crassian Leviathan are relatively trivial. Again, you can usually camp . Try to use  and
and  /
/  a good amount so as to help you speed along. You can try to surge diagonally when possible to cut corners, and hug walls to avoid being attacked.
Notable Area: The Bridge
This is the most punishing area of the dungeon (aside from the bosses). After opening the gate to the bridge, you will be dealt rapid damage. In addition, the Sea Horrors at the end of the bridge deal heavy typeless damage.
⬥ Pray  and use
  while crossing the bridge. Clear the Horrors & Mage at the end of the bridge as fast as possible, making good use of your area-of-effect abilities. You can back yourself into the far corner to help keep them grouped.
Taraket, the Necromancer

Overview
⬥ All enemies in the encounter are affected by Salve Amulet (e)  , Undead Slayer perk
  and the Undead Slayer ability
⬥ The overall structure of the fight is: (reach phase HP → deal with Corpse Carrier or Bloated Monstrosity) x2 → finish Taraket
• Throughout all stages, Taraket will occasionally use Death's Swiftness
• Throughout all stages, Rifts of Undeath will occasionally spawn.
• In the last stage, Spirit Walls will occasionally spawn.
Key Mechanics
⬥ Rift of Undeath: a portal that spawns Skeletons, and will eventually explode for high damage.
• Kill the rifts immediately, before they explode.
• Using area of effect abilities can be helpful to kill Skeletons at the same time.
⬥ Absorb Undeath: Taraket will occasionally absord any Skeletons in the arena to heal himself.
• Dispatch skeletons as required.
⬥ Death's Swiftness: Taraket will apply and start dealing damage.
• Switch to as required; flick if comfortable.
⬥ Corpse Carrier and Bloated Monstrosity: a large minion that will spawn Skeletons or increase damage dealt to the player, respectively.
• Kill them immediately.
• Using area of effect abilities can help dispatch skeletons at the same time.
• Luring them to Taraket will ensure he suffers from area of effect damage, too.
⬥ Spirit Wall: a blue line of ghost-like minions that rush towards the player, dealing extremely high damage if touched.
• There will be two of these lines each time, in relatively quick succession.
• Move out of their way.
Basic Approach
⬥  by default; flick (or camp) if comfortable.
• Again, ensure to if Taraket uses
⬥ Execute a strong ultimate rotation at the start of the encounter, then maintain strong ability usage until Taraket reaches phase HP (200,000).
→ strong basics and / / /
→ strong basics and / / / / /
→ strong basics and / / /
⬥ Prioritize strong abilities and area of effect abilities to kill the Corpse Carrier or Bloated Monstrosity quickly, along with Skeletons.
⬥ Phase once more, and repeat with the remaining Carrier/Monstrosity.
⬥ Execute another strong ultimate rotation once Taraket is in its final phase.
• Take care so as to avoid Spirit Walls while inside your ultimate.
Dungeon Walkthrough (3/3)
Most mobs past Taraket are relatively trivial. However, some hit very hard with  - these include Warped Skeletons, and certain mages. If you start taking heavy magic damage, ensure to .
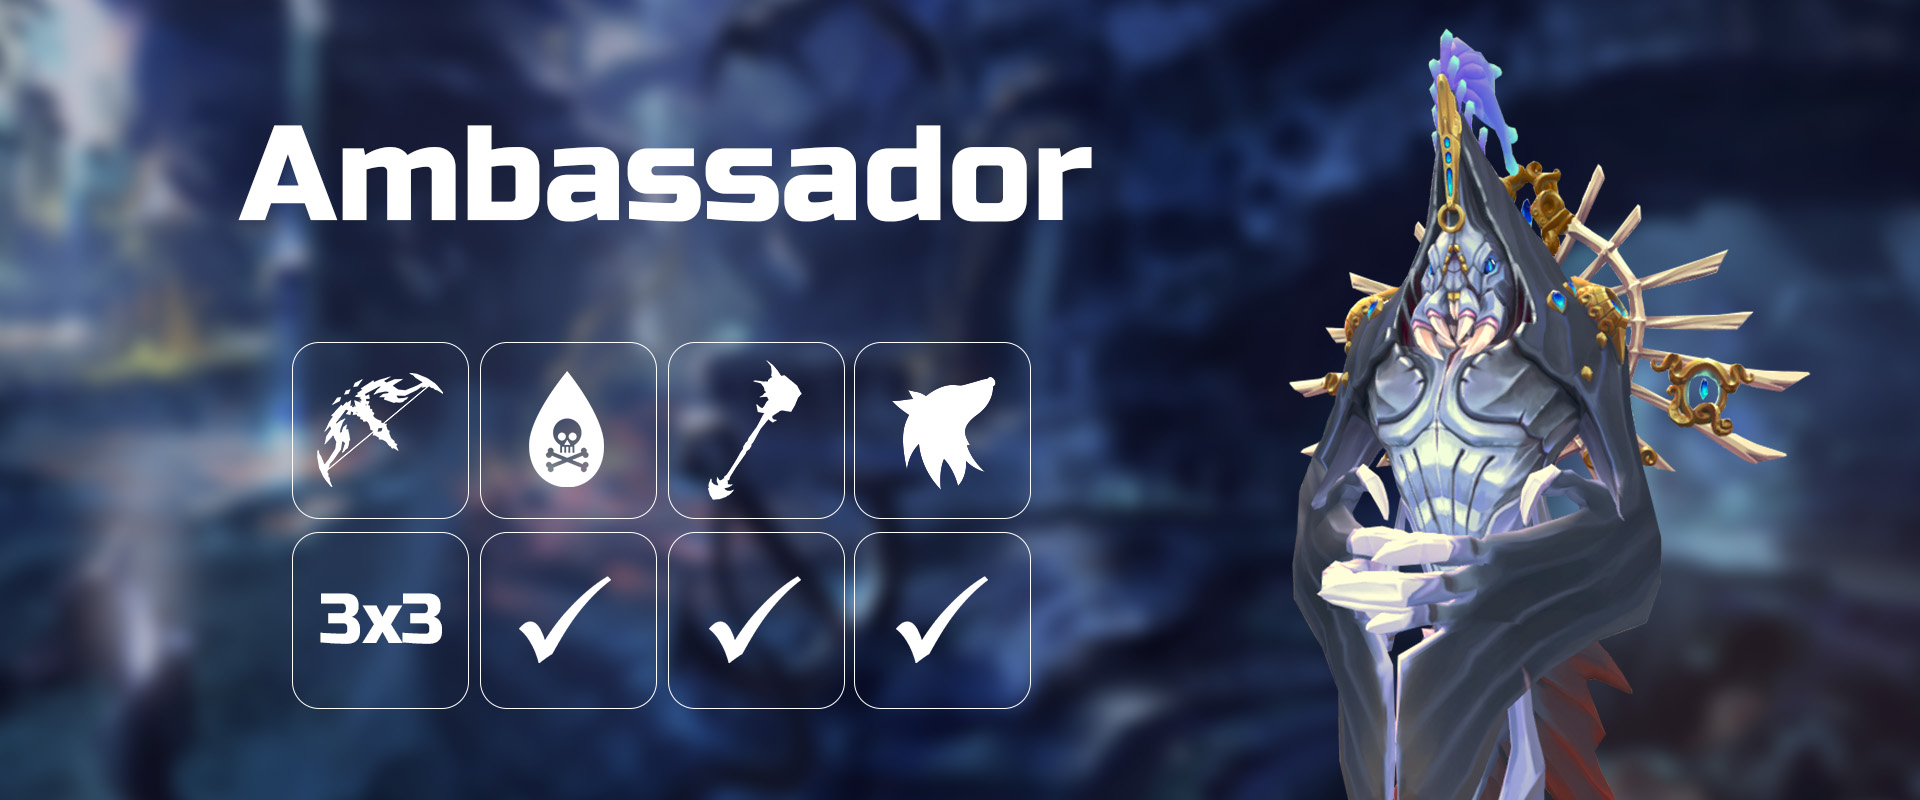
The Ambassador
Overview
The Ambassador primarily attacks with and is the most complex boss of the dungeon, with an attack cycle that varies based on HP. Note that during all phases, Ambassador will use the Heavy Hit mechanic every 5 auto attacks.
⬥ 1,000,000 - 550,000
Black Stone Flames → Unstable Black Hole → Black Stone Flames → * Beams + Fragments → Pulse of Erebus → repeat.
Note: Beams + Fragments will be triggered after 1:00 of time has elapsed on each cycle. It can be triggered early during the first cycle if you reach 650,000 HP before 1:00 has elapsed.
⬥ 550,000 - 400,000
Black Stone Flames → Unstable Black Hole → repeat.
⬥ 400,000 - End
Black Hands (continuous) → Magic Onslaught (repeated).
Key Mechanics
⬥ Heavy Hit: a very strong (blue orb) or (swipe animation) attack. The first will be used as soon as you enter the arena.
• It will be by default, unless you are standing within melee distance.
• These will occasionally happen throughout all phases of the encounter, except during Beams + Fragments.
⬥ Black Stone Flames: a bar is placed above the player's head. Once it has emptied, the zone the player is standing on will be engulfed in flame, dealing rapid damage.
• Place the flames out of the way, moving to the edge of the arena if required.
• Ensure to wait at least one second after placing the flames, or else they will follow you.
⬥ Unstable Black Hole: a black hole will spawn in the arena, and will eventually explode dealing high damage.
• Apply a stun to destroy it, before it explodes. Preferably, one of  /
/  /
/  /
/  /
/  /
/ 
⬥ Beams: the Ambassador will become immune, and summon three spinning beams that will deal high damage on impact.
• Never touch the beams. Move calmly, and kill the Fragments one by one.
⬥ Fragments: six Sinister Fragments will spawn across the arena.
• Prioritize strong abilities to try to kill all of them, or as many as possible.
⬩ / is reset on each kill to aid in mobility.
⬩  can be applied on each fragment.
⬥ Erebus Pulse: for each spinner that was not killed, Ambassador will charge a highly-damaging attack, signified with a blue bar over his head.
•  /
/  are first-choice options to survive the blow.
⬥ Black Hands: during the final phase, several hands will circle the arena, and launch white smoke towards Ambassador, which heal him. After a few seconds, the hand will stop, and the next hand (clockwise) will take over.
• Stand between the hand producing smoke, and the Ambassador. This will turn the smoke black and stop the healing.
• Move calmly in a clockwise manner around Ambassador so as to continuously block the smoke.
⬩ Staying in melee distance makes this much easier.
⬥ Magic Onslaught: Ambassador will say "Fall now, and be forgotten", before launching several highly-damaging attacks.
• Pray and either Devotion , or, Reflect  + Vitality Powerburst
  , or, Debilitate
  and eat.
Basic Approach