Necro ED3
The Shadow Reef
Introduction
⬥ Rotations are written for each of the three ED3 bosses and the monsters inbetween. The rotations can be adapted as required.
⬥ Boss rotations assume you have the Invigorating 4  and Impatient 4
  perks on your armour.
⬥ It's recommended to set your anti-spam delay for your  to 1 via the Lectern at Anachronia.
⬥ You can Surge or Bladed Dive  a tick before each gate unlocks to save a tick on every entry.
⬥ It is assumed that Darkness  is used and reapplied where required to mitigate the damage taken.
⬥ It is assumed that  +
+  +
+  is used to keep conjures alive as required depending on the speed of your clear (as such, this isn't always specified within the rotations).
Preset and Relics
Preset Notes
⬥ Hand wrap of the First Necromancer  should only be worn when summoning conjures. Otherwise, Cinderbane Gloves
  should be used.
⬥ For optimal clear speeds and to help at Taraket, the Undead Slayer Perk,  , Salve Amulet (e)
  and Undead Slayer Ability
  should be utilised. Genocidal
  can also provide a damage buff while on an undead task, but this isn't recommended.
⬥ It's possible to bring Lucky Charms  for some extra profit at the cost of Dungeoneering tokens.
⬥ Mobile  perk is a must have on gear.
• Alternatively, use Shadow's Grace  .
.
⬥  Luck of the Dwarves will not improve the number of scales dropped.
⬥ This guide assumes that Kal'gerion Demon Scrolls  are used, which can be set to autofire and will auto-renew as the buff expires.
Dungeon Walkthrough
⬥ Rotations below are more of suggestions to give an idea of AoE opportunities and ability prioritzation at different parts of the dungeon. If you find yourself needing more abilities to clear mobs, improvise accordingly.
• Target cycling and using basics is a good way to check and finish off leftover mobs as sometimes their bodies take awhile to disappear after dying.
⬥ Camp  for almost all mobs except:
• Bridge of death: 
• Warped skeletons: 
Pre-Crassian Leviathan
Pre → →
2 Scuttlers 2 Scouts
+  →
→  →
→  →
→  →
→ 
to the next scouts
2 Scuttlers 3 Scouts
 →
→  →
→  → (finish with fillers)
→
3 Warriors 2 Scouts
→  → finish with fillers or
2 Zealots
one Zealot and then target the other and  → .
→ .
+
2 Zealots 2 Scouts
(can Life Transfer) → → →
Scythe 2 and 3 have to be casted at 1 tile outside of melee range to hit the zealots and scouts.
6 Zombies
Kill one Zombie while moving → → +
6 Zombies
→ → fillers if any zombies remain
4 Zombies 1 Armoured zombie
→ → → →
2 Zealots
→ → / → fillers
The Crassian Leviathan
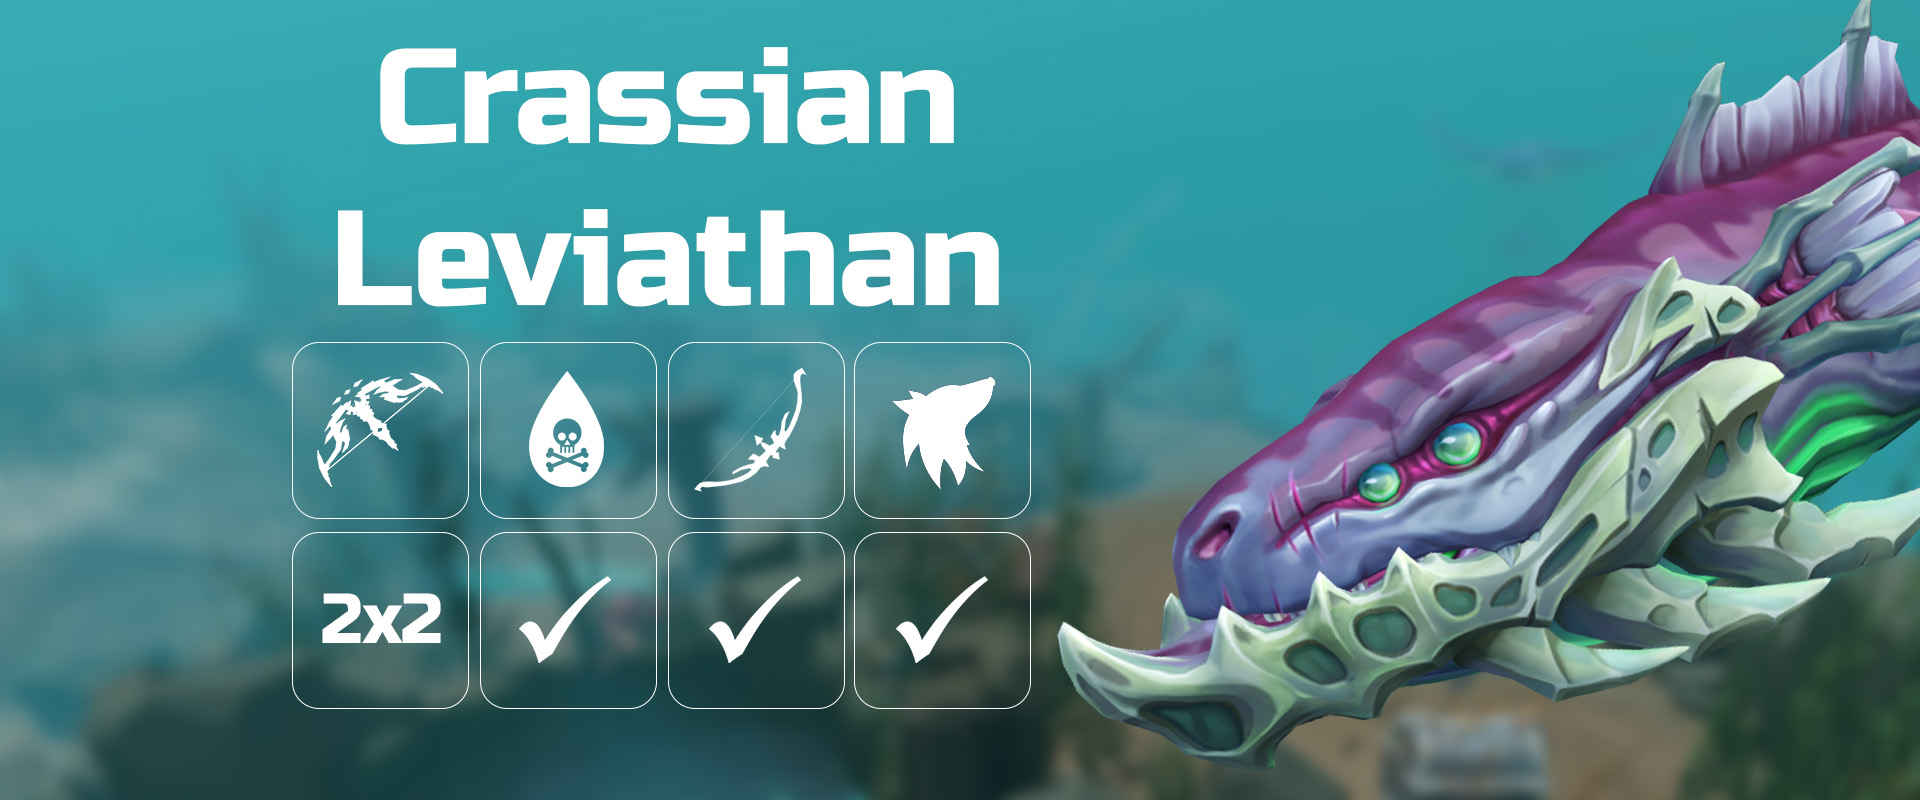
⬥ Example rotation:
Ensure + are active pre fight. Aim to start the fight with 5 residual souls  . Equip Essence of Finality pre fight
  .
.
→  →
→  +
+  + + → (tc) +
 + →
+ →  → → → → → → → → →
improvise to kill with / / 
 /
/ 

Re equip .
→ → during Crassian Leviathan's death animation.
Post-crassian to pre taraket
After Crassian,  until the next barrier.
⬥ example:
1 Zealot 4 Scuttlers
Target Zealots and run to the middle and → →
8 Zombies
+ + → → →
+ →
Proceed to jump off the cliff.
1 Necromancer 2 Huge Skeletons
→ → fillers
1 Necromancer
→
3 Armoured Zombies
Run melee distance to ensure scythe hits all three → → fillers
Go through door and + to the middle of the next room (you can do this via the minimap).
2 Necromancers
on Necromancer and → → the other. Build Residual Souls + Necrosis Stacks  while moving between each Necromancer.
Proceed to bridge and + +
1 Necromancer 2 Sea Horrors [Bridge of Death]
→ → →
3 Sotapannas
→ →
2 Necromancers 2 Huge Skeletons
→ → fillers to build Adrenaline + Residual Souls + Necrosis Stacks
Taraket the Necromancer

Taraket, Corpses and Skeletons are classified as Undead for , and purposes.
Start of fight
⬥ Enter the fight with + + , and both and active.
⬥ Build Adrenaline + Residual Souls + Necrosis Stacks during the Bloat/Corpse Spawn animations.
⬥ Example P1 rotation:
(tc) + → → → → → /fillers depending on Necrosis Stacks → phase below 200k on
Post-Bloat spawn
+ → → → / → phase
Post-Corpse spawn
Adapt rotation as required per cooldowns.
 → + + → →
  → → → → / depending on HP to finish
Post-Taraket to pre-Ambassador
+ towards Sea Witch after finishing Taraket.
1 Sea Witch 2 Armoured Zombies
→ → → (use on other monster/Kalgerion Demon if needed)
1 Kalgerion Demon
 + → →
+ → →
⬥ example:
1 Necromancer
→
1 Necromancer
and + to the next Necromancer.
1 Necromancer
→
1 Necromancer
→ finish off and to cliff and dive ledge.
5 Warriors 1 Scuttler
→ → →
2 Warped Skeletons
→ → → kill
or
first → second → kill
(depending on if they stack up)
3 Zealots + 2 Warped Skeletons
→ → →
2 Warped Skeletons + 2 Scouts
Kill depending on Adrenaline
Build Adrenaline + Residual Souls + Necrosis Stacks before the Ambassador. Aim to → (without life transfer) before Ambassador. This will ensure that the conjures despawn approximately during spinners.
Kranon, the Ambassador
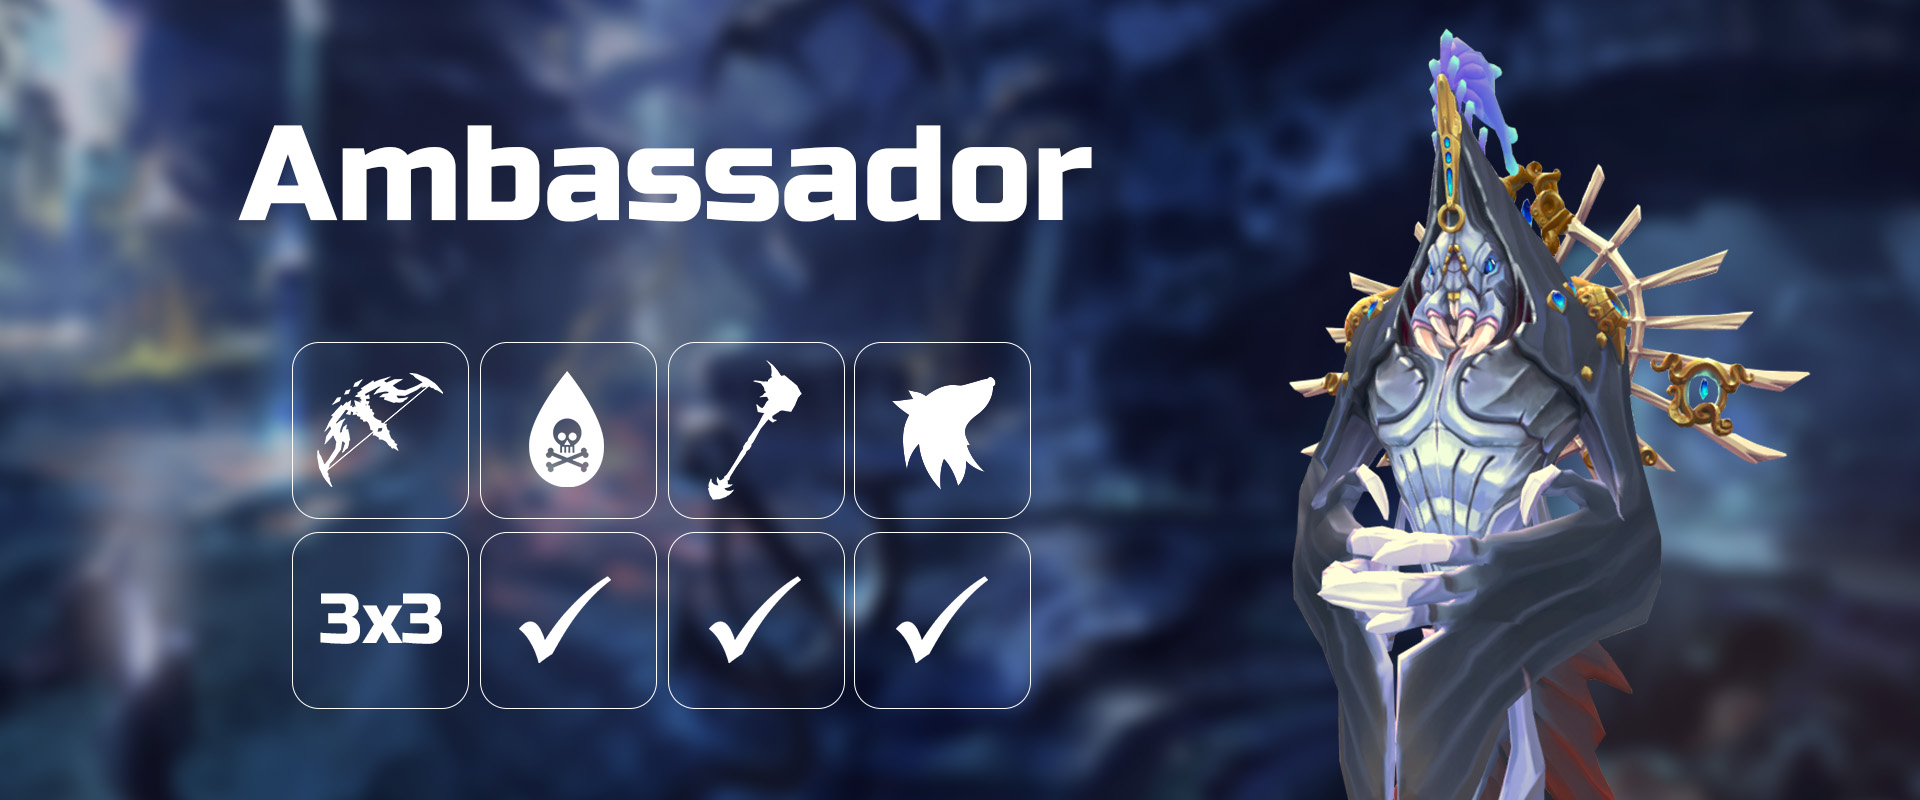
The boss primarily attacks with  , with a
  after every 5 autos. The mage hit is replaced by a small but instant
  swipe if the player is in melee distance.
General Tips
⬥ Try to avoid using solid food. Stick to  +
+  /
/ 
⬥ Try to maximize the potential healing from Spinners and the Seiryu Heal at 400k to cut down on food usage throughout the fight.
⬥ You can use 
 throughout the fight.
Phase 1
Your goal is to get Ambi to below 650k in a rotation
Pre → , equip Essence of Finality pre fight .
Experienced P1
+ → (tc) + → → → → → → → → → → → → → fillers/ when possible → to phase
Learner P1
(tc) + + → →  → [use as required depending on adrenaline from divert → → → ] → + → → → → → → → → → → fillers → to phase
Phase 2 - Spinners
Walk south and slightly west to get into position for spinners.
⬥ Feel free to use to apply high damage to spinners. Aim to kill the spinners while building Residual Souls + Necrosis Stacks using / / . Invoke Death can also be utilised.
⬥ You want to aim to reconjure with → → before the end of this phase.
Phase 3 - 650k-400k and Phase 4 (400k-0)
⬥ Natural Instinct  is useful as you will not have available for the next . Aim to use Natural Instinct with 10s left on cooldown.
⬥ If you have time before Natural Instinct , you can → →
⬥ Otherwise, → + Natural Instinct → → → → → → → → → → / → → → → → → → → → → → + → → → → → → → → → → → to kill
Example Runs
⬥ Full Clear Solo https://youtu.be/dc0bGeVjg5c?si=5U2SKoAs3uCRVGta - 10:28
⬥ Full Clear Solo https://youtu.be/M9TRm1GFcF0?si=EHfjPsRmYhTthw21 - 10:33