Melee ED1
Temple of Aminishi (Melee Advanced)

Introduction
The Temple of Aminishi is the first Elite Dungeon which is done for its consistent GP of Ancient Scales  used to make the Elite Sirenic
  armour. Although technically the shortest of the 3 dungeons, it will take much skills in terms of rotation discipline and handling the high KO-potential mechanics to achieve the optimal 6 kph.
Each solo run of ED1 is worth  18,839,938 in Ancient Scales.
General Notes
⬥  Luck of the Dwarves will not improve unique drop rates.
⬥ It's recommended to set your anti-spam delay on  to 1 via the Lectern at Anachronia.
⬥ You can or  a tick before each gate unlocks to save a tick on every entry.
Preset and Relics
Preset Notes
⬥ Potential changes to preset to allow for more food:
•  and
and  are more or less only necessary for Seiryu.
•  can be omitted as it is optionally used for a slightly more consistent start of dungeon and during Masuta.
⬩ Use if  instead
  if using
  to start the dungeon to ensure 100% accuracy on mobs.
⬥ Make sure to use 
Assumptions
⬥ Corbicula Rex  perk (112 Farming) in ROoT is active.
⬥ Vestments of Havoc  is used, if not owned, look at the pre-Zuk and pre-GWD3 example videos below for rotations using Trimmed Masterwork
⬥ All bleeds are  are cast with
  unless specified otherwise.
⬥ Knowledge of  flicking, melee rotations and boss mechanics are presumed. Otherwise, visit #ED1 Basic Guide or #Melee DPM Advice as needed.
⬥  is owned and in effect.
Sanctum Guardian

The first boss of the Temple of Aminishi follows a straightforward attack pattern containing highly damaging attacks which are capable of KOing someone unprepared. Ensure you stand in the correct spot when starting the fight so that the Arhats in the vicinity do not bother you.
Strategy
⬥ Aim to disrupt your dumping of DPS as little as possible to finish off Sanctum within ~45s while ending on mid-high adren.
• If kills are taking over a minute due to gear restrictions, do the double  rotation (demonstrated in the example videos below using Trimmed Masterwork ).
• You can use  or to dodge the second water jet if needed (
 is used in the example rotation below to block the first).
⬥ The rotation below assumes starting fight with  from
from  for the first half of .
• Replace 
 with something else and expect a slower kill if entering fight without
⬥ Example rotation: +  →
→  →
→  → 4T
→ 4T  +
+ 
 → bleed
  →
→  →
→  →
→  → 3-hit
  → equip
  +
+  → + →
→ + →  →
→  (or ) →
  + → → basics as needed →
  → →
→ →  →
→  →
→  → →
→ →  → →
→ →  → and/or to finish kill
Note:  can be used with
  after if owned, which makes for a slightly better finisher than
Note: You can opt to after the first flank if or proc'd  or if you got lucky with , do not do this if you will not have enough adrenaline left to +
Example kill:
Masuta, the Ascended
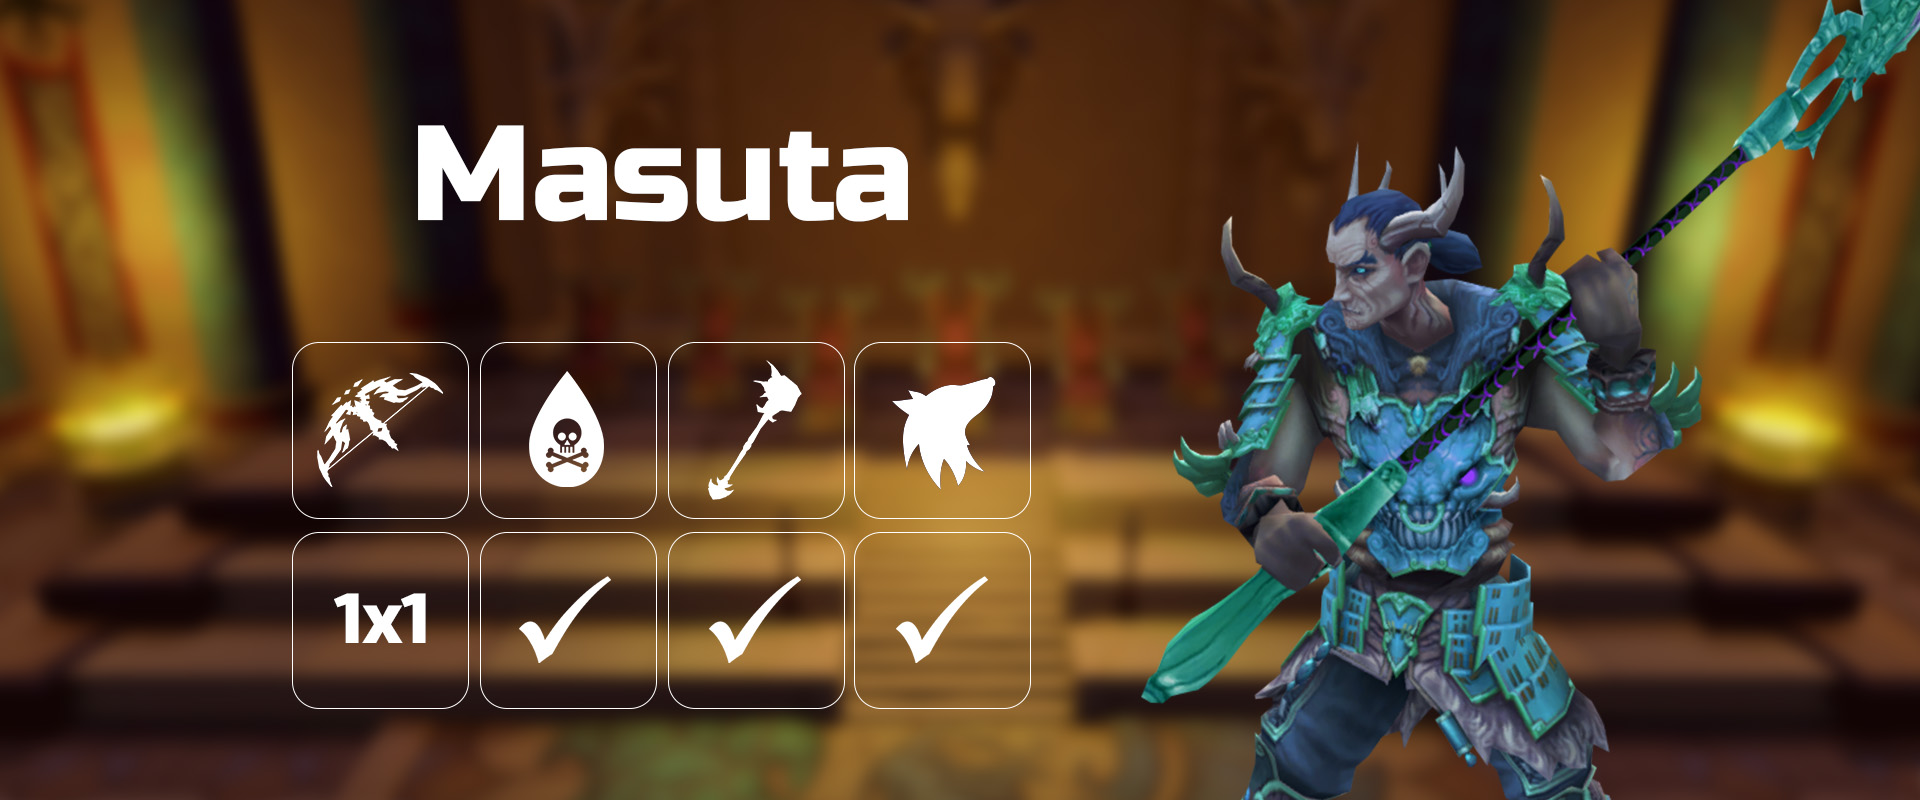
Masuta, the second boss of the dungeon, keeps true to the dungeon's theme of heavy damage dealt and high KO potential. Using a variety of hard-hitting mechanics and boasting attacks from all three combat styles, Masuta is a noticeable difficulty spike up from the first boss.
Strategy
Phase 1
⬥ Due to the randomness of Masuta's spin timing, this fight heavily involves improvising rotations at the start.
⬥ Example rotation (early spin): + + → → → 4T + → bleed → → →  + 2h auto → → → basics → → + → → walked → basics → / to phase depending on adren
• Improvise using as needed.
• Untested: Using → outside of to phase to achieve a larger prephase.
• is difficult to incorporate in the first phase.
⬩ This is because gets cleared when Masuta starts spinning, and using too late will greatly reduce the amount of bleed hits before Masuta becomes immune.
⬥ You can when Masuta is doing his hurricane.
Waters (Phase 2)
⬥ Put on  , and
, and 
• Remember to activate
⬥ Damage mitigation measures:
• If entering waters with low health, build to 100% and use (tc) +  on a water with full HP.
⬩ (tc) onto the Water and cast on the same tick instead of targeting it from afar to avoid  or
or  from reducing the amount of HP you would've healed.
• Try  on Waters with ~2k HP, especially if under
• Do a targetless immediately after it comes off cooldown.
⬩ You should be able to easily get 2 extensions off killing Waters.
• Activate  when it comes off cooldown.
⬥ Try to reapply during this phase when comes off cooldown.
⬥ At around p1 phase time + 1min5s:  → build with basics to 90% → → as you're finishing off last water → (tc) + OR
  →
→
• Decide whether to OR depending on your HP and Adrenaline.
Phase 3
⬥ + → Equip + → + → → bleed → → 4-hit → → → basics → → finish off with basics
• Use as needed.
• You can use a or in this rotation if activated on or or if entering P3 with from an opportunitistic
• 4-hit is done to make sure is up in time for Seiryu.
• Try to not end Masuta with less than 50% adrenaline as you will need for Pylons.
• The final rotation can be done with or  depending how high your HP is and how confident you are with managing Masuta's attacks.
Seiryu, the Azure Serpent
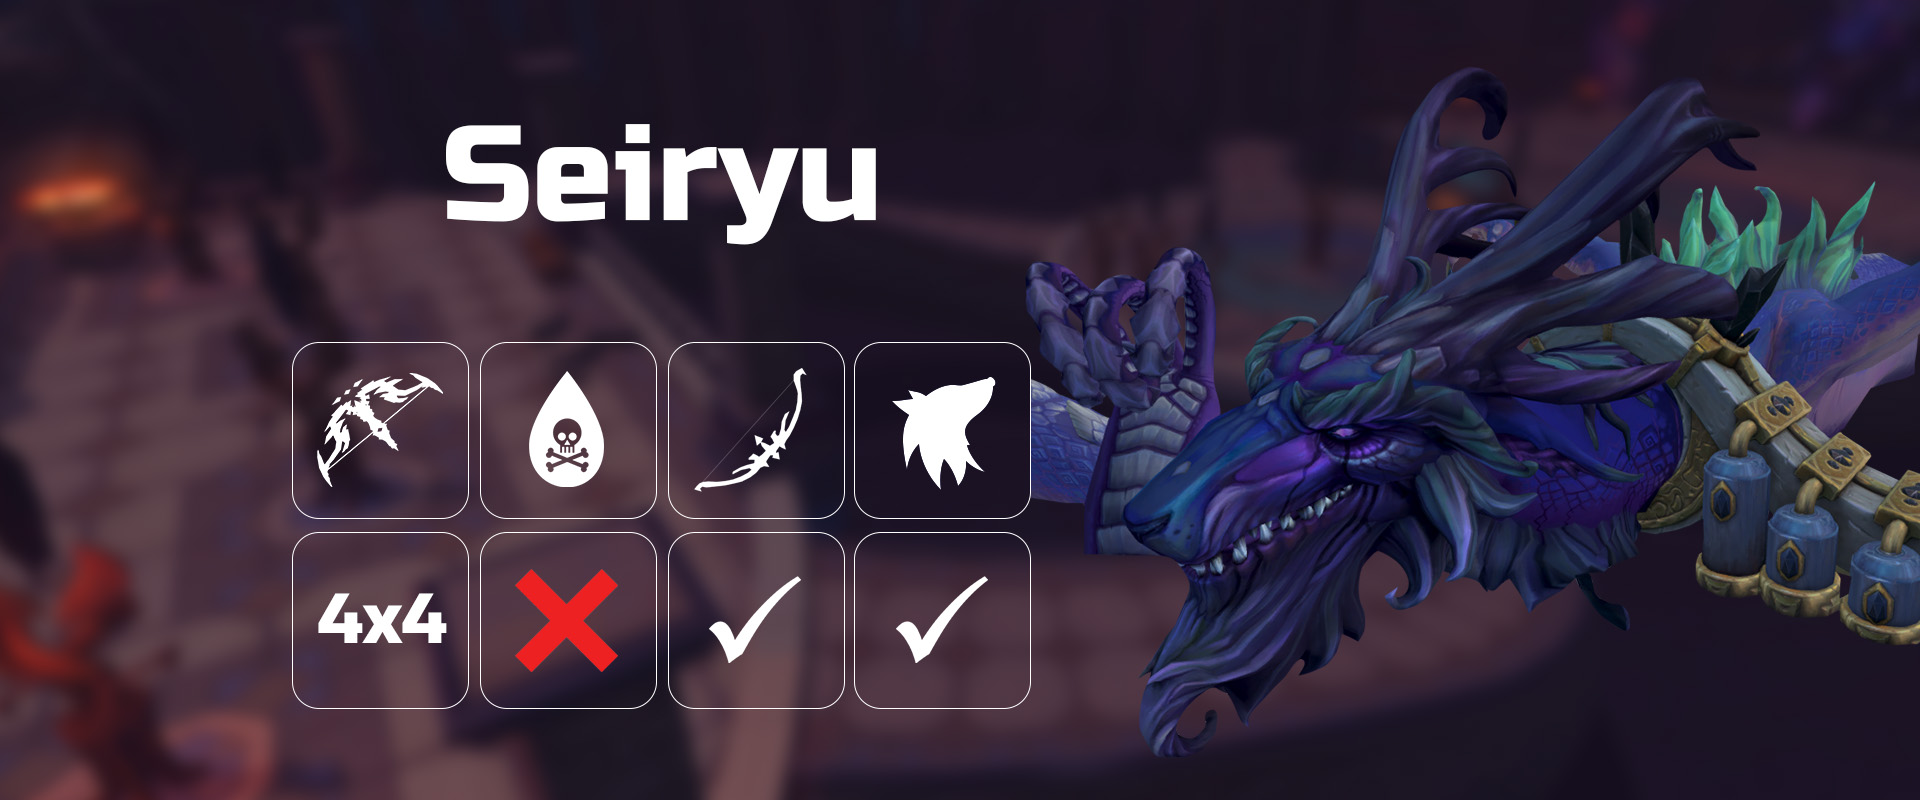
The final fight of the dungeon, Seiryu does not require much food and can be consistently 1-cycled with melee using various methods.
Strategy
Vestments 1 cycle rotation
⬥ Face: → + equip → → 4T → → → bleed → → → → → → → → → → → → if  has more than 7250k HP, else finish off with basics including another → equip and run to edge while spamming and using basics for adren → jump ASAP
⬥ Crystal 1:
• spam (tc) + →  + + + 2h auto → bleed + equip → → (stall if want stacks) → → → 3-hit → → basics to finish off
⬥ Crystal 2:
• → + → → basics until comes off cooldown → → → → basics if needed → → → → ( if needed) → basics to finish off
• Look at first hit of bleed. If it hits for low 2ks or less you will need another thresh besides to finish off the second crystal before it gets healed.
⬥ Crystal 3:
• Pre-heals: basic → + + → → off +  /stalled basic → at 5 seconds on cooldown + → → walk away s
⬩ You can pre into to make the timing if you spent too much adrenaline on the second Crystal. You will need to do 1-2 basics before doing → post-heals.
• Post-heals:
r + lay ASAP + bleed → → → → to finish off if needed.
No Vestments and EZK 1 cycle rotation
⬥ Face:
+ → → → → → → → (2 hit) → →  → → . At this point you will judge Seiryu's HP.
HP ≤ 7,350M
You will skip so you can in time. Build with basics, use Flanking  whenever possible, use thresholds (except ) and make sure you are 100% adrenaline when Seiryu reaches 7,250M HP.
HP ≥ 7,350M
→ → build with strong basics, use whenever you can → → /  → → build to 100% adrenaline before Seiryu reaches 7,250M HP.
Pre-Crystal Preparation
When Seiryu reaches ~7,255M HP: → build to 100% with basics → → build to 100% again before 7,200M (use defensives to delay phasing if you deem necessary) → to jump spot, and spam-click the jump option.
⬥ Crystal 1:
• + → + → → → + → → (it should be destroyed here, use → still alive).
Note: Spam the keybind during the jump animation, so you don't lose any ticks in the process.
⬥ Crystal 2
• + → basics if still up → → → → → → (DW) →  → 4-hit → and decide based on your adrenaline and remaining hitpoints of the crystal whether you will Hurricane / Destroy / finish it off with basics.
⬥ Crystal 3
• + → + → s → r + → bleed → → → 4-hit → → .
Mobs and Movement
⬥ These rotations may require a few more basics if is not used as you will receive less adrenaline refunds via
⬥ Keep track of the HP of all the important(barrier-unlocking) NPCs.
Pre-Sanctum
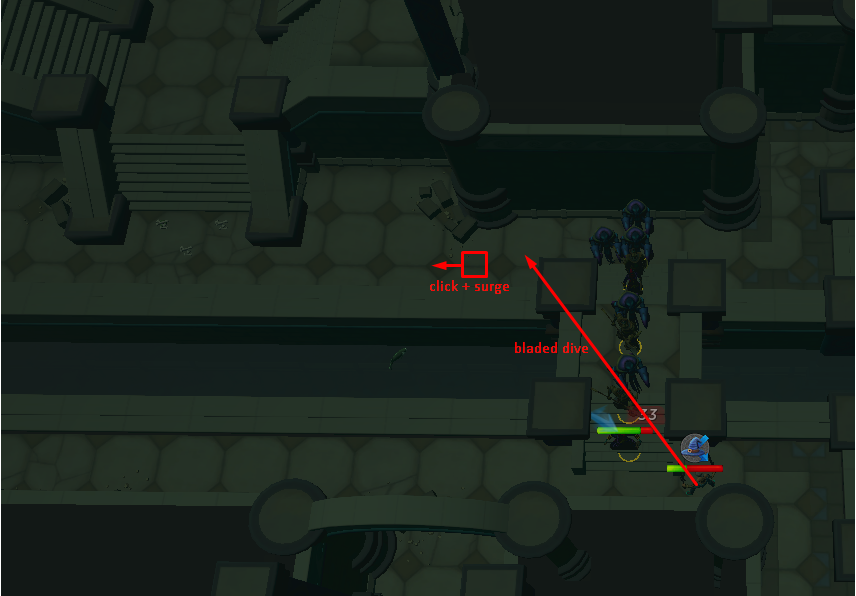
4 Elite Sotapannas
⬥  , then run down the stairs and
  towards the tile at the centre.
• During the click diagonally and Surge into a targeting one specific Elite Sotapanna. Example below:
(tc) + → target full HP Sotapanna and  → (tc) + → basics if needed and
  East to the East with the 9 Elite Sotapannas.
9 Elite Sotapannas
Wait 1-2t for mobs to clump → (tc) + →  → (tc) + if needed.
3 Elite Sakadagami
(tc) + → + middle Sakadagami → (tc) + bleed → target untouched Sakadagami +  → → → and enter door
4 Elite Sakadagami + 1 Elite Sotapanna
→ → → target middle Elite Sotapanna → → (tc) + if needed.
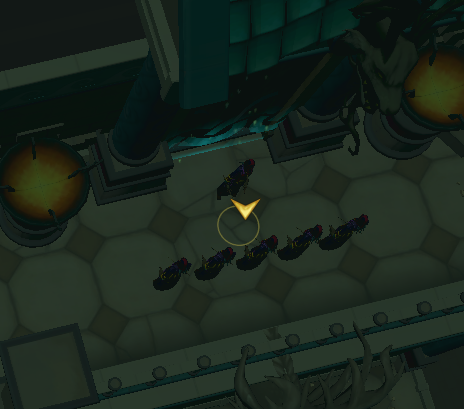
3 Elite Sakadagami
Lure Sakadagami (so and can hit all 3, gif below)+ → s → walk in r → ( if high adren) → → targeted → either use resets or other basics to finish off → run to West trio of Sakadagami before Sanctum.
⬥ Try to not end with less than 90 adren. Use more basics if needed.
⬥ While running, eat up to at least half HP and activate
• Do targetless → → to Sakadagami while near Sanctum gate.
⬩ Try to get extensions off Sakadagami.
3 Elite Sakadagami
Basics → if waiting for CD → → basics → → into Sanctum fight.
⬥ You can TC onto an Arhat and → into Sanctum if you're not at max (120%/100% before Sanctum fight).
Example section:
Post Sanctum to Pre Masuta
2 Cloaked Zealots
→ → to the 2 Cloaked Zealots. auto + → → basics to finish off.
⬥ TC onto something and use and without the Mobile perk when moving to the 3 Zealots for adrenaline to prepare to
3 Cloaked Zealots
→ → if needed. through the arch to the next Zealot.
1 Cloaked Zealot
→ (or basics if less than 60%) and → → to next Zealots.
3 Cloaked Zealots
(tc) + → target full HP Zealot → → basic if needed.
→ up the stairs to the middle of the 6 Zealots as shown below:
6 Cloaked Zealots
→ → → basics if needed.
⬥ TC and  for adren as you move through the doorway.
2 Elite Sakadagami
→ the one further from healer + lay 2x → (tc) + bleed → targeted → basics to finish off.
4 Renegade Menaphite Soldier + 2 Eastern Mercenary
to aggro 2 Mercenaries under stairs → off GCD + to the 4 Renegades → run back to center and wait for mobs to cluster while building to 100% with basics → → → →
+ → to 4 Zealots.
4 Cloaked Zealots
s → walk in release + → → finish off remaining Zealot and + to proceed to Masuta
Example section:
Post Masuta to pre-Seiryu
→ → targetless →  center Pylon → basics to kill first Pylon → bleed on Pylon and kill other with basics if high adren OR use basics to kill both and get 120% adrenaline → + into instance.
⬥ You should use here to remedy any mistakes in movement.
⬥ Ensure you use and not regular to have up for Seiryu.
Example Runs
https://youtu.be/yDqbCPC_ygY 9:15 in BIS
https://youtu.be/tbdYu5uPAA4 6 kill hour in BIS
https://youtu.be/A1ejYFFegt4 10:44 in pre-Zuk gear ( and , no and )
https://youtu.be/i7F-uZuNFnQ 10:57 in pre-GWD3 gear ( and  )
)