Melee ED3
The Shadow Reef (Melee Advanced)
Introduction
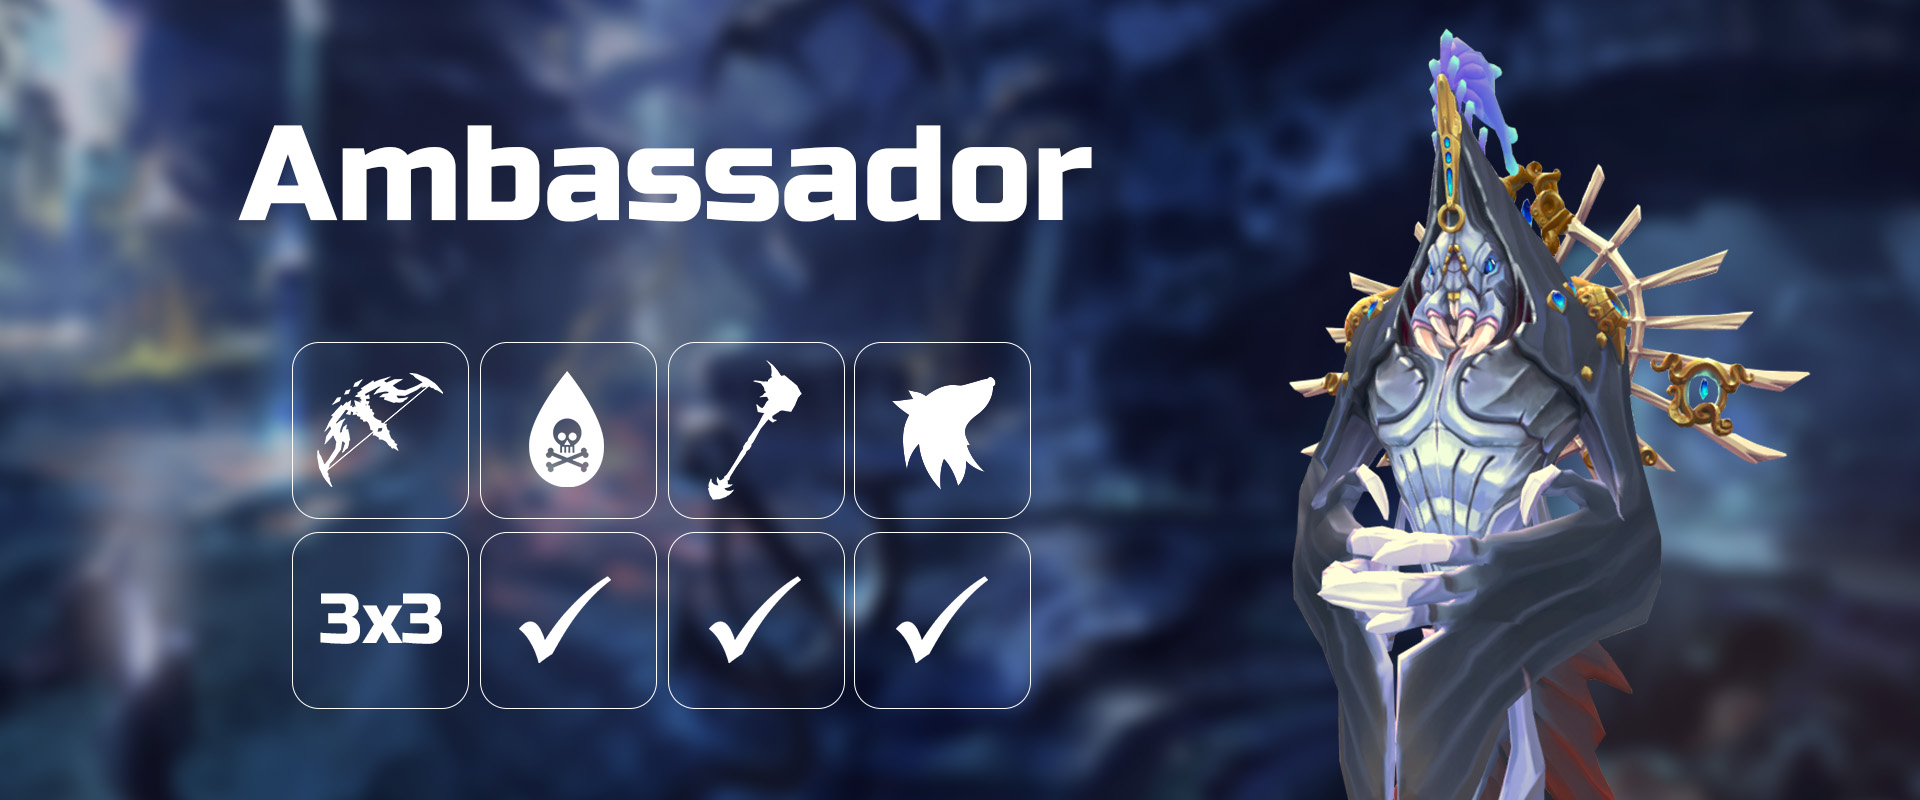
The third installment in the Elite Dungeon series, the Shadow Reef, hosts Kranon, the Ambassador  , which drops the pieces required to make the T92 Eldritch Crossbow
Boss rotations will be covered first followed by suggested mob clearing rotations.
Each solo run of ED3 is  worth 5,668,452 in eldritch pieces.
During group encounters each player can roll an Eldritch piece individually.
Solo - (180/10,000) Duo - (90/10,000) Trio - (60/10,000)
General Notes
⬥ Set your anti-spam delay for your  to 1 via the Lectern at Anachronia.
⬥ Downgrading your graphics to Minimum with Medium+ draw distance for the dungeon if you notice frame drops.
⬥ You can or  a tick before each gate unlocks to save a tick on every entry.
⬥ The Corbicula Rex  perk (112 Farming) in ROoT is extremely helpful in this dungeon, as
  is frequently used here.
⬥  Luck of the Dwarves will not improve unique drop rates.
⬥ All rotations assume ownership of Vestments of Havoc  , if not owned, look at example videos below for old melee rotations using Trimmed Masterwork
⬥  are cast with
  unless specified otherwise.
⬥ Knowledge of  flicking, melee rotations and boss mechanics are presumed. Otherwise, visit #deleted-channel or #unknown-channel as needed.
Preset and Relics
Preset Notes
⬥ The following items can be replaced with more food or if using 2  instead of
  or if not wanting to have a separate preset for Ambi.
•  - Can be used in 3 places to save a few ticks on movement, but not super important.
•  - Nice for mob clears for more adren. But probably makes a negligible difference.
•  - Nice to have, but by no means necessary.
•  - The whole dungeon can be run on
  pretty effectively.
⬥ Use a  if using , otherwise use a
  with scrolls
⬥ Bring a defender  if not confident of killing Ambi before second onslaught.
⬥ 
 is not necessary but it can help alot with clears where mobs are lined up to be cleaved.
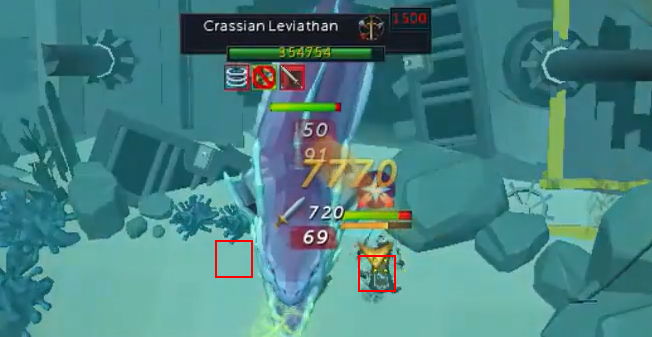
The Crassian Leviathan

The Crassian Leviathan has decent defense so beware if not using  . You'll want to

 Crassian if using any non-accuracy boosting auras.
⬥ Utilize channelled abilities and clicking the ground when using non-channelled abilities to stay on 2 specific "safe tiles" on either side of Crass's head during the breath and head sweep attacks. If done correctly, you do not need a scythe  to melee this boss.
⬥ Usually a  rotation with
 is enough for the kill.
⬥ Standard kill rotation example:
+  →
→  → → 4T
  +
+ 
 → bleed
  (step out and release with
  if you can) →
  → → → 4-hit
  → ( ends) → →
  →
→  →
→  →
→
⬥ After you , you can either immediately in and take 8k damage from a hit of breath or in later and avoid breath.
• Tanking breath damage helps if using or 
⬥ Alternative non-standard rotations:
• Double - https://www.youtube.com/watch?v=LY1vZ7IfVW4
⬩ Don't use this rotation unless seriously undergeared for ED3.
⬩ Requires 
• No  and - https://youtu.be/T8vPxyZMRGw
Taraket the Necromancer

Taraket, Corpses and Skeletons are classified as Undead for Salve Amulet  , Undead Slayer perk
  and sigil
  purposes. It is recommended to ignore both giants and focus on killing Taraket.
⬥ Blocking Taraket while he is flying is recommended so you have an easier time building abyssal parasites.
⬥ 4T + when Taraket is flying after your first phase him.
⬥ Start of the fight:
• → → + bleed + walk east to block → → ( when needed) → 4-hit → cancel properly with  → improvise if needed
⬩ Get in a 
⬩ Taraket will phase after either 3 or 4 autos. If 3, you have a decent change to portal skip. If 4, his next attack after he flies back will be portal.
⬥ Important note:
• The rotations below are very dangerous and involves tanking both spawns at once while zerked.
• If not comfortable with the fastest rotations, spawn corpse carrier first by  Taraket to the west and killing it with followed by AoE abilities while also damaging Taraket before he spawns Bloat.
⬥ Portal Skip (3 autos before phase):
• Build with basics until Taraket flies backwards, then → step away west →  + click ground to avoid autoing → defensive basic → → bleed → →
⬩ Squeeze in another if you can.
⬩ If done correctly Taraket will only get in 1 auto before phasing.
• If not phased, deal with portal using while blocking Taraket. Utilise  and
and
⬥ Non-portal skip (4 autos before phase):
• Build with basics until Taraket flies backwards, then → step away → + click ground to avoid autoing → defensive basic → → bleed on Taraket
• Use an AoE-focused rotation to kill the portal and phase Taraket at the same time.
⬩ e.g.  → → → targeted
⬥ Portal clear + phase example:
⬥ Before last phase, swap to and continue building to 100% while blocking Taraket.
⬥ Finishing off Taraket:
• just before he summons last giant → → off + 
• + → → → bleed →  → + → 4-hit → →
⬩ Swap and if not using
• Finish the kill off with basics and
Kranon, the Ambassador
The Ambassador is the final boss of the Elite Dungeon 3. This boss has a moderate learning curve. Particularly for melee, placing the purple smoke may be difficult to learn, especially if you are looking to solo flank 
General Tips
⬥ Your main rotation consists of 3 rotations, at the start, after spinners, and at the end right as Ambi begins the Ritual Phase.
• for the first and last.
• Remember to cast or with for 4-thresh zerks.
⬥ Try to maximize the potential healing from Spinners and the Seiryu Heal at 400k to cut down on food usage.
⬥ If using , you can some naked autos throughout the fight under for good damage.
⬥ Stalling is very helpful for clearing spinners and not losing DPS while placing smokes.
⬥ Rotations mentioned are probably not optimal but they work to get kill around for below the 3:00 range if executed properly.
Phase 1 - 1M-650k HP
There are 2 main mechanics to learn to handle properly in p1.
⬥ Purple smoke
• You can afford to place 3 in melee distance in different quardrants.
• If not wanting to , place smokes diagonally for convenience:
• If wanting to , step out a tile to place smoke while stalling an ability to not lose damage ( stalled in example below, released together with using ).
⬥ Black Hole
• The safe strategy for clearing the black hole is to on gcd to the black hole, clear it with  , then on gcd again back to Ambassador.
• Alternatively, simply eat up while flicking to tank it.
• You shouldn't  here but save it for the second black hole instead.
⬥ Phase 1 notes
• Open with a standard → in gcd →
⬩ You can the first magic auto under for a nice chunk of damage.
• Place second smoke far if needed, or at another diagonal if not using
⬥ Try to phase Ambi on an to damage him a little past phase cap.
⬥ Example p1 rotation:
→ + → in gcd → → → 4T + → bleed → → →
→  →
→  → 4-hit → → → → →
  → → or thresholds if needed
Phase 2 - Spinners
Walk south and slightly west to get into position for spinners.
⬥ During spinners, try to get a 
 build.
• Besides the abilities listed below, →  → 188 can be a good way to clear a spinner if other thresholds are on cooldown.
⬥ Example Spinner Rotation:
• 1st (sw spinner): (tc) + → lay  (pre-deploy them if you know where the spinner spawns) + bleed
• 2nd: thresh (preferably ) + 2 188s
• 3rd: + basics
• 4th: → basics → + 2h auto to finish off
• 5th:  + basics
• right as you finish 5th spinner
• 6th: + basics
• → target Ambi + basics → refresh → right as closes his arms → off + → →
⬩ You should right after the "X fragments were reabsorbed!" message
⬥ Beware of a bug with which causes the tribeam to be invisible if using it.
• The beams will still deal huge damage to you upon contact.
⬥ Spinners example ( prephase and invisible spinners)
• https://youtu.be/DLC11cStul0
Phase 3 - 650k-400k
Focus on using  to properly block the explosion hit if you left any spinners alive.
⬥ Example post-spinners rotation:
• where needed.
• This rotation is not optimal, but it should quite comfortable to execute.
→ → bleed → → / → (stall if you can) → → → → 4-hit (3 hit) → → →
⬥ Post second notes:
• Use bleeds to get stacks, then you have 2 options.
⬩ into last to finish off Ambi.
⬩ into to finish off Ambi with powerful thresholds.
• Place the 3rd smoke in melee distance southeast or south of Ambi depending on where is available for you.
⬩ Remember to step out if you want to still.
Phase 4 - Ritual (400k-0 HP)
The final phase has 2 mechanics you need to take note of.
⬥ Blocking the smoke
• Zoom out and move with the smoke.
• Alternatively you can zoom in and spam click under Ambi to block all healing smoke without needing to move, though this is very click-intensive and difficult.
⬥ Blocking Magic Onslaught
•  should be used to block the first Onslaught.
•  +
+  to block the second one if you get it.
⬥ Final rotation example:
+ → → → bleed → → → → → → 4-hit → improvise to finish off
⬥ If learning, you may want to use  and which allows you to more or less camp (except magic onslaught) and requires no switches, allowing you to focus on your fundamentals (basic DPS rotation and Ambi's attack cycle).
⬥ Prioritise learning rotations over things like equipment such as or switches as it would benefit your kills more:
• No switches and prayer flicking Ambassador kill - https://youtu.be/AYHH9w7oK3M (3:48)
Mobs
In general, ED3 mobs are easy as they have relatively low HP and have no stun mechanics or special attacks. As such, focus on clearing fast to sustain and capitalise on the Ruthless  buff. Listed below are the mobs required to kill to unlock the next barrier in order of occurrence. The method may not be truly optimised but it is good enough to secure 4kph. Stalling effectively will allow you to more efficiently utilise gcds.
⬥ Use your halberd most of the time for its range.
⬥ Targeted can be useful for finish off mobs as it resets if you kill your target 2 abilities after
• Time it properly as you would not get adrenaline or damage if you use it during gcd.
• Using it under the effects of will deal no damage.
Pre-Crassian
 +
+  diagonally from entrance to start the dungeon.
2 Scuttlers 2 Scouts
one scout then on the other, followed by and finish off with basics.
2 Scuttlers 3 Scouts
Use basics rotating between scouts until everything clusters and AoE. + is good here.
3 Warriors 2 Scouts
→ → and finish off. Move fast after this point to capitalise on buff.
2 Zealots
Build to , finish off Zealots with basics and then cut the corner with +
2 Zealots 2 Scouts
(While under ) a Zealot and walk in the middle, then → ()
⬥ Corner cut + zerked AoE clear example:
6 Zombies
(While under ) to the middle → . Use or to finish off
6 Zombies
Go in the middle and + basics until zombies cluster. Then and use Target Cycle and basics or to finish off. Cross the plank.
4 Zombies + 1 Armoured Zombie
→ on armoured zombie and build. → targeted to finish off zombies.
2 Zealots
s and walk in release → → 4-hit → . Swap back to  and (tc) + before to begin Crassian.
Post-crassian to pre-Taraket
After Crassian, until the next barrier.
⬥ example:
1 Zealot 4 Scuttlers
→ targed or whatever AoE you have available. Just enter next room on high adren.
8 Zombies
Equip and use Target Cycle and basics until everything clusters. Then → (tc) + to finish zombie. Use Target Cycle and defensives to get adren if not at 100% after zombies die. Then + diagonal → and jump off cliff.
1 Necromancer 2 Huge Skeletons
immediately on drop down → auto + on necromancer. to finish off. diagonally.
1 Necromancer
Use  and 1-2 basics. Activate while doing so.
3 Armoured Zombies
to middle zombies and use + . Go through door and to middle of the next room. You will experience an FPS drop here.
2 Necromancers
either Necromancer → bleed (or any channelled thresh) on far Necromancer → target original and finish off + activate switch. Then → → far Necro to finish off → activate switch and proceed to bridge. Targetless and before engaging Sea Horrors.
⬥ 2 Necromancers far bleed method example:
1 Necromancer 2 Sea Horrors [Bridge of Death]
Necromancer → bleed thresh on Horror → walk into corner → target diagonal horror with and → →
3 Sotapannas
s walk in release + AoEs. is good here. Try to maintain high adrenaline. to Taraket bank.
⬥ example:
2 Necromancer 2 Huge Skeletons
Equip and build → → → build → → + → in and engage Taraket
Post-Taraket to pre-Ambassador
+ → after Taraket dies.
1 Sea Witch 2 Armoured Zombies
→ bleed thresh → → or if high adren
1 Kalgerion Demon
Use  → auto + → → basics. Then to Necromancer.
⬥ example:
1 Necromancer
Use → and to the other Necromancer.
1 Necromancer
Use and basics, then + diagonal to next Necromancer.
1 Necromancer
s walk in release → → + and target next Necormancer.
1 Necromancer
sbasic walk in release → → finish off and to cliff + dive ledge.
5 warriors 1 Scuttler
Build and → basics until everything clusters and then use AoEs accordingly. Then equip and to Warped Skeletons.
2 Warped Skeletons
(Still under ) Lure skeletons together and use → → targeted while not standing too near to barrier. Then + to Zealots from afar to not to make them scatter.
3 Zealots + 2 Warped Skeletons
Use basics until skeletons walk in, then target a skeleton and followed by strong AoEs. + to scouts afterward while avoiding the minibosses as much as possible.
2 Warped Skeletons + 2 Scouts
Use on the 2 skeletons and or followed basics to build to 100%. Bank and proceed to Ambi.
Example Runs
https://youtu.be/sRrHoZfYJxw 11:26, BIS melee with vestments
https://youtu.be/qMAvh53bo_c 4 kill melee hour, no or [Pre-Zamorak]