ED1 Basic Guide
Basic Guide: Temple of Aminishi

ED1 is a very consistent money-maker and a good avenue for players to practice using AoE abilities, movement, avoiding damaging mechanics and DPS rotations. The requirements to feasibly solo it are moderate and many deaths should be expected when learning the dungeon due to the nature of the mechanics.
⬥ Use the zerker aura 

 variants for the dungeon. Otherwise,
  is fine for learning, but prioritise using defence reducing abilities for special attacks (
 ,
,  ,
,  ) on Masuta and Seiryu's face. Also, expect to do additional cycles on Seiryu.
Preset and Relics
Recommended Upgrades
 w/ Caroming 4 switch
  ⬥
⬥  w/ Guthix Staff
 w/ Caroming 4
  w/ Dark Bow
The Sanctum Guardian (Info)
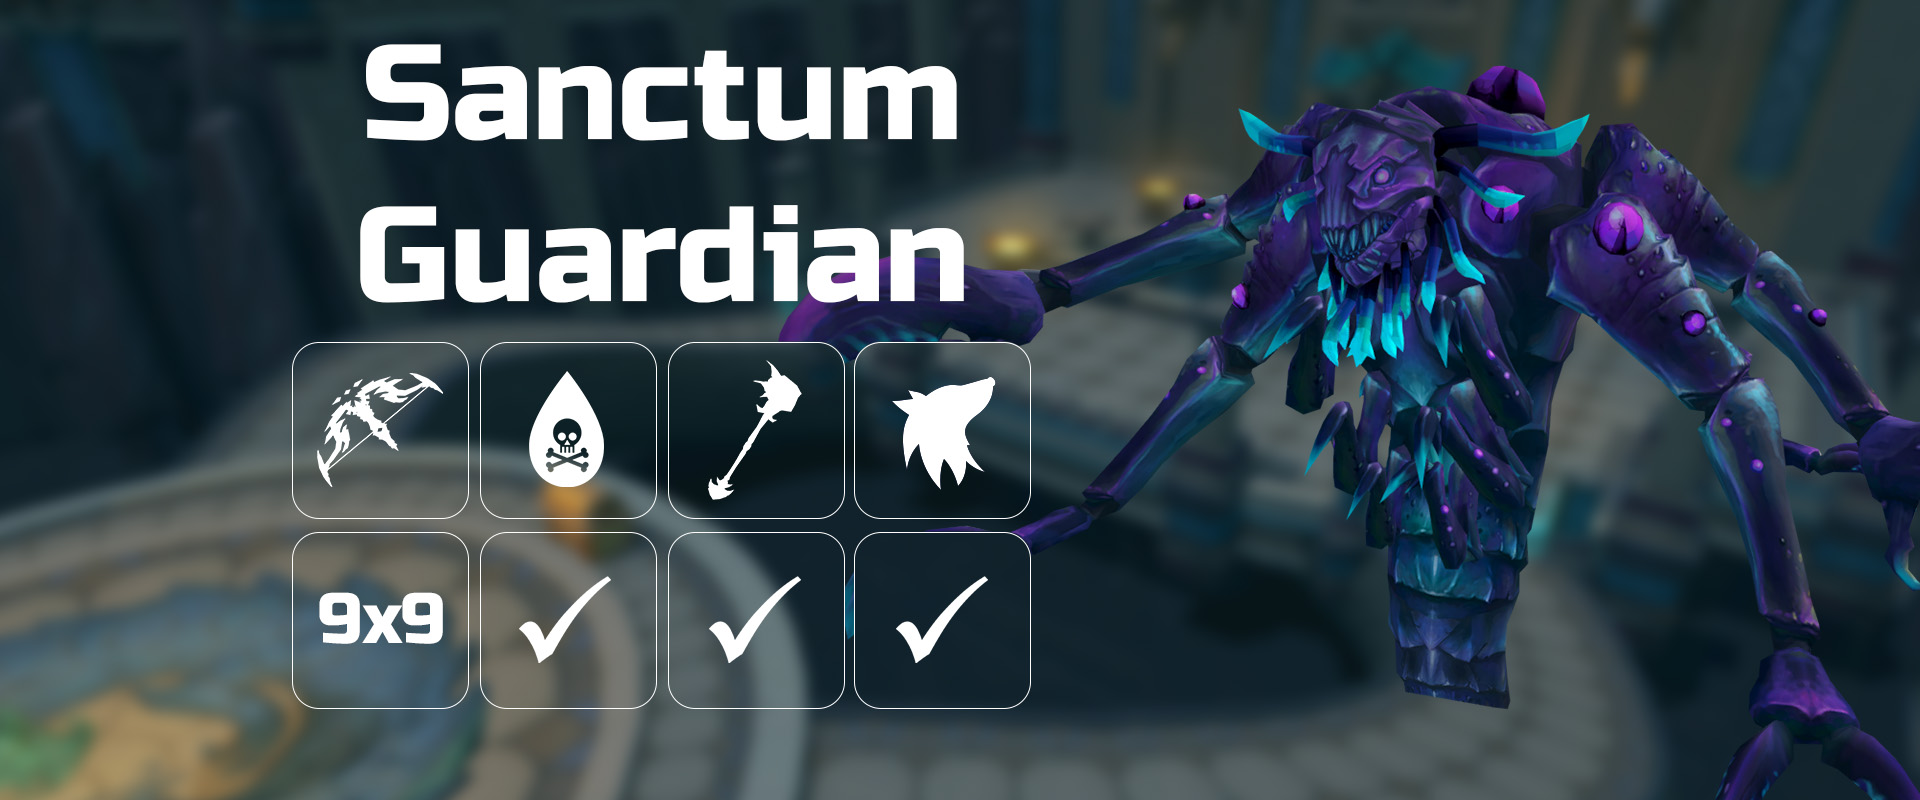
The first boss you encounter. Sanctum uses primarily slow  auto attacks which hit moderately hard. However, they are aimed at the players' tile instead of character so you are able to dodge them by stepping away 3 or more tiles before they hit.
 .
• You can also
.
• You can also The Sanctum Guardian (Fight tips)
⬥ You may die a few times because the mechanics are quite fast and arguably hard to react to. This is perfectly normal.
⬥ Outline of rotations:
• 
 +
+  →
→  →
→  →
→  (if owned) →
  after → cycle thresholds again → again ASAP and finish off
•  + →
+ →  →
→  →
→  → → →
→ → →  → good thresholds → again ASAP → finish off with and good thresholds
• 
 + +
+ +  →
→  →
→  →
→  → → →
→ → →  → thresholds →
  → again ASAP
• Use again on the other side if boss has >100k HP left.
⬥ If using , you may find it useful to side step attacks from time to time as you have the most mobility while using abilities.
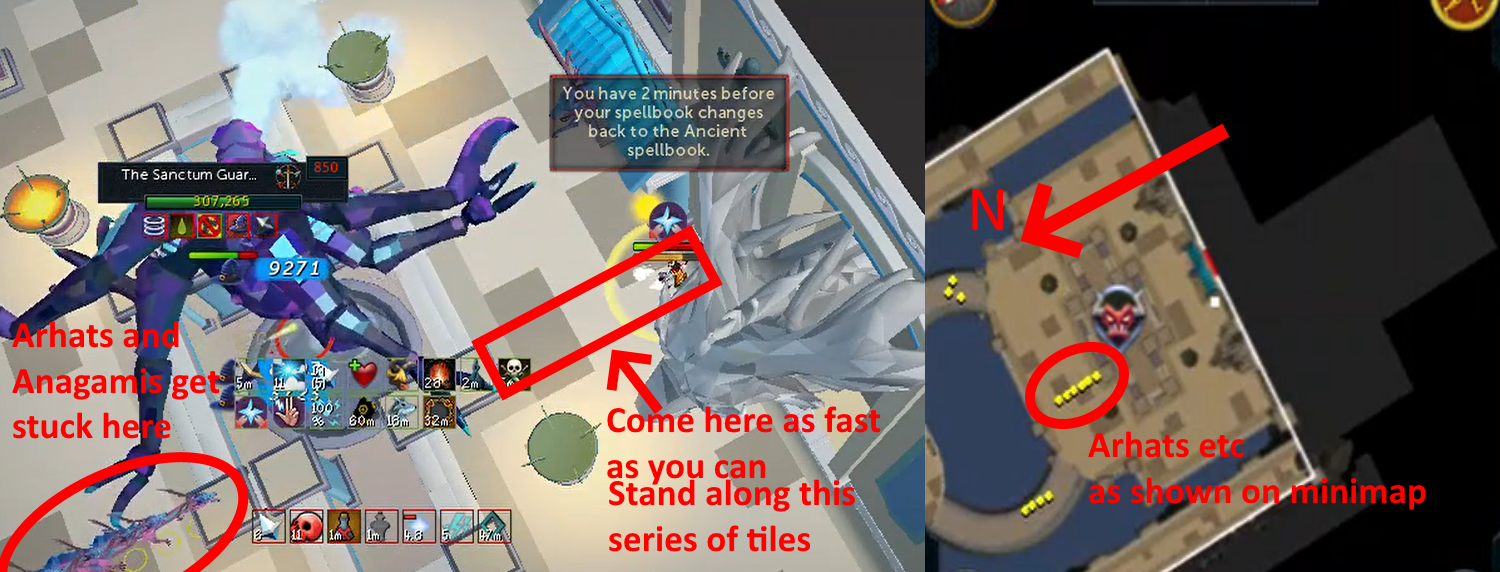
⬥ An easy way to dodge Water Jet if fighting Sanctum from the front is standing east then walking west as follows:
⬥ If you don't wish to teleport out to bank before Sanctum, go to the back and fight while standing along this thing so that Anagamis and Arhats following you get stuck as shown below and do not bother you during the fight.
Masuta, the Ascended (Info)
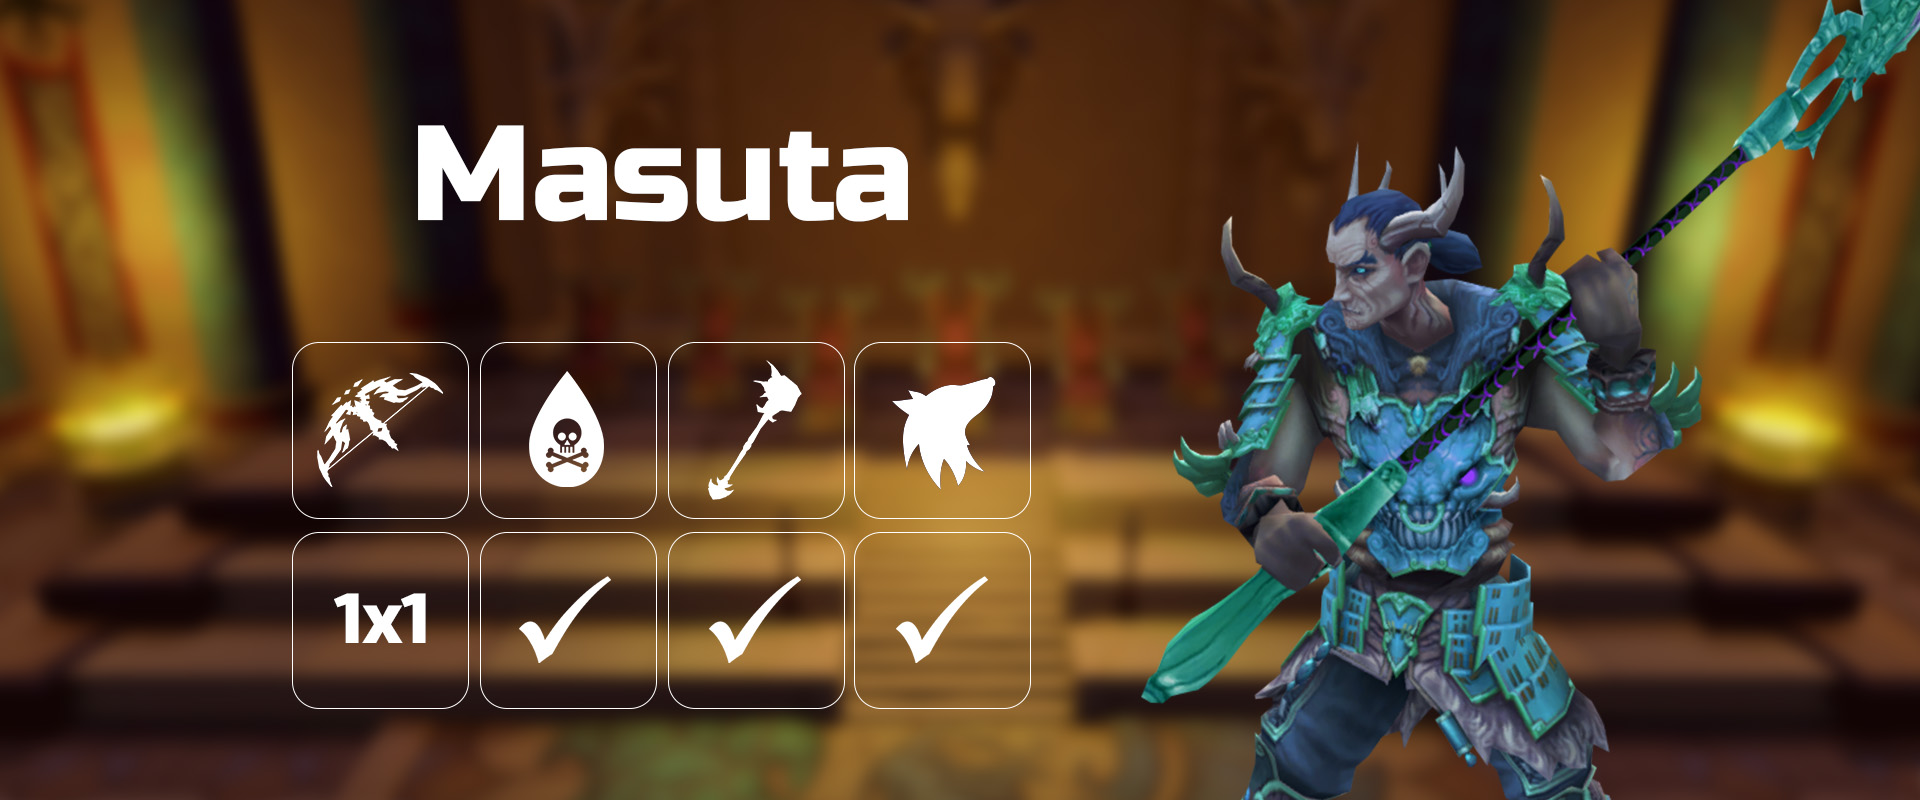
Masuta is the second boss of ED1. Expect to eat a lot of food during this fight. Masuta is a fairly hard fight, dealing both high burst and sustained damage on the player. He is considered by some to be the hardest in the dungeon.
 as the auto before the
  to sustain HP during this phase and
 Masuta, the Ascended (Fight tips)
⬥ You may want to bank or use a preset with more food for this encounter.
⬥ If you receive a second Hurricane special (where  is down), try to stay as far away from Masuta as possible. Use
  or
or  if needed.
⬥ Using channelled abilities such as or  will help you avoid getting walked while Masuta spins.
• This does not work on channelled special attacks such as  and you will get walked
⬥ Rotation outlines:
• These rotations are to be used at the start and then repeated after waters to finish Masuta off.
• will need to be used some time after the first threshold, unless you are kiting
⬩  if needed.
• + → → → → → bleeds → thresholds →
• → bleeds → thresholds → + → → → → → →
• + + →  → → → → →
⬥ Using  to finish off waters and
  between spawns help with reducing food usage.
• You can also  an occasional waters auto if needed.
⬥ When Masuta resumes attacking after waters, make sure you are high HP as he will do 2 autos while you are probably still finish off the remaining waters, which deal damage. This damage can stack you out if not careful.
Seiryu, the Azure Serpent (Info)
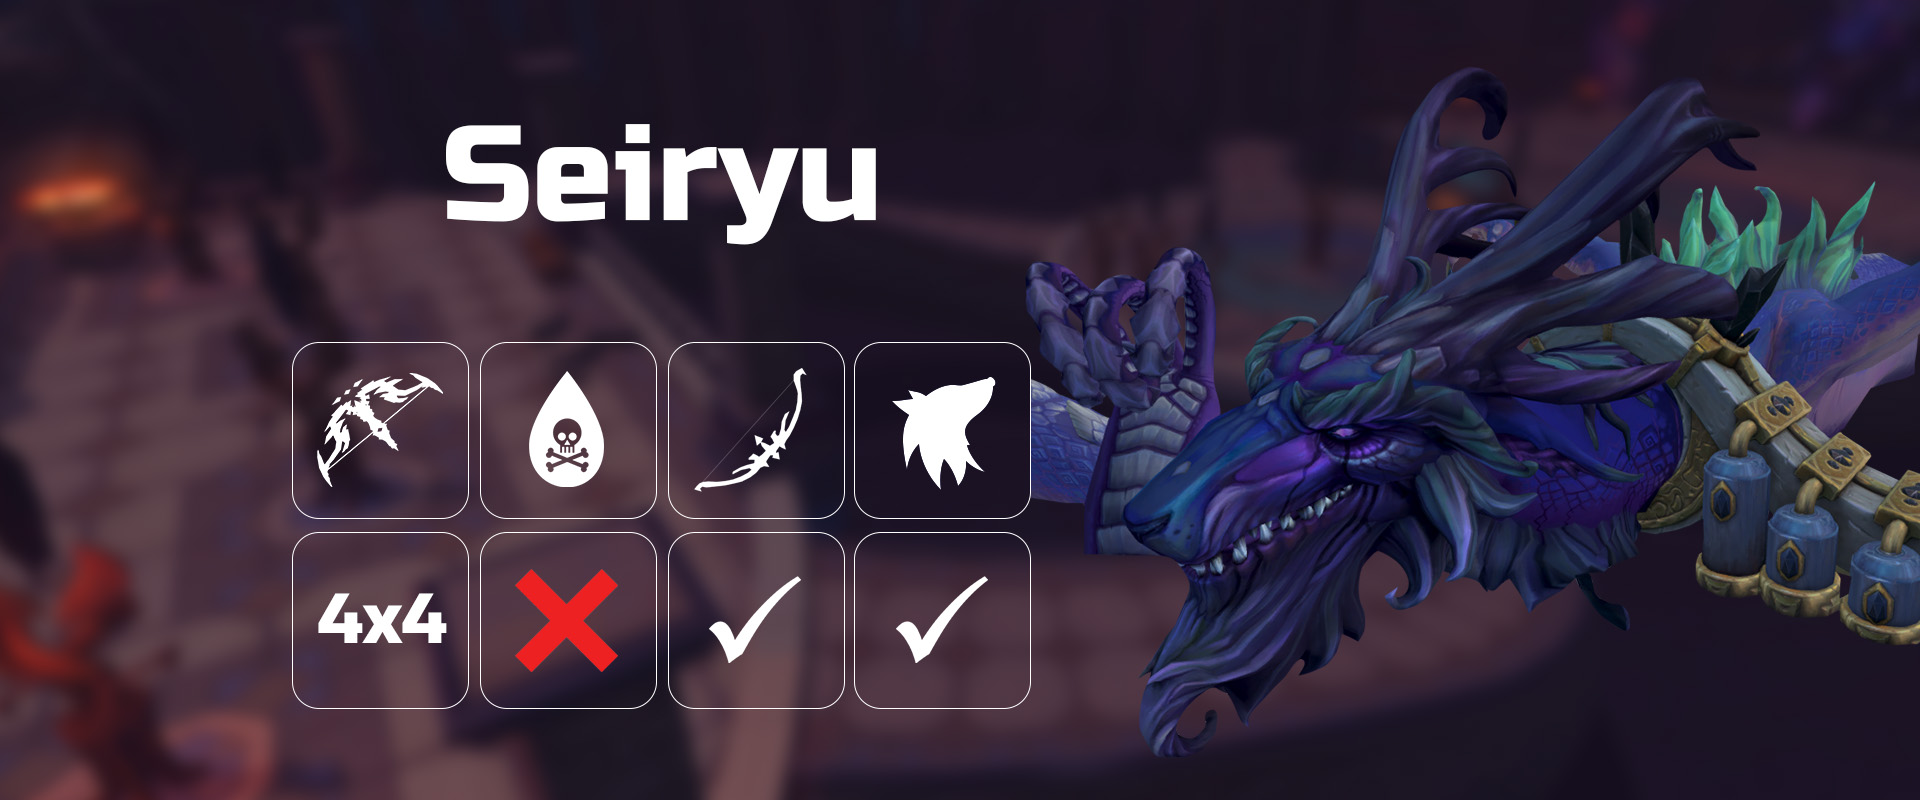
Seriyu is the final boss of ED1 and attacks using primarily auto attacks.
 or
or Seiryu, the Azure Serpent (Fight tips)
⬥ Seiryu can be  permanently when standing along the 2 southern rows of the arena.
• Be careful of the V-shaped Shadow Hands if doing this.
⬥ HP can be sustained very easily if  flicking.
• If not, the easiest way to sustain your HP without needing much food is using on the huge breath attack.
⬥ Move as little you need to avoid the shadow mechanics, to avoid negatively affecting your DPS.
• 1 tile east for blackholes.
• 2-3 tiles to avoid hands from shadow energy.
⬥ For learners, you will likely start off with 3-cycling Seiryu, eventually being able to 2-cycle once comfortable with the fight.
⬥ Start of fight:
• Use your damage boosting ultimate to start the fight.
• Use abilities until Seiryu phases. Do not use your ultimate again.
• When Seiryu is at around 7250k, build to 100% adrenaline and prepare to jump.
• When Seiryu lowers his head, quickly go to either jump tile and go up ASAP.  there if you can.
⬥ Shackle:
•  towards the first crystal and use your damage boosting ultimate with and deploy
  immediately.
• Kill the first crystal and build until the first waves of heals are complete, then get in as much damage on the second crystal as possible until you get dragged down.
⬩ Use immediately once they're off cooldown.
⬥ Post-shackle:
• Immediately tag and kill enigmas when you are on the ground.
• Use your damage boosting ultimate again on Seiryu and repeat what you did at the start.
⬥ Second shackle:
• If you had a lot of time left after killing the first crystal during the first shackle, go for a 2-cycle.
• Jump up from a different side to attack the crystal at full HP.
• Use your with with immediately after going up and then finish off the middle crystal with your strongest abilities afterwards.
• If the remaining crystal has too much health for you to finish off before the heals start, do a 3rd cycle.
Mobs and movement
Although mobs in ED1 do not have much HP, many of them have mechanics with very high KO potential. Do not be surprised if you die to any of these.
⬥ Death Lotus Assassins
• These are by far the most dangerous mobs and are found in 2 areas, after Sanctum Guardian and before Masuta. You do not need to kill them to proceed.
• At the part after Sanctum, use with  after 'You are no more!' while clearing the 3 Zealots to avoid dying.
• 2 more are found near the barrier before Masuta. You may aggro them while running to the 4 Zealots you need to clear to open the barrier.
⬩ Pray and food in mouth if needed. Teleport out after opening the gate if needing to bank.
⬩ Don't use here if going into Masuta directly as you will need for Masuta's hurricane.
• Always use when you see them attacking no matter what as they can hit you from a decent distance.
⬥ Hanto Sellswords
• These can be found right after Sanctum Guardian and near the Menaphite Soldiers before Masuta.
• It is not necessary to kill them to proceed.
• Beware of their 'Die by the blade!' attack where they spin their spear, dealing very heavy melee damage which can 2-3 hit you if not careful.
⬩ Quickly use  and eat or
  them to stop it.
⬥ Defence pylons
• They attacking using rapid moderate beams and are quite long-ranged.
• You need to kill 3 of these to access Seiryu.
• It is recommended to go into the Seiryu encounter after Masuta straight as using the bank chest near Seiryu is not practical due to getting harassed by these crystals.
⬩ You can always teleport out after opening the gate to Seiryu if needed to stop their aggro.
• Pray  and use right before engaging the first Pylon. Kill it fast to extend before killing 2 more.
• Try to end on high adrenaline and proceed to Seiryu
⬥ Other noteworthy mobs
• Elite Sakadagami: Uses highly damaging abilties which can also stun you. Use especially if facing multiple of them.
• Elite Sotapanna: Occasioanlly eals damaged mobs to full using a healing orb.
• Arhats and Anagami: Can follow you into the Sanctum Guardian fight, making it much harder. Teleport out to get rid of them if needed.
⬥ AoEs by style, generally from most to least viable
• Melee:  > >
> >  >
>  > targeted
⬩  is extremely good at places with lots of enemies.
• Ranged:  > >
> >  >
>  > basic >
⬩ is good way to clear hordes of enemies fast to avoid getting overwhelmed.
• Magic: >  >
>  >
>  >
> 
⬩ 4TAA using  or
or  is very helpful for clears.
⬩  should be used whenever possible if owned for clears, especially with
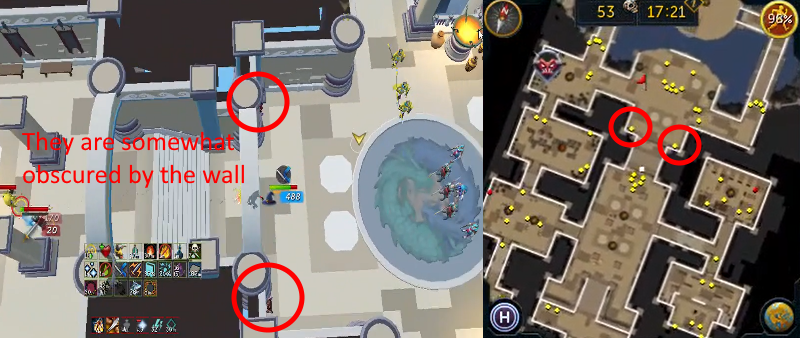
⬥ Some good places to use  are as follows:
• This helps you avoid taking unecessary damage from mobs while clearing the dungeon.