Ranged Basic DPM Advice
Introduction
Prelude: Learning PvM is a journey from tackling the basic concepts of DPM to mastering the nuances and techniques at the highest level. DPM-Advice-Basic focuses on the fundamental concepts to dealing efficient DPM to match the level of our basic boss guides. If you're deciding on a style, curious about ranged, and or would like to revisit the fundamentals this guide is for you!
This guide will go over abilities, weapons & gear, approaching a boss, and refining mistakes.

Ability Themes
Ranged abilities vary in their themes. Some are strong individually, some comboed and some provide powerful utility values. Currently, they can be interpreted into four different classes with three different damage types.
Classes:
⬥ Power: Deal high damage.
⬥ Auxiliary: Deal equal or less damage but enhance other abilities.
⬥ Utility: provide low or non-damaging utility buffs.
⬥ Subpar: as we know of lack any serious use. Generally avoid unless theorycrafted in advance.
Damage Types:
⬥ Instant: Deal damage immediately
• Examples: 


⬥ Channelled: Deal channelled damage.
• Channels lock the player into using the ability.
• Can be cancelled early, losing the later hits of the ability.
• Examples: 

⬥ DoT/bleed: Deal damage that is spread over time.
• Usually not boosted by 
• Are boosted by 


⬩ Full list here: Damage over Time - https://runescape.wiki/w/Abilities#Damage_over_Time_abilities
• Examples: 


Basic Abilities
Ranged basics are common-use abilities with 2 purposes:
⬥ Build adrenaline (+8%)
⬥ Deal Damage
Here are some examples:
⬥ Power Basics
• Examples: 
⬩ denotes (flanking)
⬥ Auxiliary Basics
• Examples:
⬥ Utility Basics
• Example: 

⬥ Subpar Basics
• Example: 


Sample Auxiliary Combos
⬥ →
Utility Examples:
⬥ →
⬥ + 
• Extends the range of escape and redirects with 

Threshold Abilities
Ranged thresholds are usually stronger than basics, but cost adrenaline to use. These abilities have 2 purposes:
⬥ Sacrifice adrenaline (-15%)
⬥ Deal higher damage
⬥ Power Thresholds:
• Examples: 

⬩ does snare however is more renowned for its damage.
⬥ Utility Thresholds:
• Examples: 
⬥ Subpar Thresholds:
• Examples: 
Auxiliary/Utility Examples:
⬥ : Stuns target for 3.6s.
Ultimate Abilities
Ranged Ultimates deal maximum damage and or elevate other abilities. They typically have 1-3 purposes:
⬥ Sacrifice 100% adrenaline
⬥ Deal devastating damage
⬥ Provide a longstanding buff
⬥ Power Ultimates:
• Examples: 
⬥ Auxiliary Ultimates:
• Examples:
⬥ Utility Ultimates:
• Examples: 
⬥ Subpar Ultimates:
• Examples: 
Death's Swiftness:
⬥ is Ranged's strongest ultimate ability and is the core of Ranged dps.
⬥ Typically, ranged will cast and then execute a series of abilities to maximise damage output during the uptime of .
• This is called a Death's Swiftness Rotation.
• The Death's Swiftness Rotation will be covered after introducing weapons.

Weapons & Gear:
⬥ In this section, we'll introduce the weapon used for the rest of the guide.
⬥ Ranged weapon(s) have several key descriptors which describe their capabilities.
If you are familiar with this feel free to skip ahead.
Sample Weapon Breakdown:
⬥ Upgraded bone blowpipe: 
• Accuracy: This is assigned from the Main Hand's accuracy value.
⬩ has a t90 accuracy value of 2458.
• ^^ Ability Damage^^: Ability attack damage from the respective weapon.
⬩ This is damage dealt with Abilities.
⬩ has tier 85 ability damage: ~1224.
• Tier: Requirement to wield.
⬩ requires level 87 ranged to wield.
• Passive(s):
⬩ has a passive that causes poison hit splats to appear twice as often, but do half the damage. In theory and practice, this doesn't do anything - however, because it doesn't cause double procs from  it actually becomes a decrease in damage once you unlock those.
Armour & Other Gear
⬥ T90 Sirenic Power Armour 


⬥ Tier 70 Armadyl Gloves 
⬥ Tier 80 
⬥ Any necklace/cape slot is okay.
⬥ Wear a Ring of Vigour  if you don't have the passive unlocked.
Auras:
⬥ +15% ranged, -10% def, +10% damage outside
⬥ +5% dmg
⬥  Deal magic damage over time
⬥  +10% accuracy
⬥  +5% healing (capped)
Planning a Fight:
We'll use this sample 12-ability action bar.
 In this section we'll cover three fundamental steps to tackling bosses for the first time.
Step 1: Identify Key Abilities:
All of these abilities are enhanced by except for DoTs and
Death's Swiftness Enhanced Abilities
⬥ Power Basics 1-3:
⬥ Subpar Basics 4-5:
⬥ Power Thresholds 6-8:
⬥ Subpar Thresholds 9-10: 
Step 2: Analyzing the boss:
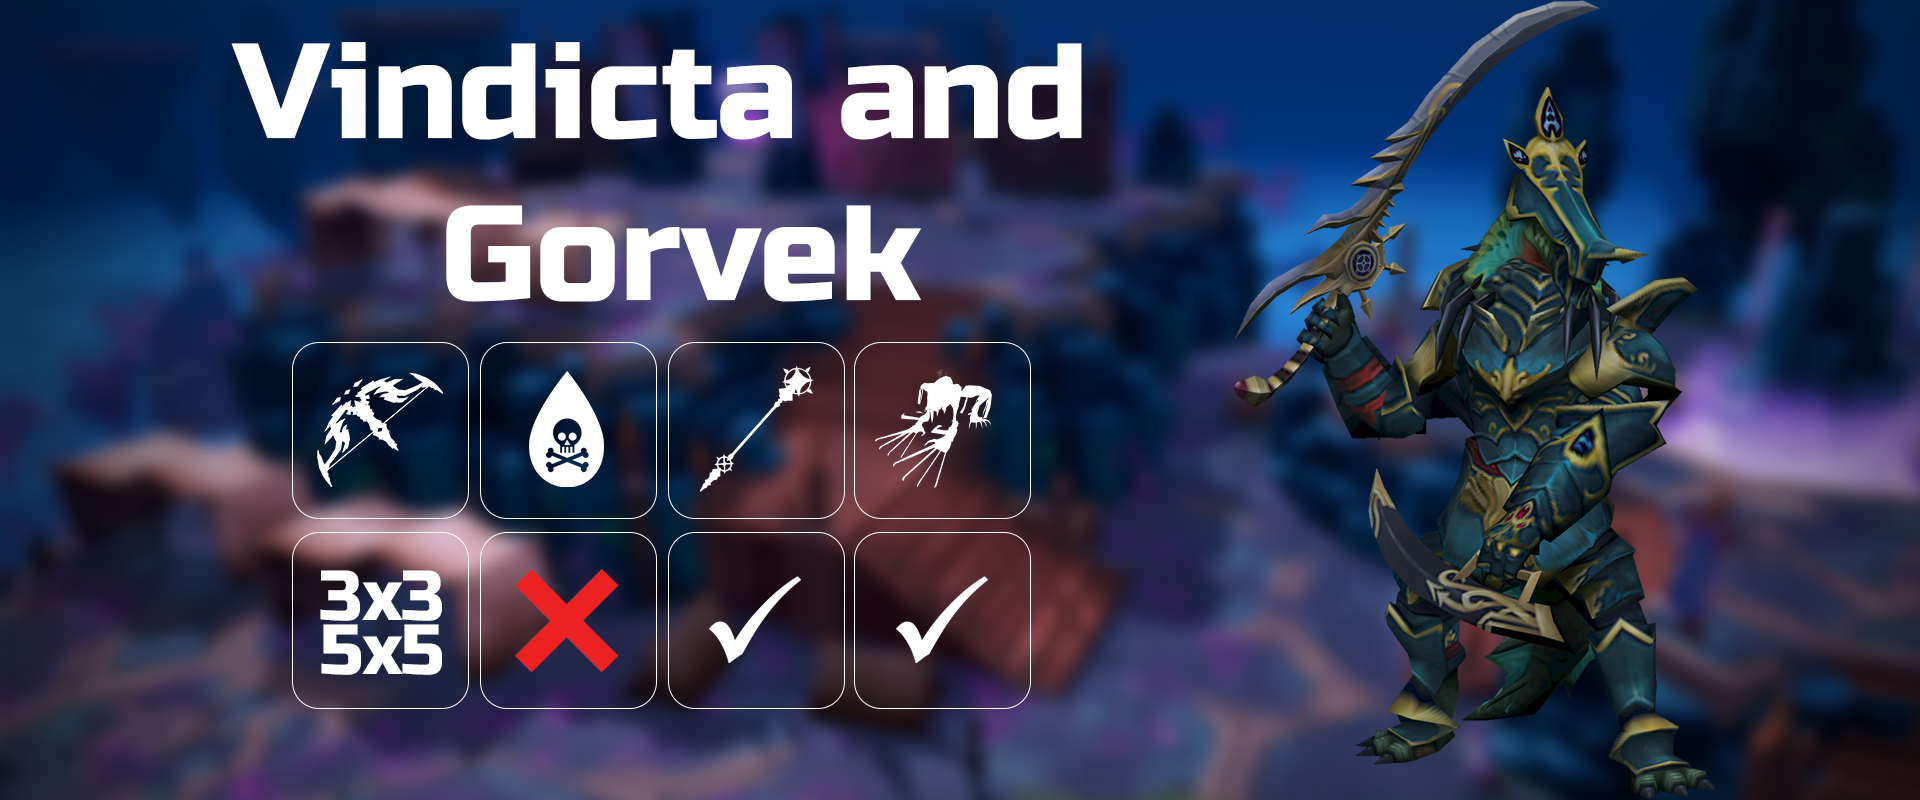
⬥ We'll use Vindicta and Gorvek  as our sample boss. Vindicta and Gorvek has 2 phases, each with 100k health.
⬥ Higher DPM is one part familiarizing with boss threats and another part executing a strong rotation.
Analysing Vindicta
⬥ Phase 1:
• Does a spinning melee special attack ... "I should protect/deflect melee."
• Does a fire breathing magic special attack ... "I should move away from it."
⬥ Phase 2:
• attacks 3 times. Melee, ranged, melee... "The ranged one hits hard, I should use a defensive or pray ranged.**"
• does her fire breathing magic special attack... "I should move away from it."
Rough Plan:
⬥ rotation the first 100k health.
⬥ and strong Power thresholds for the last 100k health.
• From now on we'll focus on the rotation.
• The rest is left as an exercise to the reader.
Step 3: Create & Test the plan:
Now let's try making a rotation. Here's our general approach:
⬥ Use Power Abilities as much as possible and fill with Subpar Abilities when necessary.
⬥ Utilize thresholds but also manage adrenaline.
Brainstorm
⬥ We're 100 adren, so let's + 
• → ...
⬥ We need adrenaline so we use some Power Basics:
• → → → ...
⬥ We now have enough adrenaline to cast a Threshold Ability:
• → → → → ...
⬥ We want more adrenaline so let's use another Power Basics: .
• → → → → → ...
⬥ Again, we have enough adrenaline for a Threshold Ability:
• → → → → → → ...
⬥ Now we want to build more adrenaline with Basic Abilities:
• → → → → → → → ...
⬥ We have enough adrenaline to cast another threshold, We have one Power Thresholds left:
• → → → → → → → → ...
⬥ Again, we build adrenaline with basics
• → → → → → → → → → → ...
⬥ We have enough adrenaline to cast another threshold, since our Power Thresholds are on cooldown we will use a Subpar Threshold:
• → → → → → → → → → → → ...
⬥ Follow it up with more basics to generate adrenaline
• → → → → → → → → → → → → ...
⬥ Now that we have enough adren for a Threshold again we can use
• → → → → → → → → → → → → → → ...
⬥ We have room for one more basic ability to inside our
• → → → → → → → → → → → → → →
Rough Rotation:
⬥ → → → → → → → → → → → → → →

Vod Reviewing
Refining is considerably the most important practice of improving DPM. It exercises many healthy thought processes to rationalize where a boss encounter did not go as planned. Viewing a recording or VoD of your encounter is critical to identifying mistakes.
Below, is a video sample of the rough rotation alongside a list of mistakes. Try identifying the mistakes inside the video as an exercise.
Identifying Mistakes:
The vod
The mistakes
⬥ Firstly, we use a Subpar Threshold: - as we will see later we can change the rotation to have another Power Threshold.
⬥ Secondly, we use before - if we swap them we can use both twice
⬥ Thirdly, we can save ticks from abilities by using something called cancelling.
• What exactly cancelling is, and how it works is described in the next section.
⬥ Lastly, we are wearing the wrong armour in the vod
Refining mistakes
⬥ Let's use as our first threshold, then immediately follow with
⬥ We shall omit because it's bad
⬥ We will fit in a second
→ → → (8-hit) → → → → → → → → → (7-hit) →
⬥ Another way to improve our rotation is to unlock  which will do slightly more damage than
⬥ Also, don't forget to wear ranged armour!
A vod of what our rotation looks like after the fixes have been implemented
Results:
Average Ability Damage, (AAD) = Average ability % of rotation
⬥ Rough vs Final AAD: 2448% vs 2628%
• ~7% DPS increase
⬥ Final rotation deals ~7% more damage
• (2628/2448) - 1 ~ 0.074,
⬥ Total AAD difference between Final and Rough:
• 2628% - 2448% = 180%
⬥ Notice that we have 2 different length - this is called channel cancelling, how this works will be discussed at the end of this channel.
Cancelling Channels
Why Channelled Abilities are Important
⬥ Cancelling channelled abilities saves time.
• Animations are sometimes unsynced with the hit splats.
• It can be higher damage-per-tick and/or more adrenaline friendly to cancel early.
⬥ See the following video on how to cancel all ranged channels:
• A full breakdown of how to cancel every ability can be found by using the command !cancelling in #bot-commands.