Skip to content

ED2 Basic Guide

Basic Guide: Dragonkin Laboratory

ED2 is considered the most beginner friendly Elite Dungeon. The requirements to feasibly solo it both in terms of gear and skill are generally considered low. However, it still has considerable amount of challenging components which can result in fast KOs if the player is not careful.

⬥ Mechanics with high KO potential include but are not limited to:

‎ ‎ ‎ ‎• Astellarn's neutron star

‎ ‎ ‎ ‎• Astellarn's black hole combined with celestial rain

‎ ‎ ‎ ‎• Verak Lith's fire tornados

‎ ‎ ‎ ‎• Verak Lith's egg bomb

‎ ‎ ‎ ‎• Black Stone Dragon's purple smoke/fire

‎ ‎ ‎ ‎• Black Stone Dragon's ability to attack semi-randomly using all 3 styles

‎ ‎ ‎ ‎• Black hands' heavy magic autos and small shadow hands

⬥ Use zerker aura reckless mani variants for the dungeon. Otherwise, vamp is fine for learning.

Magic and range are used for this guide as melee is by far the least beginner friendly style to use in ED2.

Preset and Relics

Preset Suggestion & Breakdown
MagicRanged

Additional items to bring if possible, or acquire if you can afford to.
Magic
⬥ Greater Chain gchain w/ Caroming 4 switch caroming4eofpurple w/ Guthix Staff gstaff
Ranged
⬥ Greater Ricochet grico w/ Caroming 4 caroming4eofgreen w/ Dark Bow dbow ⬥ Seren Godbow sgb

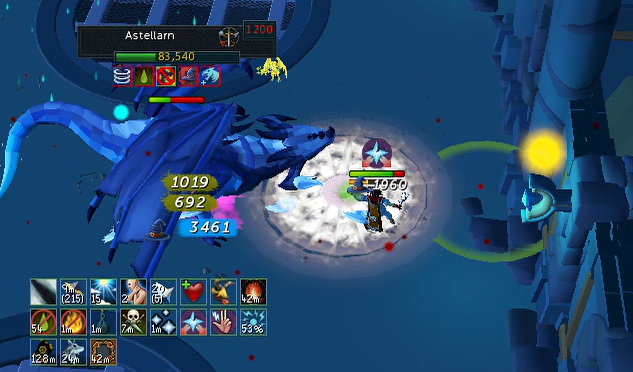
Astellarn, the First Celestial (Info)

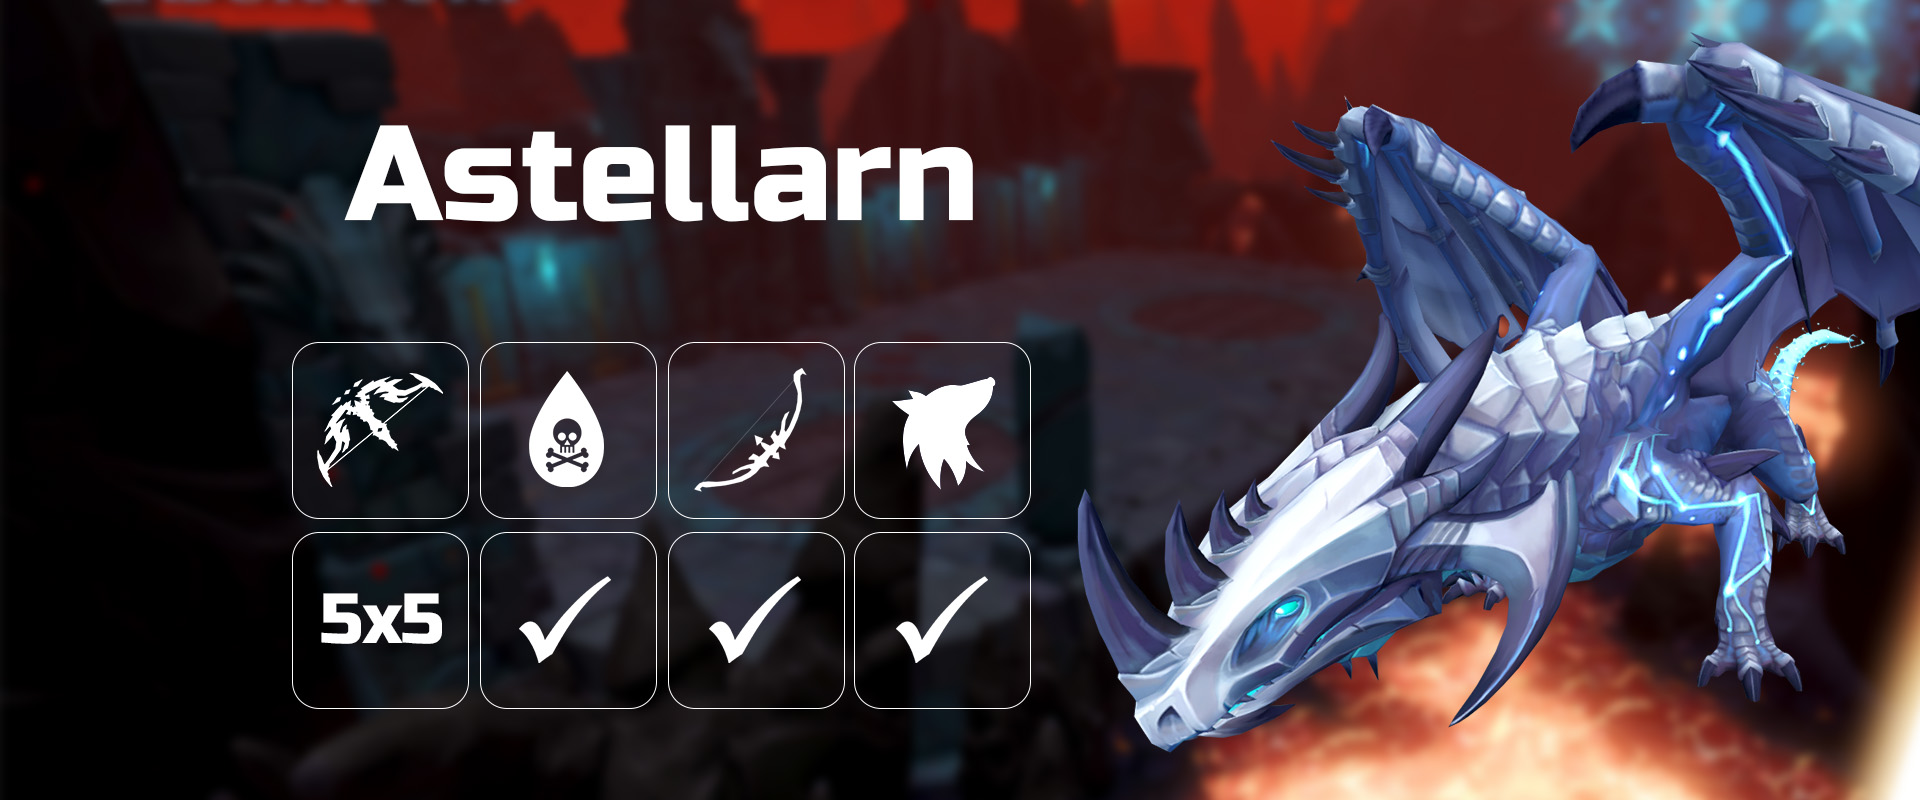
The first boss you encounter. The boss has many mechanics that deal typeless damage so be prepared to eat. It uses hard hitting but slow auto attacks in all 3 styles, but primarily uses a Magic breath attack which is very easy to flick.

Mechanics
Attack Rotation
⬥ Astellarn's starting attack pattern is:     • 2-3 autos → Pulsar → ~2 autos → Black hole → 1-2 autos → Neutron Star → Repeat ​
Celestial rain
⬥ When Astellarn falls below 200k HP, she starts taking drastically decreased damage and spawns celestial rain which affects a quardrant of the arena at any point of time, dealing rapid typeless damage which ramps up. Example     • Avoid standing in it always. ​
Pulsar
⬥ Astellarn summons a pulsar with 20000 HP near you, dealing periodic typeless damage. Kill this as soon as possible once it spawns. Example     • Using basics together with a powerful threshold such as rapid or asphyx to deal with it. ​
Wyrmhole
⬥ Astellarn places a blue bar above your head. When it expires a black wyrmhole is dropped at the player location which deals rapid typeless damage. Example     • Focus on placing it along these lines to prevent it from being blocked out by the later rain mechanic. Example
Neutron Star
⬥ This will follow the player around and must be lured into the Wyrmhole, stabilizing it, turning white, and giving increased damage to Astellarn. Example     • Do not let it touch you to avoid taking 4000+ damage.         ⬩ Immediately teleport out and restart the fight if the star explodes like that.     • The timing of this mechanic is not fixed so be extra careful of it and react accordingly. ​

Astellarn, the First Celestial (Fight tips)

⬥ Do not use your damage boosting ultimates deathsswiftpf sunshinepf, but instead igneous abilities deadshotigneous tsunamiincite and powerful thresholds for the first 50k HP.

‎ ‎ ‎ ‎• Use deathsswiftpf sunshinepf after dropping the wyrmhole as you will deal most of your damage after luring the neutron star.

⬥ Stand out of her melee range so you only have to flick Magic autos.

⬥ It is recommended to drop the wyrmhole between Astellarn and the west wall:

⬥ Keep hitting Astellarn before the Neutron Star spawns to build adren and as poison damage is unaffected by her damage reduction.

⬥ You can res or divert after using deathsswiftpf sunshinepf while waiting for the Neutron Star to spawn.

⬥ If you fail to lure the Neutron Star into the Wyrmhole, teleport out and restart the fight.

Verak Lith (Info)

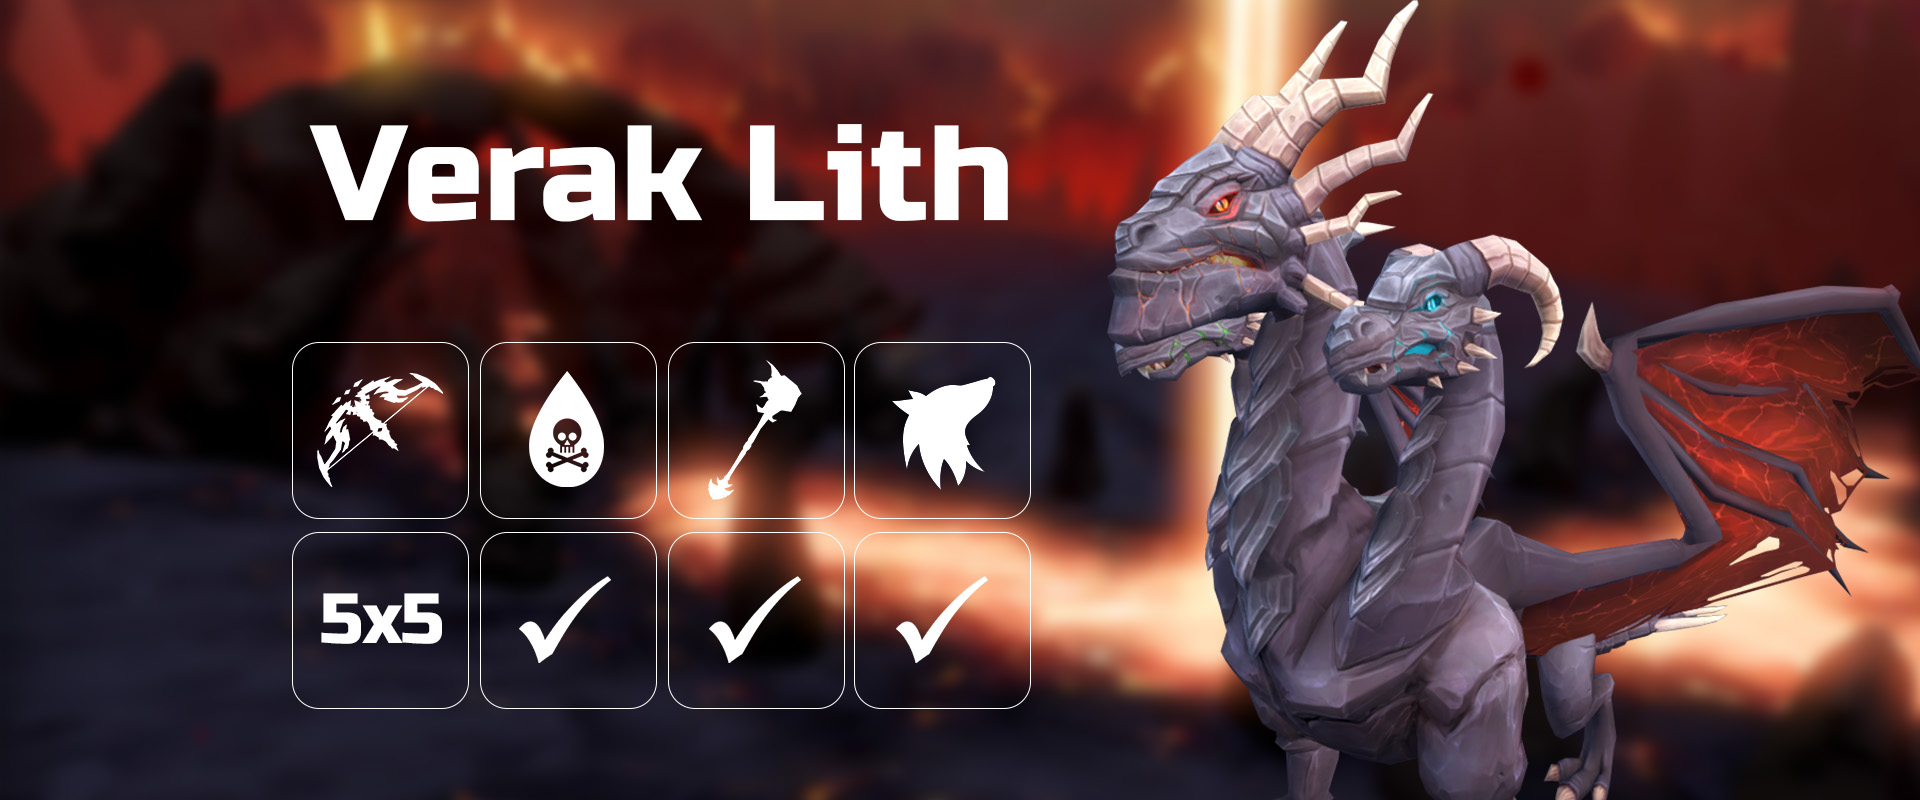
Verak Lith is the second boss of the dungeon, he has sizeable HP and mechanics that can shred your HP if handled improperly. He uses heavy Magic and melee autos.

Mechanics
Attack Rotation
⬥ Verak does the following attack rotation:     • 4 Auto attacks → Spire → 4 Auto attacks → Ricochet → 4 Auto attacks → Spire → 4 Auto Attacks → Nosedive/Hurricanes → Repeat ​
Spire
⬥ Verak Lith summons a spire with 15000 HP shortly after a warning message, dealing about 2000 melee damage to the player. Example
Ricochet
⬥ Verak sends out a projectile that lands near the player after a few seconds. The element of this projectile can be poison, ice, or shock. Example     • The correct way to deal with this mechanic is to pick up the projectile and interact with a different type of egg to disperse it before the bar fills up.     • Missing the projectile will deal 4000 damage and missing the dispersal can deal 9000+ damage.     • Players may want to miss the projectile and either debil or disrupt it. ​
Nosedive
⬥ A message will appear on the screen mentioning that a dragon is nosediving. An arrow will show up near the player to indicate the direction of approach. Shortly after, a thin line of dragonbreath will be fired along the line. Example     • This can deal over 8000 magic damage and can be avoided by simply moving out of the way. However, the arrow will adjust it's position based on the player's movement for a while so it is recommended to learn the timing on this mechanic and move as it goes off.     • This can also be dealt with by using DeflectMage and tanking it. ​
Hurricanes
⬥ Verak says 'Let the flames melt the flesh from your bones' and engulfs the area around the player in fire. This will deal no damage but after a short delay, hurricanes will spawn in the area that deal extremely high Magic damage, lasting for about 20 seconds. Example     • surge or run away from the area accordingly. ​

Verak Lith (Fight tips)

⬥ Soulsplit soulsplit flicking is extremely recommended in this fight as it is quite long with Verak hitting you for moderately high damage consistently throughout.

⬥ It is recommended to res the hit from spires.

⬥ You may place dommine throughout the fight as they might explode on spires for 3000 damage each, allowing you to clear them extremely fast.

⬥ Rotation outline:

‎ ‎ ‎ ‎• Use sunshinepf and deathsswiftpf whenever possible.

‎ ‎ ‎ ‎• A threshold should be used to deal with each spire.

‎ ‎ ‎ ‎• In a sunshinepf, follow ability progression tsunamiincitewmasphyxomnipowerigneousdetowmasphyx

‎ ‎ ‎ ‎• In a deathsswiftpf, follow ability progression snaprapidshadowtendsnaprapiddeadshotigneous

Black Stone Dragon (Info)

Black Stone Dragon is the final boss of ED2 and attacks using primarily slow Magic auto attacks, she can also use a fast melee bite or a spinning range attack.

Mechanics
650k-520k
⬥ BSD does the following attack rotation:     • 3 Auto Attacks → Gemstone Spikes → 2 Auto Attacks → Dragonbreath → Repeat ​
Gemstone Spikes
⬥ BSD fires a line of spikes, causing the screen to shake. A 3x3 zone of spikes erupts around the player's initial position after a short delay, dealing 5000+ melee damage, draining all adrenaline and applying a debuff that reduces all adrenaline gain by 50% for a short duration if it hits. Example     • Move out of the way by at least 2 tiles. ​
Dragonbreath
⬥ The skybox will turn dark blue and BSD fires a breath attack that deals moderate Magic damage.     • You can pray DeflectMage to take less damage. ​
Black Hands
⬥ When BSD falls below 520k HP, the black hands phase begins as she becomes invulnerable and BSD moves to the center of the arena, spawning 4 black hands with 80,000 hp where the rocks are located. Example     • Clear them to continue the fight.         ⬩ dommine help greatly as they explode for 10,000 damage each.     • The hands attack by slamming down and sending out black smokes which hits for up to 4000+ magic damage upon impact. This is followed by a trail of small black hands which moves towards the player, dealing rapid 2000+ damage if stood on. Example         ⬩ The small hands will never reach the player if they on any of these 4 spots. Example
520k-260k
⬥ BSD does the following attack rotation:     • 1-5 Auto Attacks → Smoke Spiral → 3 Auto Attacks → Mage AoE → 2 Auto Attacks → Dragonbreath → Gemstone Spikes → 3 Auto Attacks → Mage AoE → Repeat ​
Smoke Spiral
⬥ BSD remains stationary, summoning a line of purple smoke spirals inwards towards BSD, dealing up to 4000+ damage per tick if stood on. Example     • Be aware when the smoke approaches your position and move out of the way if needed. ​
Mage AoE
⬥ Black Stone Dragon will call out 'GET. OUT. OF. ME.' or 'The shadow overwhelms!' and turn to fire a black projectile towards a random spot. Example     • The bomb explodes into black tendrils that deal heavy Magic damage in the area for a short period.     • Move away to avoid it if needed. ​
Fly
⬥ After BSD dips below 260k HP, she becomes invulnerable and starts jumping, landing randomly and spawning smoke lines towards the player everytime she does, in addition to other zones of smoke.     • This occurs 7 times before BSD says 'Show me the light' and becomes vulnerable again.     • Move around as needed and use some abilities to build adrenaline on BSD and to avoid losing combat. ​
260k-0
⬥ BSD lands and immediately does a smoke spiral, following with the same post-smoke spiral attack rotation as 520k-260k. ​

Blackstone dragon (Fight tips)

⬥ Because her Magic autos are slow while her melee autos are fast, sometimes the hits can land at the same time and stack you out, you may use res or debil if you see this coming.

⬥ Rotation Outline:

‎ ‎ ‎ ‎• sunshinepf deathsswiftpf at the start of the fight, and then whenver it comes back up until BSD flies.

‎ ‎ ‎ ‎• sunshinepf deathsswiftpf on BSD again after flight and finish her off with powerful thresholds and abilities.

⬥ Black hands

‎ ‎ ‎ ‎• sunshinepf deathsswiftpf at the safespots during Black Hands to eliminate the need to move to avoid the small hands.

‎ ‎ ‎ ‎• The default vulnbomb option will help with applying vulnbomb to Black Hands greatly.

‎ ‎ ‎ ‎• Clear 2 Black Hands and then surge to the safespot between the other pair. sunshinepf deathsswiftpf once it comes off cooldown and finish off the other pair of hands.

‎ ‎ ‎ ‎ ‎ ‎ ‎ ‎⬩ You may want to res some hits from Black Hands.

‎ ‎ ‎ ‎• Use dommine as often as you can on hands. Pay attention to when they come off cooldown.

⬥ Flight phase

‎ ‎ ‎ ‎• If using Magic, be sure to build or sustain incitefear or/and exsanguinate stacks.

‎ ‎ ‎ ‎• Don't stay on low health during flight to avoid randomly dying to smoke.

‎ ‎ ‎ ‎• Remember to refresh smokecloud and vulnbomb after BSD completes her flight phase.

‎ ‎ ‎ ‎• Be ready to move from where you cast sunshinepf deathsswiftpf to avoid smoke.

Mobs and movement

Mob clearing in ED2 is arguably the most tricky to do properly amongst the trilogy. There are various portions of the dungeon where you can be subjected to many sources of damage. Thus, using powerful abilties to clear and moving fast from place to place will benefit you greatly.

Monster mechanics
Laboratory Slimes
⬥ Laboratory Slimes hitting you will spawn clone slimes (signified by 'Bloop'). Example     • Pray DeflectMelee to avoid getting overwhelmed in the first room.     • Clear the light-coloured slimes to open barriers, the darker-coloured clones being killed will not progress the dungeon. Example
Gemstone Dragons
⬥ All gemstone dragons standing not in melee distance can fire a gemstone spike special attack, dealing high magic damage and secondary effect depending on the type of dragon. Example     • Dragonstone dragon - Halves your antifire/super antifire duration.     • Onyx dragon - Heals the dragon for 4000 HP.     • Hydrix dragon - Instantly drains all adrenaline and applies a debuff that halves adrenaline for about 15 seconds.     • Be careful of this especially when fighting multiple dragons.     • Avoid these specs by stepping 2 tiles away from your original location before the spikes land. ​
Celestial Dragons
⬥ Sometime after hitting below 36,000 HP, Celestial Dragons will start healing rapidly for 2400 HP each tick following a message. It will then repeat this every 6 auto attacks. Example     • Stun or bind the dragon to stop the healing.         ⬩ An easy way to do this is to click a stickybomb from your inventory when the dragon starts healing.         ⬩ mechchin bindingshot or 4T icebarrage are good methods to bind several dragons at once. ​

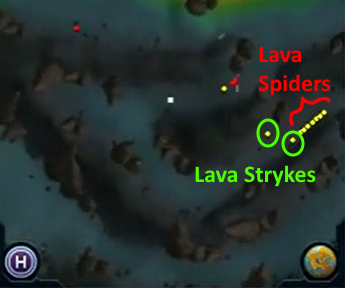
⬥ Beware of getting harassed by Lava Spiders from these areas:

‎ ‎ ‎ ‎• Use bdmobile + surgemobile while taking the path furthest away from them to avoid gaining aggression.

deathsswift sunshine usage for clears
Use them only in places with high concentrations of dragons
⬥ This includes but may not be limited to:     • 7 Red Dragons at dungeon start Example     • 3 Celestial Dragons before Astellarn Example     • 6 Black Dragons before Verak Lith Example     • 2 Lava Strykeswyrms + 3 Black Dragons before Verak Lith Example     • 1 Onyx Dragon and 3 Dragonstone Dragons before BSD Example

⬥ You may find the dragons in ED2 tricky to hit with AoE abilities, the table below sheds some light on this. For more information, refer to #mechanics (NPC Center vs. Co-ordinate section) or use !chin ‎command in #bot-commands.

AoE abilties on dragons
deto bombard incend and anything affected by mechchin
⬥ If your main dragon target has another to their immediate south, west, or southwest, abilities will hit them. Example
tsunamiincite and dbreath
⬥ Target a dragon further away and anything between you and the target will also be hit by the ability. Example

⬥ You may find yourself eating a lot of damage from Lava Spiders and Labratory Slimes.

‎ ‎ ‎ ‎• Clear any slimes that harass you or get them stuck behind this Celestial Dragon before Astellarn like so:

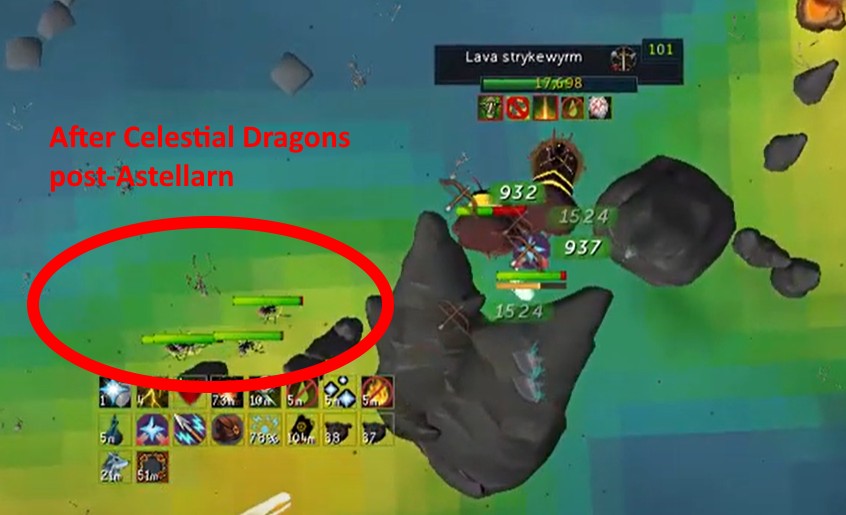
‎‎ ‎ ‎ ‎• Lava Spiders after Astellarn will naturally get stuck behind Lava Strykes when you proceed to the Verak Lith boss fight:

‎‎ ‎ ‎ ‎• You can also teleport out at any time and re-enter the dungeon to despawn any non-essential mobs that are following you around.

Example runs

Example runs
Ranged
Magic
17min40s     • 4TAA is not utilised in this example video. ​