Melee ED2
Dragonkin Laboratory (Melee Advanced)
Introduction
The second Elite Dungeon, the Dragonkin Laboratory, is a relatively straightforward encounter. The encounter is useful for anyone wanting to learn how to deal with large mobs as well as bosses and combines aspects of single target and AoE damage.
The three bosses of the Laboratory drop the Greater Flurry, Greater Fury and Greater Barge codices in the order that they appear.
Each solo run of ED2 is worth  10,788,113 in uniques.
General Notes
⬥ It's recommended to set your anti-spam delay for your  to 1 via the Lectern at Anachronia.
⬥ You can or  a tick before each gate unlocks to save a tick on every entry.
⬥  Luck of the Dwarves will not improve the number of energies dropped, nor the drop rate for any codex.
⬥ The Corbicula Rex  perk (112 Farming) in ROoT is extremely helpful in this dungeon, as Meteor Strike
  is frequently used here.
⬥ All bleeds 


 are cast with
  unless specified otherwise.
⬥ Any statement with the prefix "IDEA:" indicates a strategy that could theoretically be viable but has not been tested.
• Please update the guide or post in #suggestions if you can confirm or reject their viability via testing.
⬥ For rotations without more expensive melee upgrades such as  , and
, and  check the 1 hour 4 kill vod below.
Preset and Relics
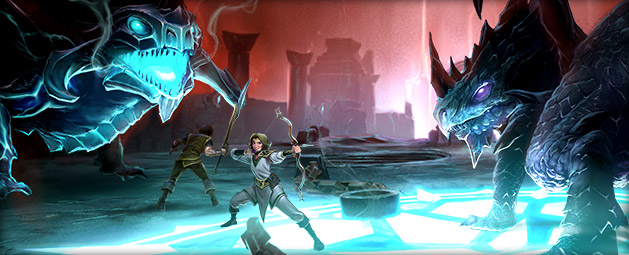
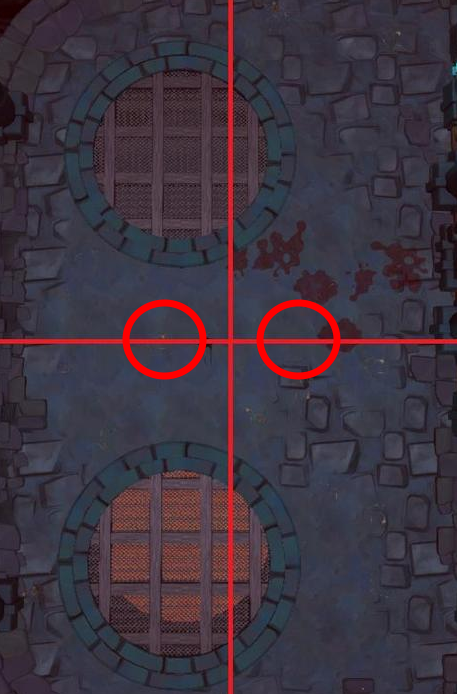
Astellarn, the First Celestial

The first encounter of the Laboratory, this fight heavily utilizes punishing area-of-effect mechanics which are especially punishing to meleers. Make sure to drop the wyrmhole in either of these spots:
Example Rotation
⬥ Start:  → bleed
 →
→  →
→  → pre-phase with
 to deal with the first 50k HP
⬥ Puslar spawn: s walk in release +
• This might seem like overkill for pulsar but you really want to kill this fast especially if it spawns in rain.
⬥ Build back to 100% on Astellarn →  +
+  +
+  → get 100% → off and wait for star to spawn
• Use basics prioritising to build stacks.
⬥  around 1 GCD before neutron star touches wyrmhole +
  → →
→ →  + bleed → → 4-hit
  → basics to finish off
•  in while using
  is a good way to block damage and regain HP.
⬥ to doorway and to next celestials quickly with still up.
Verak Lith

The second encounter of the Laboratory. Verak Lith's attack rotation is very predictable but deals consistent moderately high damage. Prayer flicking is thus heavily recommended.
He always melees the player when in melee distance and always uses mage otherwise. Remember to flick  if you need to walk out of MD to deal with spires.
Example Rotation
⬥ Start of fight: + → → → 4T + + → bleed →  → → 4-hit →
⬥ 1st Spire -  → 5taa + → if needed
⬥ on Verak to finish →  → → →
→ → →  → → → walked →
  → → → 2-hit → → → 1-2 basics to get 100% → step away equip +
  →
→
• should be used before to block egg bomb damage, after Verak does 1 auto following the bomb summon.
• is used to refresh stacks while you off for
⬥ IDEA: first and  on 2nd spire before instead of → as duration often exceeds end of kill.
⬩ This would allow you to end the kill on more adren which should make the next part of the dungeon faster.
⬥ 2nd Spire - TC onto spire + → → another basic if needed.
⬥ Target Verak + bleed → + → → →  + if needed
Black Stone Dragon
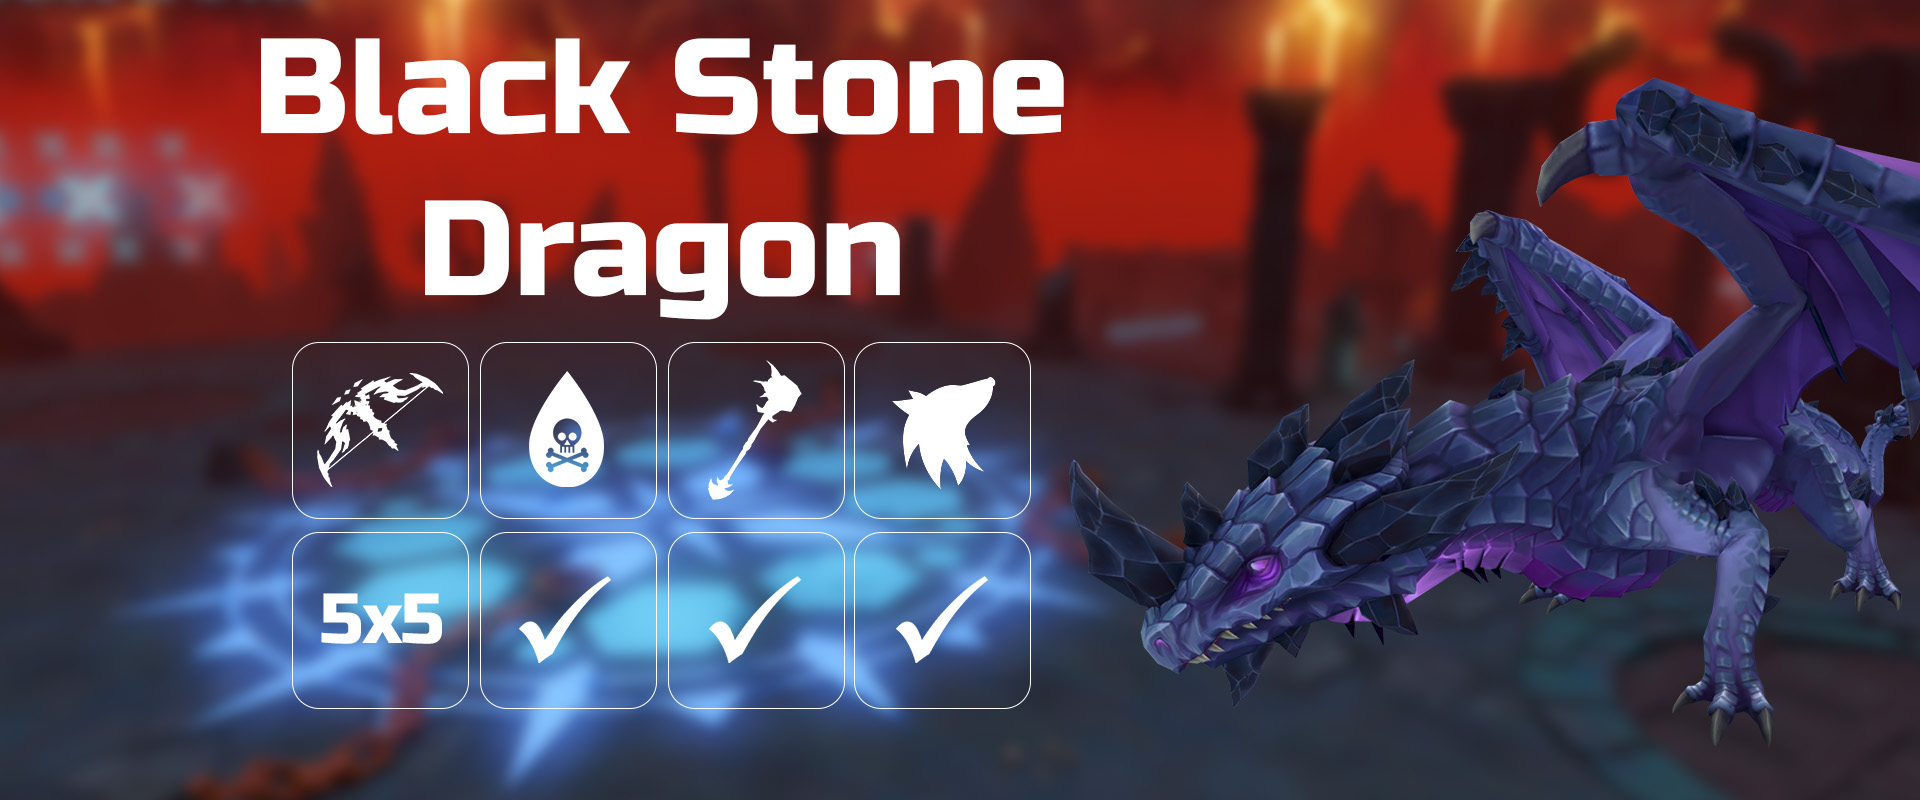
The final boss of the Dragonkin Laboratory. The BSD fight is quite straightforward with melee, with the only threats being P1 when you're under , along with the Black Hands phase, where you have to properly step out to dodge the small hands that follow the hands' autos. BSD also uses auto attacks in all three combat styles, with  autos hitting especially hard, so it is possible to die just from auto attack damage stacked on the same tick. Players might find it helpful to use in the first rotation, and then using
  once it pops while camping
Example Rotation
Using the auto-targetted option for (default option) will make vulning hands much easier.
Phase 1
+ → mid gcd  → TC + + → → 4T + + → bleed → → + walk to dodge spikes → other 188s to phase if needed
Phase 2: Black Hands
• Hand 1
→ 2H auto + → → last tick of → → → basics if needed to finish off
• Hand 2
mid gcd → + → → → →
• Hand 3
mid gcd → → +  + 2H auto → 188s → → → → finish off with basics
⬥ IDEA: → → so you can bleed instead of channelling it.
• Might be problematic depending on consistency of Black Hands' auto timing.
⬥ IDEA:  on hand 3 or hand 4 to replace one 188 when they turn around.
• Unsure if black hands are consistent with when they can be 
• Hand 4
mid gcd → + +  → → → basics until dead
⬥ IDEA: before go off to get 6k more damage on mines and more damage on the rotation afterwards.
• Might have adren issues because no
⬥ Equip if you notice you're going over 100% while finishing up the hand.
⬥ If fast enough on last hand you should get the 20% adrenaline refund on from vestments for 60% adren left after (shown in example kill below).
Post-hands BSD
→ → → → bleed ( if needed) → 188s → → → → → 4-hit → → → → → 4T + before BSD flies off
⬥ Walk to avoid fire as needed
Phase 3: Flight
Unequip 

 , put on
  and equip your bow with Caroming 4

• Jump 1
Start building to 100% by shooting BSD.
• Landing 1 + Jump 2
Continue building if needed and  by the start of the jump/start of jump 3.
• Landing 2 + Jump 3
Build to 90% or more ASAP and 
• Landing 3 + Jump 4
Build to 100% again.
• Landing 4 + Jump 5
You can  in here and re-apply 4T + if you haven't at the start of flight. This can also be done on the next jump, but you will need to build adrenaline back faster.
⬥ IDEA:  sometime around here to have
  for last phase.
• Probably won't save much time even if done properly.
• Landing 5 + Jump 6
Build to 100%, take this time to put back melee armour and 
• Landing 6 + Jump 7
after BSD lands →  →
→
• Landing 7
+ after she lands and in on or right before "Show Me the Light!"
⬥ Last Phase
+ → → while walking behind BSD → → + bleed → → → → → → finish with  + basics if needed
Mobs
Most of the time, your aim is to stand in the middle of everything as most of melee's AoE can hit around your character, with the exception of and which requires some planning in terms of positioning.
⬥ Celestial dragons should be prevented from healing by using mainly  and occasionally .
• usage is not always included in the mob clears below, react accordingly to Celestial Dragon HP.
⬥ Use  for the following mobs:
• Celestial Dragons
• Black Dragons
• Dragonstone Dragons
• Hydrix Dragons
⬥ For mob clears, if halberd range does not benefit you. Otherwise you generally use 
⬥ Melee tends to take a lot of damage from mobs as many things attack with  which you have bad defence against. For parts labelled Dangerous, pray against the style you might take a lot of damage from and food in mouth if needed.
⬥ Your main mob clear consists of 5 rotations performed purely for mobs. Not using for mob clears will significantly affect your dungeon speed. They are used in these locations.
• 3 + 4 red dragons at start of dungeon.
• 3 celestials before Astellarn
• 4 black dragons before Verak.
• 4 lava strykes.
• 2 dragonstone + 1 hydrix dragon before BSD.
⬩ Read below for more information.
Pre-Astellarn
4 Laboratory Slimes (Dangerous)
+ off the starting platform. Use basics and as soon as 4 slimes comes in to MD. highest HP slimes and  and proceed.
3 Red Dragons
+ to the staircase to avoid aggroing Spiders. Use + → . Walk up and → auto + → → basics to finish off 2 red dragons atop stairs.
4 Red Dragons
to south dragon and do basic → → as your main AoEs. should be used here for AoE and CD. Try to AoE at least 2 dragons when these abilities. Do basics to finish off dragons on low HP and to finish off a dragon you did not manage to AoE.
4 Lava Golems
to middle of lava golems and build while using Target Cycle and basics → → → → targeted  or to finish off
⬥ It is important to determine which 4 golems you want to kill because you need to angle yourself to hit them with and
2 Laboratory Slimes 1 Celestial Dragon (Dangerous)
+ towards Celestial Dragon build with basics until there are 2 slimes within scythe range (not clones). Use → + → . Use  spec here.
3 Celestial Dragons (Dangerous)
TC + to get 100% if not → + TC anti entrance celestial → → target far Celestial + → bleed + → target middle celestial → + → target entrance celestial and + → to finish off celestials.
1 Celestial Dragon
+ → Use basics and (in ) → finish off with strong abilities.
1 Celestial Dragon
diagonally and stall walk in release + → walked and build to 100%.
Post-Astellarn to pre-Verak Lith
2 Celestial Dragons
(With still active) + → → + → turn to other dragon → basic + → the dragon mines didn't explode on and basics to finish off
2 Lava Strykewyrms
down stairs and  + to wyrms. north wyrm → bleed on other → north wyrm → → → targeted to finish off
4 Black Dragons
 to next batch of dragons, flush yourself against the barrier. Build on nearest dragon and . Use AoEs on the dragons in pairs. on a dragon not caught in AoE.
6 Black Dragons
Here you want to take down the dragons down in pairs.
+ to first dragon and do something like → → → basics (more abils if not in ).
→ walked → basics on dragon 3 and and dragon 4. and build on past pair of dragons. You can probably the dragon with higher HP and use basics until 100%.
4 Lava Strykewyrms
+ → + → TC+ wyrm furthest from gate → → target other wyrm → bleed . Finish off first wyrm and to other pair . → , with basics to finish off and to black dragons.
4 Black Dragons
If not in and 3 dragons near gate are clustered, in the middle and use something like → → then finish them off (skip if is up to get in more AoEs in ). Use bleeds and to finish off remaining dragon(s). For the isolated dragon near gate, go with or with basics to get back to 100%. + and bank if needed. to engage Verak.
Post-Verak Lith to pre-Black Stone Dragons
3 Dragonstone dragons 1 Onyx dragon (Dangerous)
+ → to the 4 dragons. Use + → basics on nearest dragonstone dragon and build → Try to in the middle of at least 3 dragons → → → → → → → improvise. to finish any dragon on about 25k HP.
2 Dragonstone dragons
to stairs and + up. closer dragonstone → + → target other dragon + → → and finish off
1 Hydrix dragon
→ + and a hydrix dragon. Bleed and (or if high adren).
⬥ Be aware of the other hydrix dragon that is not within melee distance and avoid getting spec’d.
2 Dragonstone dragons
→ diagonal → up stairs → closer dragonstone → + → → between both → → / → finish off at 100%, quickly bank if needed and enter BSD.
Example Runs
All examples are done off-task.
https://youtu.be/gn1O22EGsVI 11:58 run (BIS melee)
https://youtu.be/zb32C2q_i_o 4 kill hour (no ,  ,
,  ) [Pre-Zamorak]