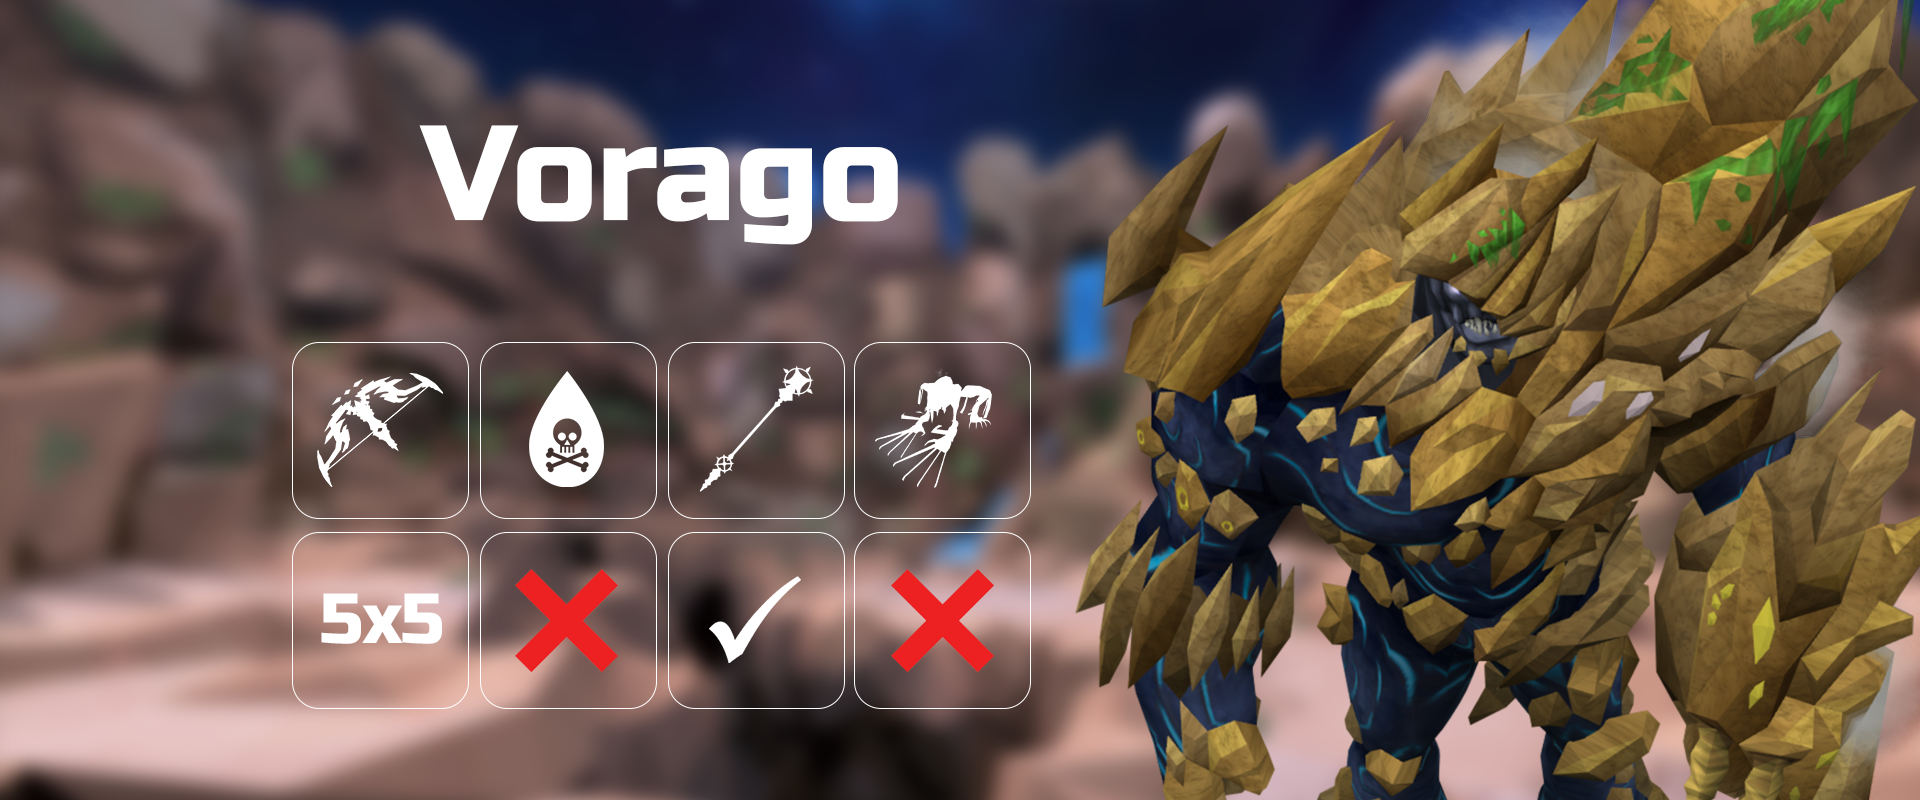
The End
Vorago Duo Basic Guide - The End (Purple Bomb/PB)
Introduction
This basic guide is designed to streamline players who are starting Vorago duos, and contains some information for Trio, such as the TL5 responsibilities. The strategies in this guide are safe and easy relative to Vorago. With good execution, players following this guide can reach up to 5 kills per hour.
Each weekly rotation can be found as its own thread in the channel. The channel itself contains information related to the current weekly rotation.
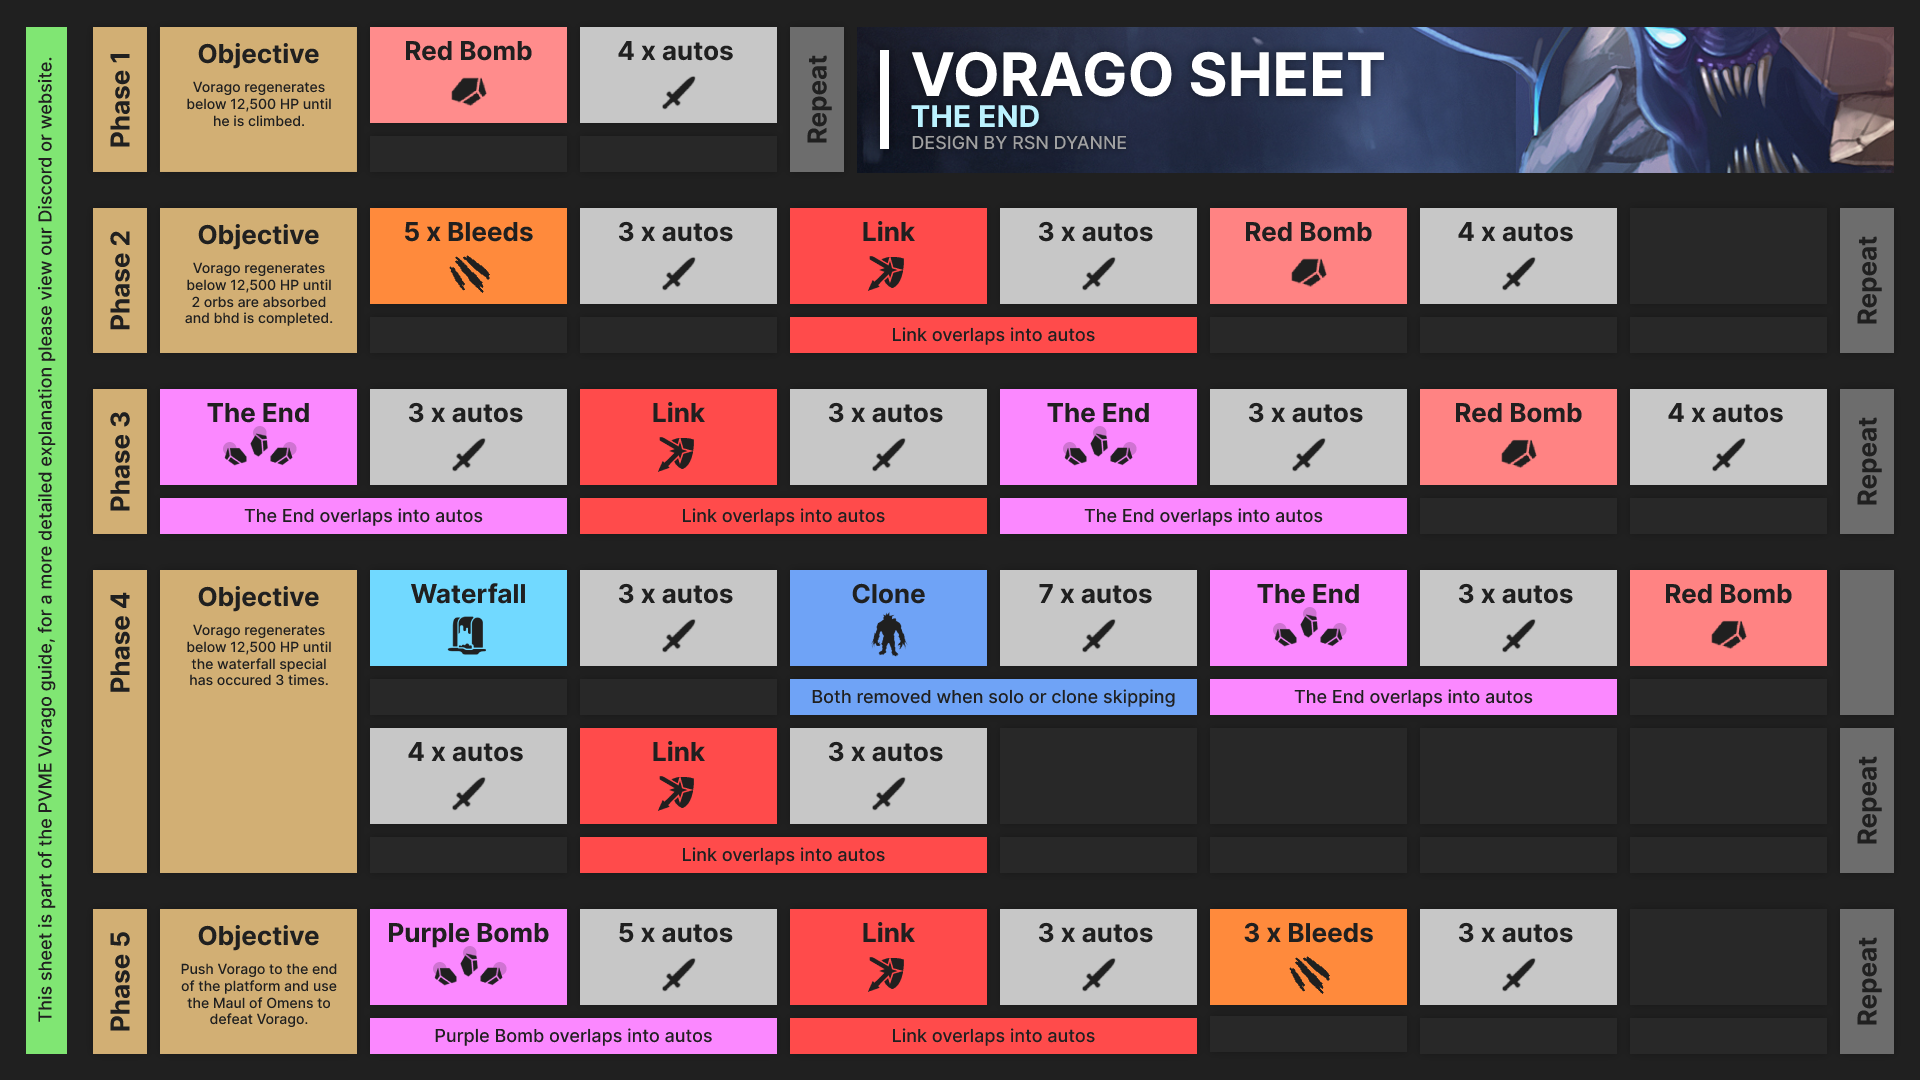
Cheat Sheet
Preset and Relics
Additional Preset Information
⬥ Melee is significantly more challenging than Ranged or Mage, and is thus omitted.
⬥ No one particular relic combination shines at Vorago over the others. Use one of the suggested relic setups shown in the command !relic
Misc Important Vorago Facts
⬥ BT refers to Bomb Tank, not Base Tank. Stands furthest away from Vorago to take blue bombs.
⬥ Base refers to Base tank, stands in melee distance of Vorago and holds aggression during most of the fight.
⬥ TL5 refers to the Top Lure 5. This is a trio+ role. They perform the climb in Phase 1, and take the 5th bleed when applicable during Phase 2 and Phase 4.
⬥ Commonly used abilities/spells unique to Vorago:  ,
,  ,
,  ,
,  /
/  ,
,  ,
,  ,
, 
⬥ Avoid using with less than 10s of
⬥ Try to heal your partner if under the effects of +
Face/Phase 0
⬥ Vorago deals 70% of your maximum life points upon entry into Phase 1.
• Defender passive abilities can activate on this, so equipping a defender (e.g.  or
or  ) can be nice
⬥ Challenge takes 12s. A bar charges above Vorago's head to indicate when the fight will start.
Phase 1
For Both Players
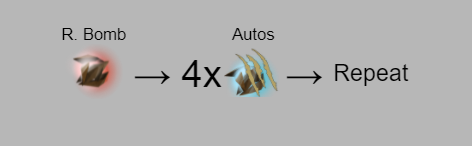
⬥ Vorago's attack rotation
⬥ Three types of auto attack at random: Melee swipe, magic Blue Bomb, or both at the same time
• Blue Bombs are thrown at the furthest player from Vorago, deal AoE magic damage in a 7x7 area, and always hit
• Melee swipes deal AoE melee damage around Vorago and around the Base Tank. They can splash.
• Vorago does not melee swipe if the player with aggro is not in melee distance.
⬥ Red Bomb deals 2k damage, comes with a non-homing Blue Bomb, clears defensives and puts them on cooldown
• Thrown at the furthest player similar to Blue Bombs
• Non-homing Blue Bomb hits in a 7x7 area. Move 4 tiles away from where you were stood to avoid this damage.
⬥ The phase can only end when the BT has successfully jumped on Vorago to release the piece of the Maul of Omens.
• If Vorago's hp goes under about 13k before this, his HP will "reset" to 80k. Try to avoid this happening.
Base Tank
⬥  /
/  on the northwest crack around 6 seconds on the timer. Move two north during the phase to allow BT to .
• If comfortable with Target Cycle, you can use it to target vorago at 9 seconds on the timer.
⬥ Prioritise tagging Vorago ASAP in order to prevent misluring.
• If Trio, as you tag.

⬥ Don't let Vorago move too far west. Lure Vorago east out of  /
/  if necessary.
⬥ Expect at least 1-2 blue bombs, plus additional bombs for lures that are too far east. Prayer flick and use defensives as neccesary.  provides a big heal.
⬥ Don't Vorago back until he is low hp (<50k)
⬥ Heal the BT on jump if possible and their HP is low (BT click box is at the jump spot during the entire animation)
⬥ Move two steps west away from jumper during jump
Rotation Suggestions
⬥ 
 early for the affinity
⬥ Abilities with boosted hit chance should be prioritized (e.g. 
 ,
, 
 , any
, any  )
)
⬥ Build adrenaline during the jumping animation using defensive basics (not resonance)
⬥ Dump adrenaline with  / /
/ /  /
/  /
/  /
/  / other threshes after the jump.
Bomb Tank
⬥ Climb speed is paramount to survival
• Less damage is taken on faster climbs.
• The simplest climb uses surge and bladed dive across the top path to reach the voke spot quickly.
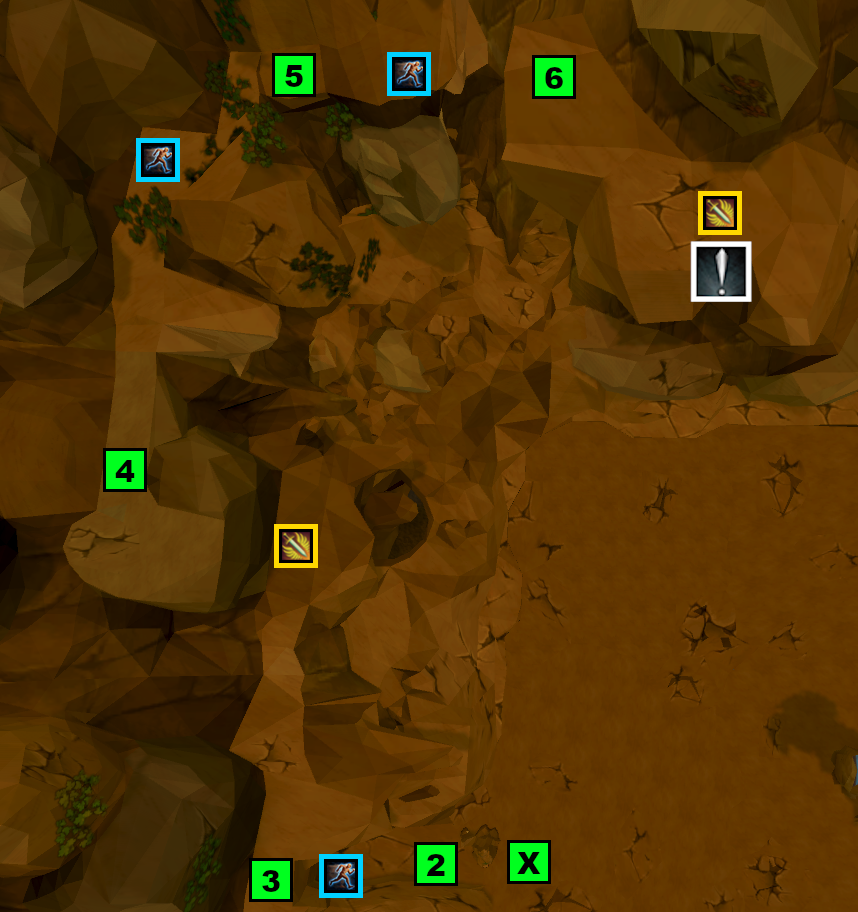
⬥ Vorago from two north and two west of the jump spot.
• Vorago's position is tile perfect for the jump
⬥ Food cannot be eaten during climb animations, but bombs will continue to land and stack damage upon animation finish. Make sure to maintain high HP.
• Most of the kill's food consumption occurs here. Do not risk death trying to save food.
⬥ Jump at <50k HP. Make sure to be high/full HP.
• Bombs can sometimes continue to land during the jump animation.
⬥ Have at least one inventory space for the Maul of Omens piece to be able to jump.
Rotation Suggestions
⬥ If Vorago's HP is >150k after :
• Do a full  / partial +
  rotation
⬥ If Vorago's HP is <150k after :
• Dump / / / / / / other threshes
• Use before jumping, and dump some more upon landing
Phase End Notes
⬥ DO NOT ATTACK VORAGO IF HE REGENERATES 1 HP
• Occurs at 1:09 if Vorago is phasing during this time.
Phase 2
For Both Players
⬥ Vorago's attack rotation:

⬥ Phase 2 is largely time gated. Focus on mechanics.
• One gravity orb spawns every reflect. Two are needed to progress. Missing orbs will result in additional cycles.
⬥ Use defensives to avoid food usage.
⬥ Throw  off cooldown with your highest level weapon (not with defender or shield)
⬥ Apply affinity debuffs if possible.
⬥ Avoid moving Vorago if possible.
⬥ Vorago's Bleeds break defensives
• Appears as  on debuff bar
• First bleed of the phase has no animation; it occurs during Vorago's spawning animation.
⬥ Reflect (Link)
• DO NOT ATTACK ON REFLECT
• Vorago is immune to damage during this time
• Damage dealt to Vorago instead goes to someone on the team
⬥ Near the end of the phase, lower Vorago's HP to under 30k and tag the final orb when it spawns
⬥ Spam click Vorago during Bring Him Down (BHD), then deal damage to free the maul piece.  can be used to finish the phase.
• BHD damage threshold is a collective 50k. Use + basics / +  + basics.
• If using Shatter, the timing is 6 GCDs → [wait 1 tick] →
• Shatter is not worth using with fewer than 4 shards on Vorago.
Base Tank
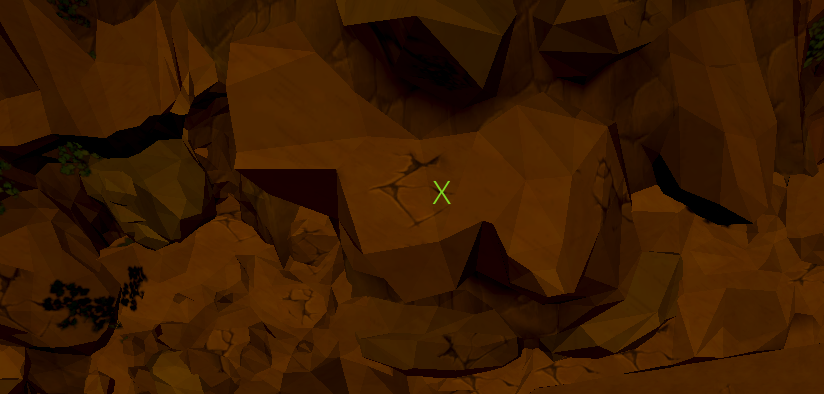
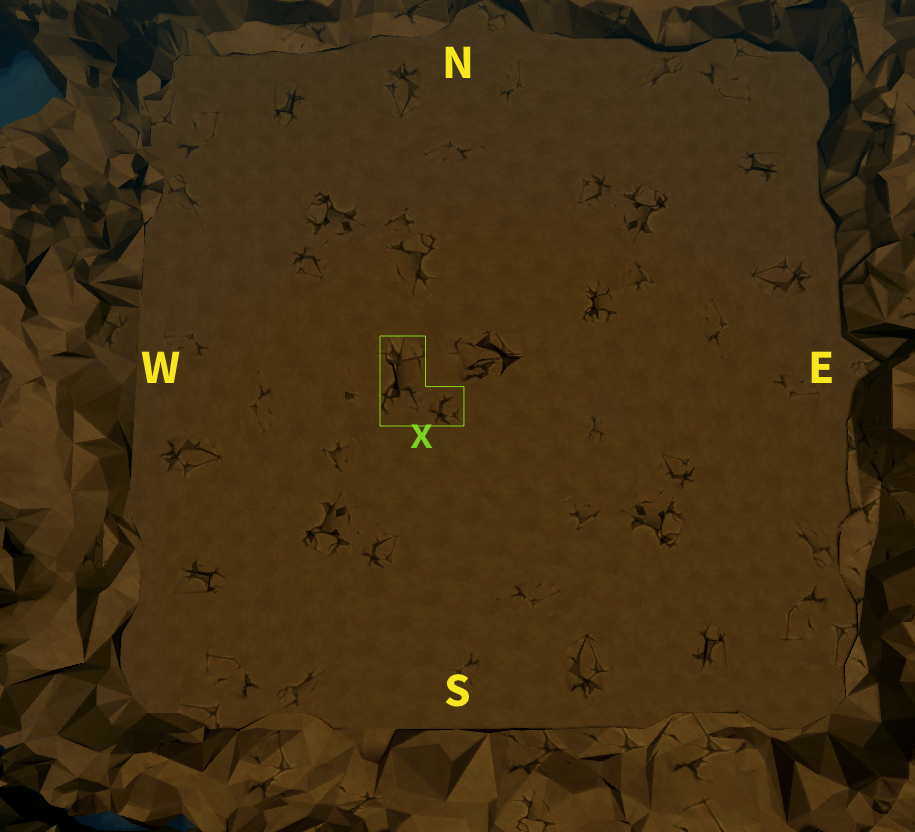
⬥ Stand three squares south of the L crack to lure Vorago into base spot
⬥ Clear the first two bleeds with and 
• Use between the first and second bleeds to ensure aggro for the second bleed
⬥ the blue bomb that comes with the third bleed
⬥ Vorago after the fifth bleed.
⬥ Build to 100% adrenaline
⬥ + + the BT on red bomb release.
Bomb Tank
⬥ Use after the second bleed.
⬥ the third, the fourth (this is tick perfect), and stand still for the fifth. The Base Tank will and lure the boss away to clear the fifth bleed.
⬥ Use any number of defensives against the Blue Bombs.
⬥ Make sure to do enough damage to get Vorago's HP low before the second gravity orb spawns. Thresholds are sufficient, but a / can be used if necessary.
TL5 (if trio+)
⬥ Make sure to be in melee distance before voking to take a bleed
•  can be used with dual-wield melee weapons to get into md.
• Players right click + use an item on Vorago to run into melee distance.
• Voking from outside of melee distance causes Vorago to move around, disrupting the phase.
⬥ Use after the fourth bleed.
⬥ Use to clear the 5th bleed when it is applied.
⬥ Step back out of melee distance after the Base vokes Vorago.
⬥ Tag red gravity orbs when they spawn.
Phase 3
For Both Players
⬥ Vorago's attack rotation:
 ⬥ The End
⬥ One person tags all Blue Bombs, while the other person uses  +
+
• Tagging Blue Bombs resets + puts it on cooldown. This is a two person job.
• Bomb tag and + can be done by either player. Sort this out in advance.
• Using slightly early is advised. Intercept will sometimes fail while your character is moving and can cause you to pk your partner.
⬥  when bombs are released after Vorago stands up.
⬥ Stop attacking after the purple bomb explodes (for the reflect mechanic).
Base Tank
⬥ When Vorago stands up, + stand melee distance to reduce damage taken by the BT.
• Note that this is done if you + for the blue bombs during the mechanic.
⬩ If you do not, the Base will take blue bombs + melee swipes and it can be painful.
Bomb Tank
⬥ When Vorago stands up, make sure to be far away from Vorago.
Suggested Rotations (Both Players)
⬥ Thresh and apply affinity debuffs in the first quadrant (no damage reduction)
⬥ Use basics to prepare for bomb tag during the second or third quadrant.
⬥ Ultimate / + at the end of the third quadrant
⬥ Move back into ultimate after the fourth quadrant and prepare to do damage when Vorago stands.
• Use the time between ultimate cast and stand to build adrenaline.
• Optional: use a delayed or charged ability (eg. /  ) to land when the damage reduction is lifted.
⬥ Ditch ultimates for second set of arms if necessary. Try to finish the phase with thresholds.
⬥ If a second stand is expected, players should switch roles for the tag + cepting of blue bombs if needed.
Phase 4
For Both Players
⬥ Vorago's attack rotation:

⬥ Phase 4 is time gated. Focus on mechanics.
• 3 Waterfalls are required to progress the phase. Lower Vorago's HP to under 30k before the last Waterfall.
⬥ Waterfall
• Spawns in one of the four corners. Run behind it quickly, or take up to 10k damage.
• Some tiles look safe but are not. If unsure, run all the way into the corner.
• Clears active defensives and puts them on cooldown. Will also clear , so only use it once inside the waterfall.
⬥ Throw off cooldown.
⬥ Apply affinity debuffs if possible.
⬥ Clone skip
• Massive 33.6 time save if done both times
• See role sections below for each player's responsibilities
⬥ The End
• Same mechanic as Phase 3, except:
⬩ After Vorago stands up, there are 3 auto attacks then his Red Bomb.
⬩ After the Red bomb, Vorago will use 4 auto attacks before reflect.
⬩ + strategies are used to handle the bombs instead of Vitality potion
Base Tank
⬥ Clone skip
• Base Tank walks Vorago to the wall
⬩ Turn run off, spam click Vorago + out of the Waterfall, , walk under Vorago, click near the wall in the direction that Vorago walks
• The BT may be out of bomb range, which means any potential bombs go to the Base Tank instead.
⬩ Eat to high HP in the Waterfall, prayer flick  for Blue Bombs, and use /
  as needed.
⬥ After the skip, Vorago goes straight into The End (Purple Bomb) special.
⬥ Build adrenaline throughout the arms animation
⬥ Tag red bombs in their quadrant. The Bomb Tank should use + on you for this.
⬥ Red bombs drain adrenaline, ensure that you have 100% by Vorago's stand.
⬥ When Vorago stands up, use + on the Bomb Tank. Re-cept when cade timer has 10s left.
Bomb Tank
⬥ Clone skip
• BT surges to the wall opposite of Vorago
⬩ Move in when Vorago does the clone animation (fake melee swipe)
⬥ If Clone Skip fails, BT should use +  + against the 7 Blue Bombs.
⬥ After the skip, Vorago goes straight into The End (Purple Bomb) special.
⬥ In the quadrant with Red Bombs, use + on the Base Tank while they tag Red Bombs.
⬥ Build adrenaline after using barricade to ensure you end the phase with high adrenaline
⬥ Can stop attacking early before reflect if hp is around 40k to allow the base to build adrenaline for the end of the phase.
⬥ If Disruption Shield is unlocked, both players should use it after Vorago is killed at the end of Phase 4 after any straying blues have landed.
• Disruption shield carries through between phases.
Phase 5
For Both Players
⬥ Vorago's attack rotation:

⬥ Reverse tug-of-war mechanic
• Team's damage to Vorago pushes Vorago
• Vorago's damage to the team causes push back
• and are the only defensives that should be used for push back mitigation
• Push Vorago all the way to the east, move melee distance, and click the Maul of Omens
⬥ PB
• Vorago turns all players into explosive Vitali, with a timer above their head.
• When timer hits 0, a purple bomb explodes on the player. This is aoe, so avoid standing near your partner.
• Vorago will do 5 auto attacks before reflect.
• Purple Bomb timer runs in parallel to normal auto attack rotation.
⬩ This means the purple bomb could explode before the 5 auto attacks he performs before reflect.
• Standing on opposite walls largely allows you to ignore this special.
⬥ Base Tank hugs the South wall, while Bomb Tank hugs the North wall. Players should only move away from their respective walls to clear Vorago's bleeds.
⬥ Bleeds
• Random - aggro cannot be controlled
• 3 bleeds
• Bleed damage contributes to push back. Prioritize clearing them over DPS.
• Bleeds are cleared by distance from the tile the bleed was received, not distance from Vorago in this phase.
• Move into the middle of the platform for bleeds to help with positioning to move out - Vorago does not throw blue bombs during bleeds.
• Freedom the first bleed, surge or bladed dive west for the second bleed. Stay far away until the third bleed animation. Surge east upon third bleed animation.
Suggested Rotations (Both Players)
⬥ Base Tank can either:
• / + at phase start
• stand 1 tile out of melee distance and use  onslaught
⬩ if using then the base can from melee distance
⬥ Bomb Tank use / + → filler basics to 100% → when the first Blue Bomb lands.
• If is owned, the BT should cade for the second Blue Bomb landing.
⬥ If the phase lasts longer than one PB, the Base Tank and Bomb Tank swap roles after bleeds. Base Tank should build to 100% to when the first Blue Bomb lands after spec release.
Quick Guide
Phase 1
Base Tank
⬥ / northwest.
⬥ Expect at least 1-2 bombs, plus extra for lures too far east.
⬥ Lure Vorago east if he is too far west of the cliff.
Bomb Tank
⬥ Climb fast. Eat as much food as necessary.
⬥ Use / partial / threshes and jump at <50k.
Phase 2
⬥ Time gated. Handle mechanics, reduce food usage, throw .
⬥ Get Vorago's HP to under 30k before Bring Him Down.
⬥ BHD is 6 GCDs → [wait 1 tick] →
Base Tank
⬥ Lure Vorago into base spot.
⬥ Clear first bleed with , the second bleed with .
• between the first and second bleed of the phase
• back after the 5th bleed.
⬥ + + the BT for the red bomb
Bomb Tank
⬥ Clear third bleed with and fourth bleed with . Stand still and wait for Base Tank's to clear fifth bleed.
⬥ Use thresholds to bring Vorago's HP low without resetting hp before the second gravity orb.
Phase 3
⬥ Move into the correct quadrant asap at phase start.
⬥ Use strongest abilities in first quadrant, build to 100% for the third quadrant.
⬥ One player can + the other so they can tank the blue bombs. This reduces damage taken on stand.
⬥ Ignore Red Bombs.
⬥ / + at the end of the third quadrant.
⬥ Do big damage when Vorago stands up, use on bomb release.
⬥  Split Soul damage goes through the damage reduction during arms and is highly recommended.
Phase 4
⬥ Time gated. Handle mechanics, reduce food usage, throw , and don't stress dps.
⬥ out of the last Waterfall.
⬥ If is owned, use it after killing Vorago at the end of the phase to block damage in the next phase.
Base Tank
⬥ Clone Skip: + out of Waterfall, walk under Vorago, then walk Vorago all the way to the wall.
⬥ Get into quadrant asap.
⬥ Tag the Red Bombs during The End mechanic.
⬥ + Bomb Tank when Vorago stands up. Re-cept at 10s on timer.
Bomb Tank
⬥ Clone Skip: Move to the wall opposite of where Vorago is walking towards. Movement is not always necessary depending on Waterfall location + Vorago's walk direction.
•  and
and  can be useful here.
⬥ Get into quadrant asap.
⬥ + Base to tag reds.
Phase 5
⬥ Base Tank hugs south wall, while Bomb Tank hugs north wall.
⬥ Players should only move away from their respective walls to clear Vorago's bleeds.
• Make sure not to move towards your partner to off for reflects. Blue bombs can be shared and contribute to pushback.
⬥ Standing on opposite walls negates the need to move position to tank the purple bomb.
⬥ Base tank either:
• / At start of the phase, or;
• Onslaught 1 tile out of md at start of the phase
⬩ if is owned, Base can onslaught in md with disruption shield up to block a melee swipe
⬥ Bomb Tank use strong threshold → basics to 100% → when the first Blue Bomb lands.
• If is owned, Bomb Tank should use for the second Blue (the first Blue is taken by )
⬥ If required, Base and Bomb Tank should switch positions after Bleeds, and the Base should build to cade for the second special attack release.