Ranged ED2
Dragonkin Laboratory (Ranged Advanced)

Introduction
The second Elite Dungeon, the Dragonkin Laboratory, is a relatively straightforward encounter. The encounter is useful for anyone wanting to learn how to deal with large mobs as well as bosses and combines aspects of single target and AoE damage.
The three bosses of the Laboratory drop the Greater Flurry, Greater Fury and Greater Barge codices in the order that they appear.
Each solo run of ED2 is worth  10,788,113 in uniques.
General Notes
⬥ It's recommended to set your anti-spam delay for your  to 1 via the Lectern at Anachronia.
⬥ You can  or
or  a tick before each gate unlocks to save a tick on every entry.
⬥  Luck of the Dwarves will not improve the number of energies dropped, nor the drop rate for any codex.
⬥ The guide assumes knowledge of bosses and ranged rotations. Visit #ED2 Basic Guide or #Ranged DPM Advice as needed.
• Visit #mechanics and look at NPC Center and Coordinate to understand using  on Dragons.
Preset and Relics
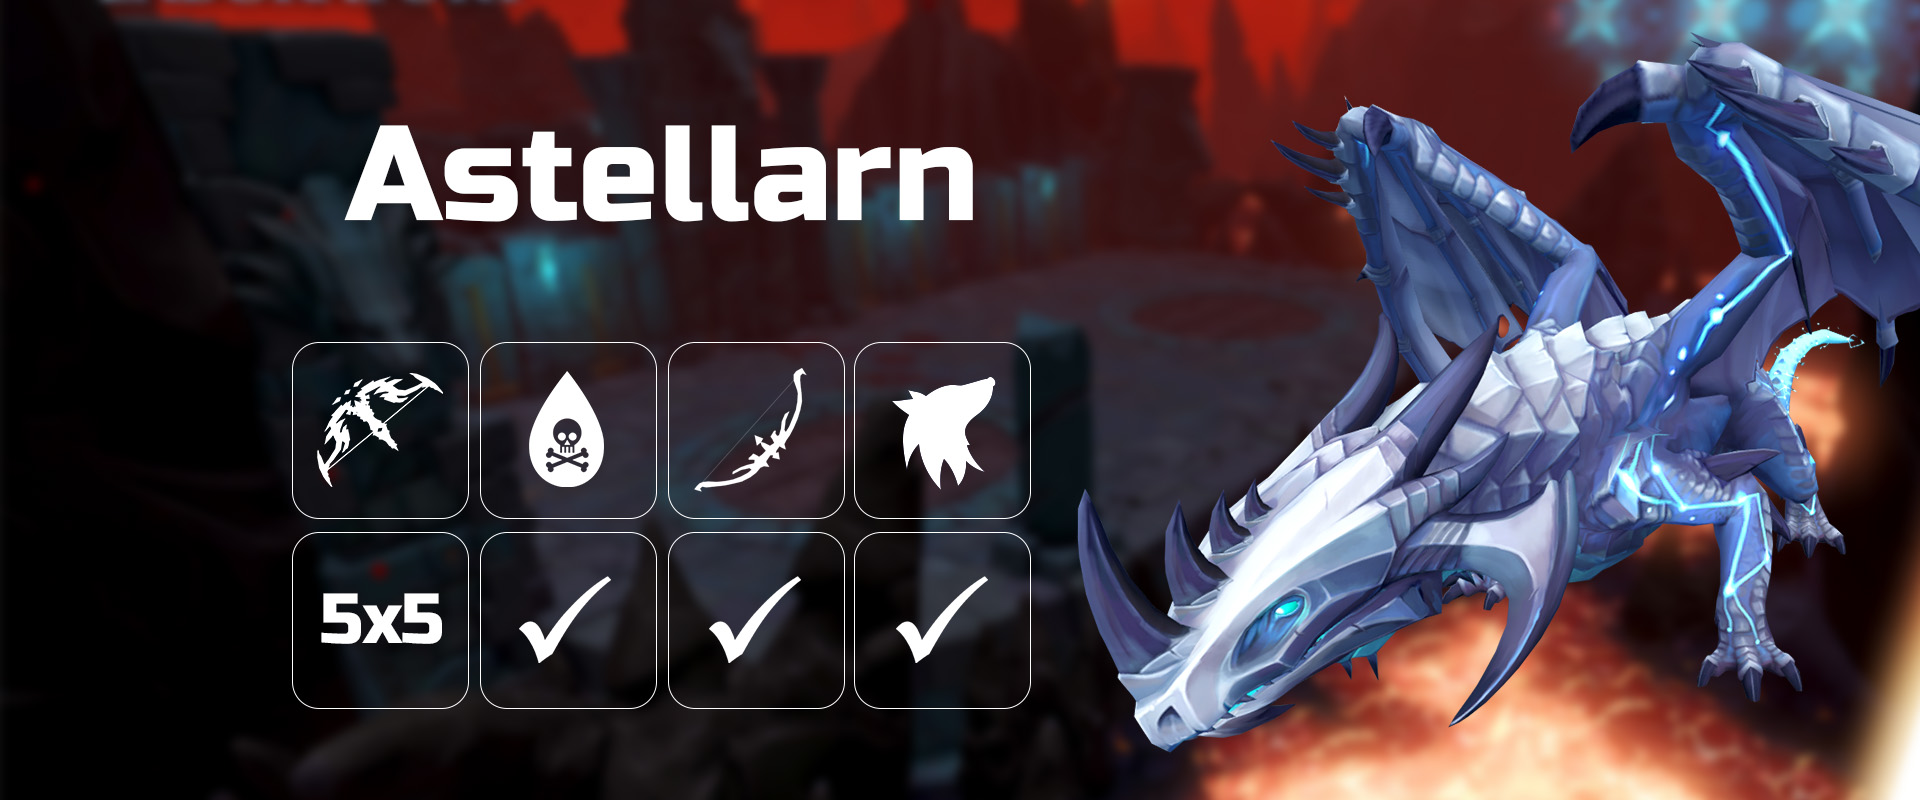
Astellarn, the First Celestial

The first encounter of the Laboratory, this fight heavily utilizes punishing area-of-effect mechanics but is still very straightforward and easy to master with some practice. Additionally, she drops the 

Example Rotation
Start of fight:  →
→  →
→ 
 →
→  to prephase
After Pulsar spawn:  /
/  → equip
  + build to 100% and 5
  stacks on Pulsar and Astellarn →
  → equip
  → get 3+
  stacks with basics →
 when neutron star spawns → lure star into black hole →
  +
+ 
 →
→ 
 →
→  →
→  →
→  if needed →
  diagonally to the next room
Note: 1st 
 must be cast when Astellarn is >200k HP so you may need to cancel
  early.
Example kill (Astellarn):
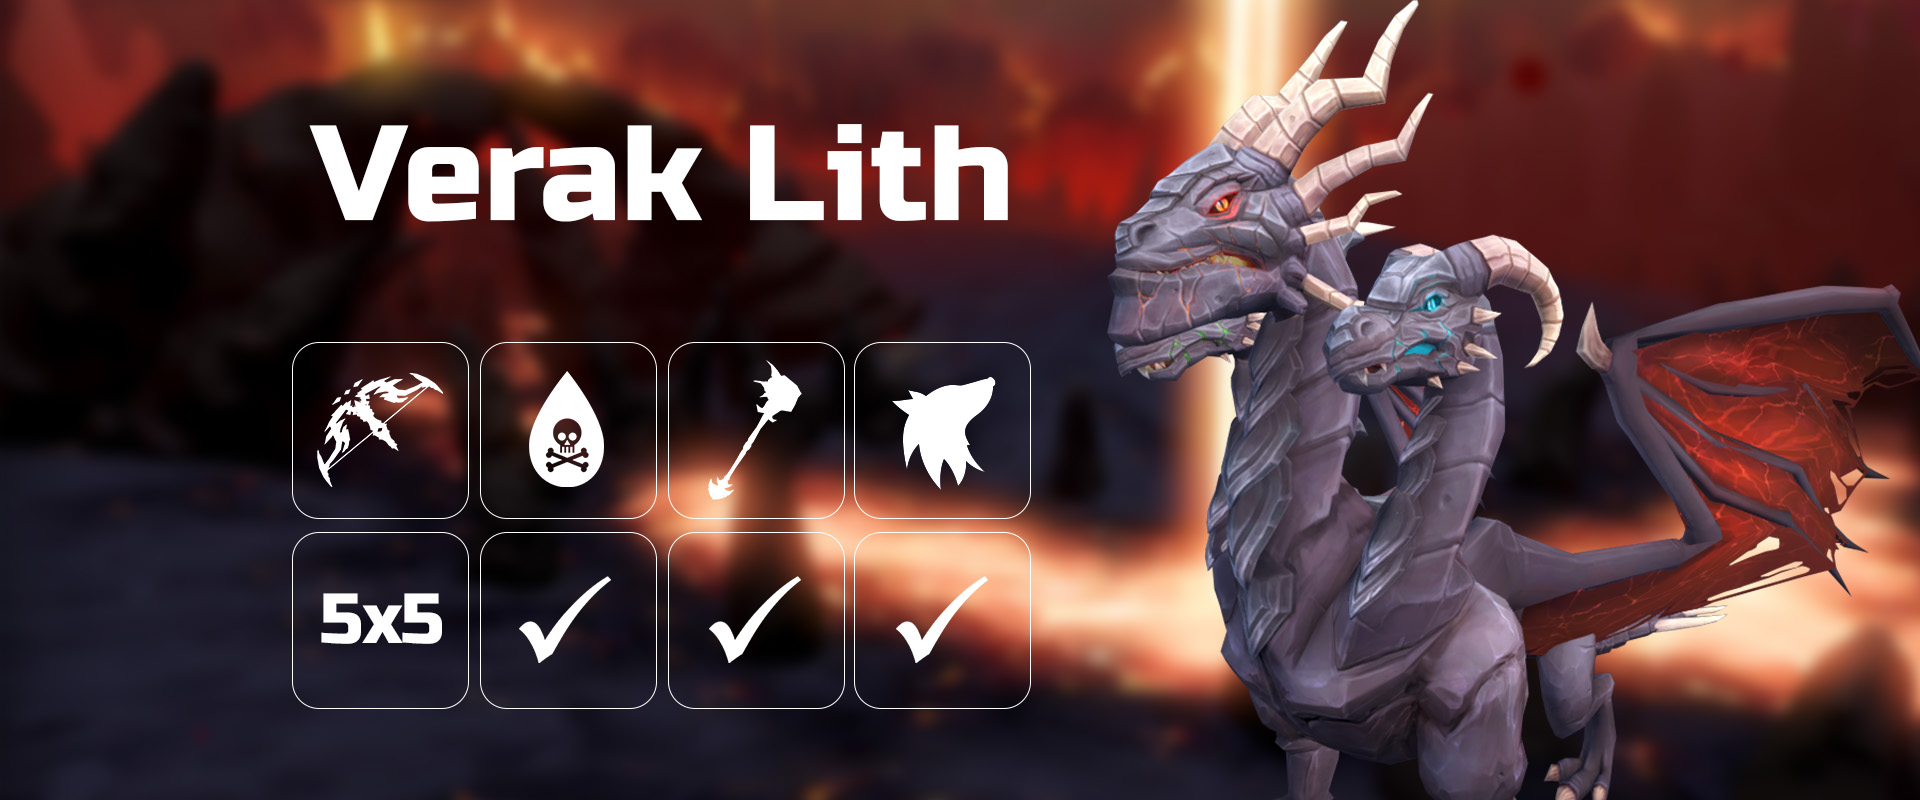
Verak Lith

The second encounter of the Laboratory. Verak Lith's attack rotation is predictable, but deals consistent moderately high damage. Therefore, it is recommended to learn the mechanics properly to avoid any unnecessary deaths. Additionally, he drops the 

He always melees the player when in melee distance and always uses mage otherwise. The auto attacks hit quite hard with the mage ones being desynced visually, so it is important to not mess up too many prayer flicks here.
Example Rotation
⬥ 
 +
+  +
+  into md of Verak → (tc) +
  +
+  +
+  →
→  +
+ 
 →
→ 
 →
→  +
+  →
→  →
→  → equip
  +
+  + place
  for Spire →
  on Spire → finish off Spire with basics then use basics on Verak to 100% and 5
  stacks →
  → equip
  +
+ 
 +
+  →
→ 
 →
→ 
 →
→  →
→  →
→  →
→  →
→  →
→  →
→  →
→ 
 →
→  →
→  the Spire → kill Spire with basics →
  +
+  →
→ 
 →
→  → finish off with basics →
  back towards the bridge
Note: Save  for bomb, if following the rotation above you will use it right before the first
  post
post 
Note:  flick properly is very important in the execution of this rotation. Ensure you have enough food
 as you will take notable damage even if
  flicking properly and using
  on pillars
Example kill (Verak Lith):
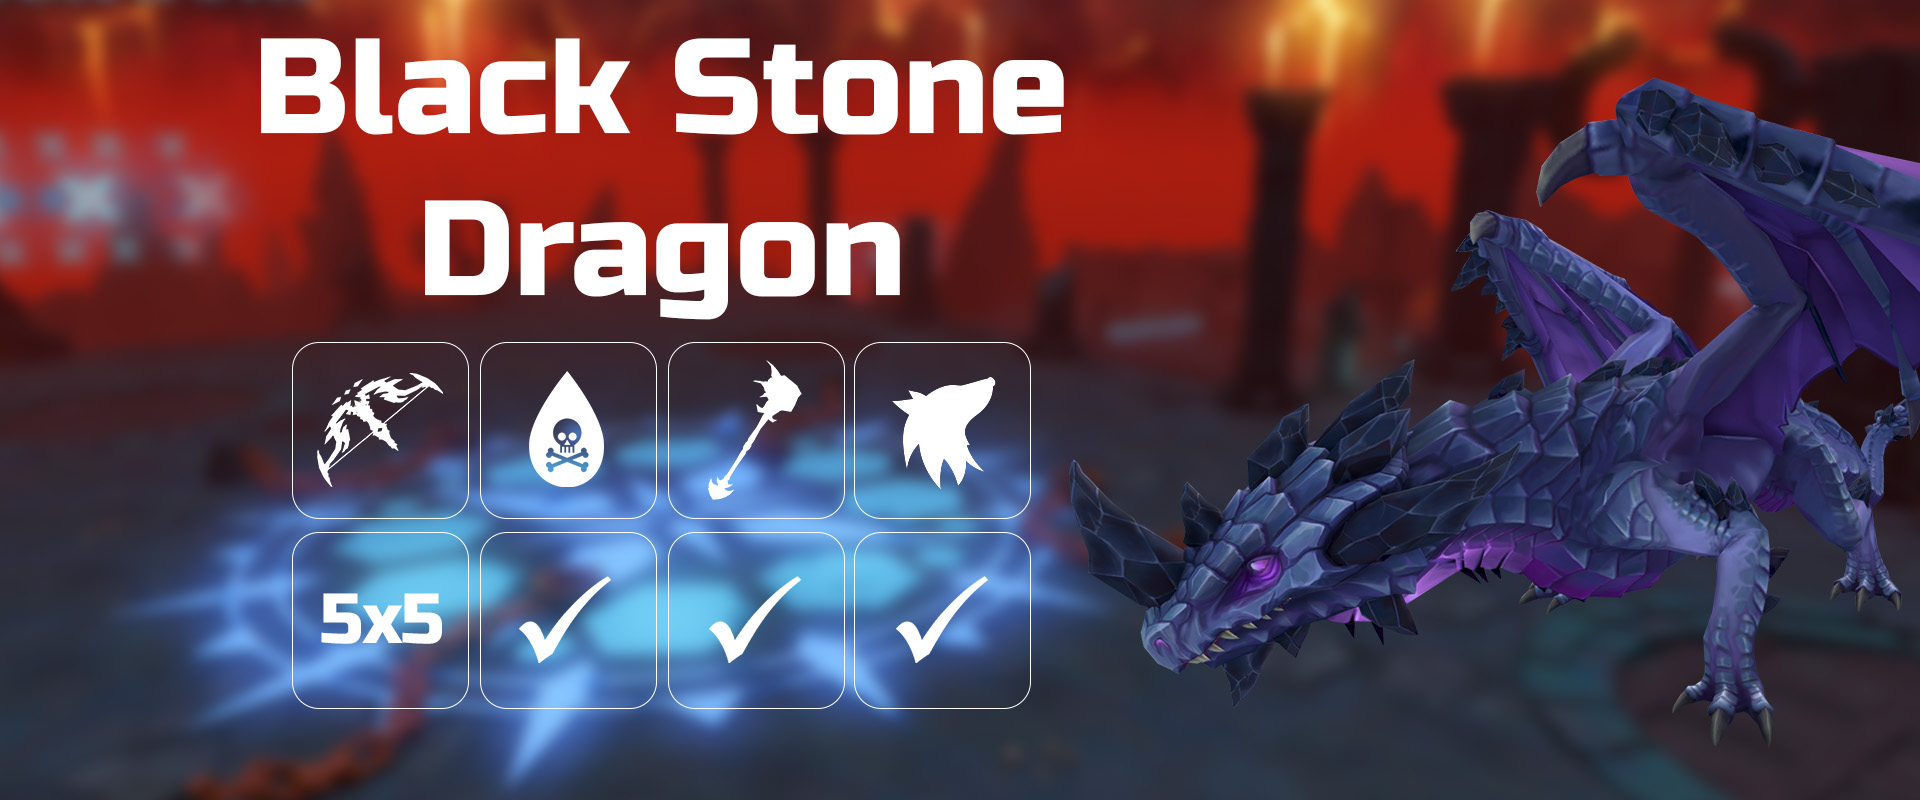
Black Stone Dragon

The final boss of the Dragonkin Laboratory. She is the main source of the dungeon's primary unique: Draconic Energies  , which are used to make the Mage T92 Elite Tectonic set
  and also drops the

This fight consists of simple mechanics but can be very punishing if mistakes are made. It is also one of the few bosses to auto attack in all three combat styles, with melee hitting especially hard, so it is possible to die just from auto attacks if the player can't out heal with  , is low on food, and/or can't prayer flick the fight.
Example Rotation:
Phase 1
 +
+  +
+  +
+  →
→ 
 + pre-place
  at South Black Hands →
  +
+  +
+  +
+  →
→  +
+  →
→ 
 → build with basics until hands spawn
Note: Make sure 
 is cast before
  reaches 520k to pre-phase.
Phase 2: Black Hands
⬥ Hand 1:
Equip  +
+ 
 →
→  →
→  → finish off 1st hands with basics
Note: This hand should be damaged by pre-placed 
⬥ Hand 2:
 →
→  → finish off with basics
⬥ Hand 3:

 → equip
  → build to 100% and 5
  stacks with basics and
  →
→  →
→  → finish off 3rd hands
⬥ Hand 4:
Place  →
→ 
 →
→  → basics to finish off
Post-hands BSD

 →
→  →
→  +
+  →
→ 
 →
→  →
→  →
→  →
→ 
 →
→  → finish off with basics/
 and
and  +
+ 
Phase 3: Flight
Build to 100% with basics →  +
+  during flight → build to 4
  stacks →
  to proc
  during 5th flight →
  →
→  → build to 100% →
 +
+  after 6th flight and
  +
+  /
/  next to
Post-Flight BSD
 +
+ 
 →
→ 
 → finish off with
 /
/  /
/  depending on adren and
  hp.
hp.
Mobs
The AoE centre of large mobs such as the dragons and lava strykewyrms is the south-west tile. This is important when choosing which mob to  . Use
. Use  on Celestial dragons when their HP falls below ~28k immediately to prevent healing. Otherwise, use
 or
or  as they begin to heal. Note that
 only prevents on the healing on the main target Celestial, other hit Celestials that are not the main target will still heal. You can also use
  opportunistically for
Pre-Astellarn
4 Laboratory Slimes
⬥ 
 method:
Equip  +
+  +
+  diagonally towards slimes → tag slime with
  and move towards center of 3 slimes →
  → stall
  on a slime from far cluster and run back into nearby slimes→ (tc) close slime +
  release
  with
with  +
+  → equip
  and target far away slime
  →
→ 
 →
→  +
+  +
+  into next room
Note: After releasing 
 use
use  so your next auto isn’t
⬥ Non-chincend method:
Tag a Slime with  →
→  while luring the slimes together to use
 →
→  →
→  → good basics to clear the Slimes.
Note: Slimes cannot multiply while stunned or bound.
3 Red Dragons
 +
+  the dragon downstairs → equip
  +
+ 
 the northern dragon →
  →
→  → finish off remaining dragons with basics.
4 Red Dragons
Target NE dragon + equip  +
+  →
→  +
+ 
 →
→ 
 → equip
  and finish off the remaining dragons with
 and strong basics
Note: If NE and NW dragons aren’t next to each other, try targeting NW dragon to hit it alongside SW .
Example Section (7 Red Dragons):
4 Lava Golems
 into a cluster of golems +
 →
→  →
→  →
→  →
→  +
+ 
Note: Drink  if low adren so you have close to 100% entering into next room
Example Section (4 Lava Golems):
2 Laboratory Slimes 1 Celestial Dragon
⬥ 
 method:
 +
+  +
+  into the corner behind celestial →
  →
→  →
→  + target slime +
  →
→  →
→  +
+  and run away a few squares → s
 → run in release with
  +
+  → equip
  + target celestial +
  → finish off celestial with basics if needed
⬥ Non-chincend method:
Diagonally  +
+  towards the next barrier and run around to behind the celestial dragon to stack the slimes behind it. Stun the celestial then target a stacked slime for a

 . Clean up the remaining slimes with further stuns until the barrier opens.
3 Celestial Dragons
 /
/  to the western wall →
  two celestials + throw a
  between then +
  +
+ 
 →
→ 
 → finish off the 2 celestials with basics → equip
  →
→  the 3rd celestial → finish it off with basics
Example Section (3 Celestial Dragons):
1 Celestial Dragon

 +
+  +
+  towards celestial → throw a
  → kill it with
 and strong basics
1 Celestial Dragon
Run md of dragon and place 2  → throw a
  → finish off with basics
Example Section (2 Celestials):
Post-Astellarn to pre-Verak Lith
2 Celestial Dragons
Throw a  between the 2 celestials. Use
  and target Eastern celestial +
 →
→  →
→ 
 with basics in between to kill the 2 celestials.
After celestials are dead run towards the gate and  +
+  towards strykewyrms.
Note: if celestials aren't lined up for chinning, improvise and single target them with  and use
  on one of them.
2 Lava Strykewyrms
equip  + target eastern strykewyrm +
  →
→ 
Example Section (2 Celestial Dragons + 2 Lava Strykes):
4 Black Dragons
Drink  →
→  →
→  +
+  →
→  +
+  →
→  +
+  (refer to video below)
Target eastern dragon of the two western dragons with  use
use  if available →
 →
→  → finish off with basics
Target eastern dragon of the two eastern dragons with  + drink
  →
→  →
→  → strong basics/
 to finish them off →
  +
+  towards the next room
Example Section (4 Black Dragons):
6 Black Dragons
Target closest dragon with  → basics until 2 black dragons are stacked →
  + run past the dragons →
  → basics to finish them off
 +
+  to the dragons near the gate and target the northern one with
  →
→ 
 →
→  → basics until dead
Run back to remaining 2 dragons and target northern one with  →
→  →
→  → basics until dead
Note: Use  whenever it comes off cooldown.
Example Section (6 Black Dragons):
4 Lava Strykewyrms
Equip  +
+ 
 +
+  diagonally towards strykewyrms → use basics on strykewyrm near eastern wall and build to 100% and 5
  stacks
 north + place
  near a strykewyrm and target another one while building to 100% and ds stacks →
  → equip
  +
+ 
 → finish off closest strykewyrms with basics and
Target a strykewyrm near gate and kill it with 
 and strong basics
Example Section (4 Lava Strykes):
4 Black Dragons
Equip  and target middle black dragon →
 →
→ 
 → equip
  and kill north dragon with basics/
 + run towards the gate → kill last dragon with
  →
→  +
+  towards the bank and load preset → drink
  and
and  +
+  diagonally across the bridge and run down the bridge
Example Section (4 Black Dragons):
Post-Verak Lith to pre-Black Stone Dragons
3 Dragonstone dragons 1 Onyx dragon
 across the bridge → Teleport option 4 →
  →
→  → equip
  →
→  → target south dragon →
  →
→  (if you have good adren) → build to 100% and 5
  stacks →
  → equip
  and target NE dragon →
 →
→ 
 → basics/thresholds to finish off the dragons
Note: If your  aren't hitting all 4 dragons use
  on the remaining dragon.
Example Section (3 Dragonstone + 1 Onyx dragons):
2 Dragonstone dragons
 +
+  diagonally towards gemstone dragons → equip
  +
+  +
+ 
 →
→  →
→  → basics/
 to finish off the dragons.
1 Hydrix dragon
Drink  +
+  +
+  towards hydrix dragon →
 +
+  +
+  → basics until 3+
  stacks →
 →
→  →
→  →
→  +
+  diagonally towards gate
2 Dragonstone dragons
Equip  + target eastern gemstone dragon →
  →
→  →
→  →
→ 
 to regain adren
Note: If dragons aren't chinnable run back south to lure west gemstone next to east one.
Note: You want to enter  with 100% so use a few basics on the gemstones if gate is open and you have <100%.
Example Section (4 Dragonstone + 1 Hydrix dragons)
Example Runs
All example runs are done off task.
https://youtu.be/AjuBCnsnDLY 12:43 [Pre-Grico Nerf] [Pre-GWD3]
https://youtu.be/6_w5uIemVxQ 11:57 BIS