Magic ED3
The Shadow Reef
Introduction
The third installment in the Elite Dungeon series, the Shadow Reef hosts Kranon, the Ambassador  as its final boss, which drops pieces for the T92
  . The usage of Greater Concentrated Blast
  and Greater Chain
  abilities are assumed.
Each solo run of ED3 is worth  5,668,452 in Eldritch pieces alone.
During group encounters each player can roll an Eldritch piece individually.
Solo - (180/10,000) Duo - (90/10,000) Trio - (60/10,000)
General Notes
⬥ The rotations listed for the bosses are for advanced setups, while rotations with lower tiered set-ups are briefly described in #unknown-channel. Alternatively, users can look at #Magic DPM Advice.
⬥ It's recommended to set your anti-spam delay for your  to 1 via the Lectern at Anachronia.
⬥ You can Surge or Bladed Dive  a tick before each gate unlocks to save a tick on every entry.
⬥  Luck of the Dwarves will not improve unique drop rates.
⬥ 4TAA usage is highly encouraged as the AoE hitbox of barrage spells 
 helps greatly with mob clears and Taraket, in addition to increasing DPS. However, it is by no means required to effectively do this dungeon.
⬥ This guide will be focused around  rotations with non- rotations briefly outlined (4TAA assumed). For more detail, refer for the non- example video or the magic example in #unknown-channel
• An example of a non-  is shown below (basics and 4TAA not included):
+  → build →
  → swap to
  during gcd →
  →
→  → 3t +
  + basic →
  →
→  →
→ 
 →
→
Preset and Relics
The Crassian Leviathan
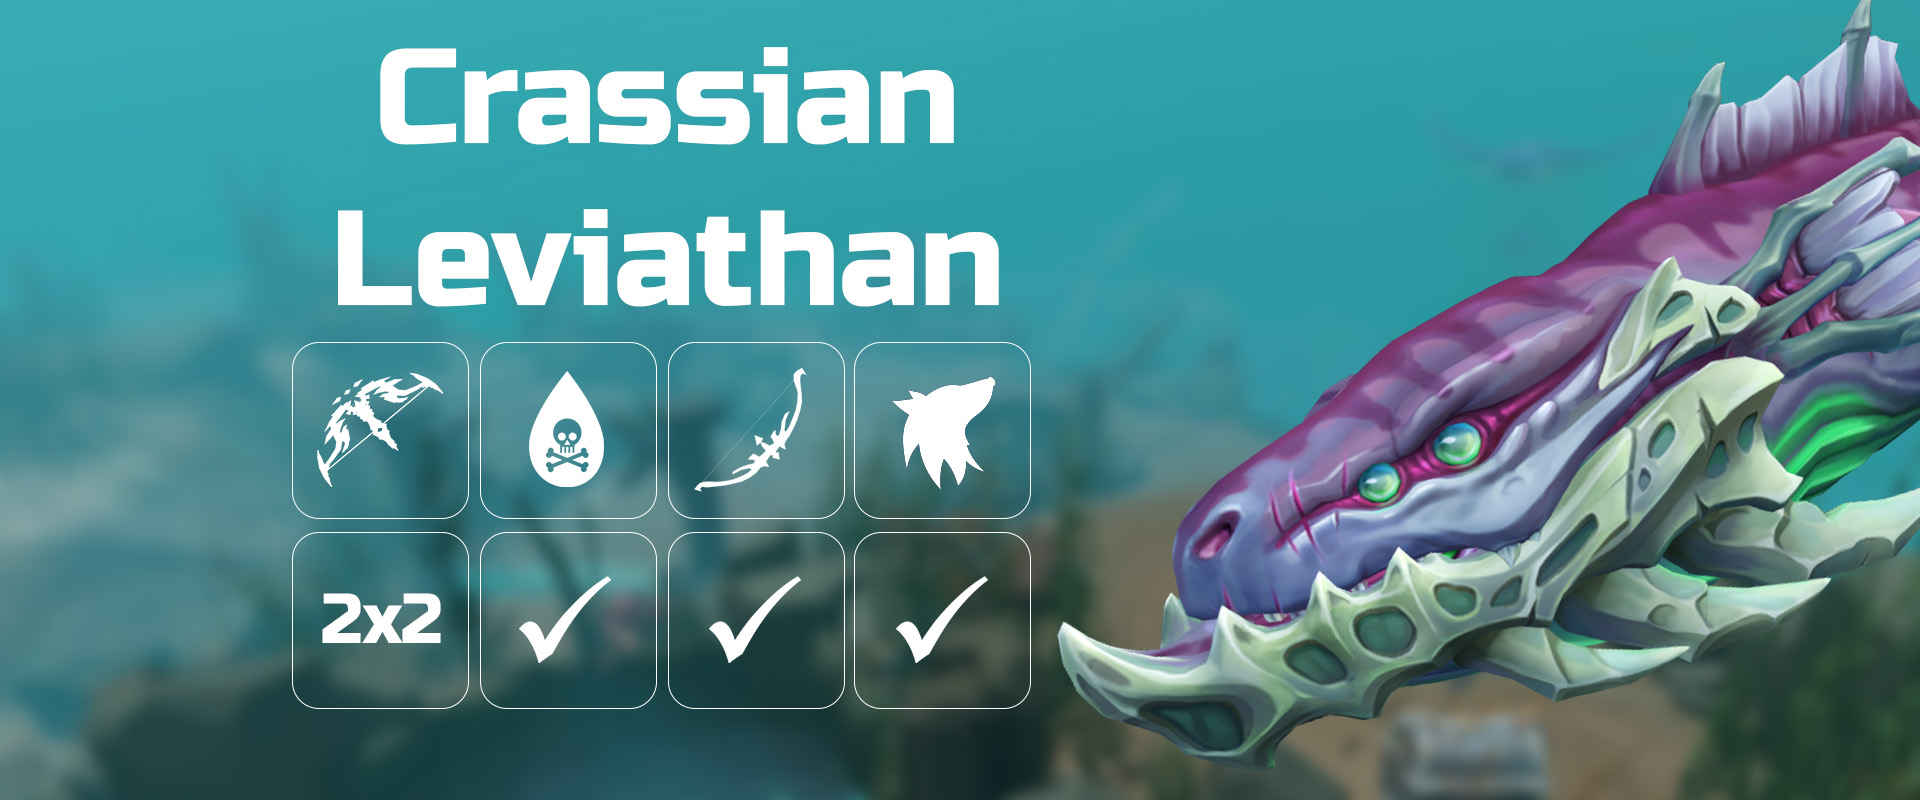
The Crassian Leviathan has good defence so before sure to start off with a  and do not use
  for the fight if not using
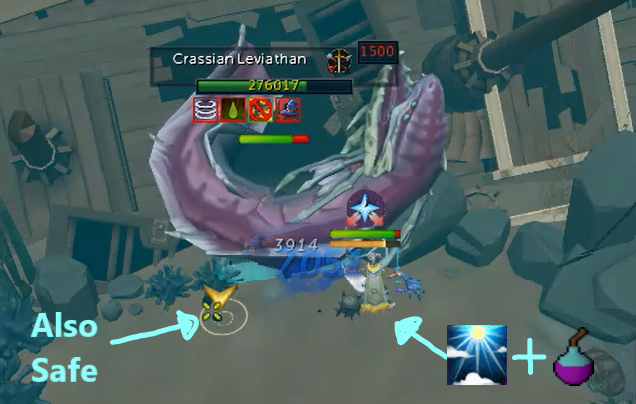
⬥ Aim to right away either directly in front of the Leviathan's nose or on the same tile you throw  to (directly east of the Leviathan's head). Both spots allow for you to safely hit the boss in while avoiding the Head Sweep special.
⬥ Example rotation:
(tc) + +  + + →
+ + →  → →
→ →  → (
→ ( ) →
) →  →
→  → 2hit → → walk 1st sweep around here →
  / (while walking 2nd sweep) → → → → → finish kill
⬥ Time your channelled abilities ( ) between head sweeps to avoid having to cut them short to move for headsweeps.
• This is more important and tricky if you're using
• Use non-channelled abilities when you are walking to dodge sweeps ( )
• Semi-random sweep timings makes it such that you may need to improvise your rotations to a great extent.
⬥ Non- rotation tips:
• and generally follow the threshold order → → 3t + → → → →
• After expires proritize > > until end of kill.
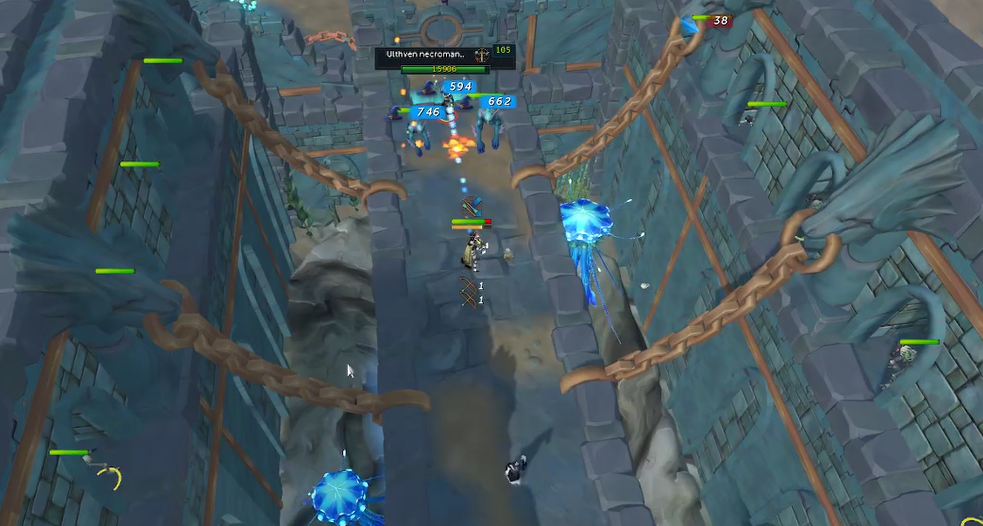
Taraket the Necromancer

Taraket, Corpses and Skeletons are classified as Undead for  ,
,  and
and  purposes. If is owned, you should ignore both minions and autocast during the last phase to finish the kill as quickly as possible, even though it will be risky sometimes. Otherwise, use your discretion to determine which minions you want to kill if you want to have an easier time.
Start of fight
⬥ Quickly enter the fight with both and crit buff active with  and run east of him to block his flight later.
⬥ Example p1 rotation:
+ + + → ( +) → + → → → build to 100% on flying Taraket
Post-Bloat spawn
⬥ You want to quickly phase Taraket and block his flying by standing west while tanking Bloat. Clear the undead portal when he is flying.
⬥ Example post-Bloat spawn rotation:
Targetting Taraket after he lands from spawning Bloat:  → 3t + → → → → improvise till phase
Targetting portal: → basic → +  → finish off
Post-Corpse spawn
⬥ Pay attention to your ability cooldowns and get your rotation active as soon as possible.
• Auto-cast once is active for heals.
⬥ Pray  when Taraket does the Spirit Wall special attack.
⬥ Spam eat as needed.
⬥ Example finisher rotation:
→ →  → → → → → improvise and finish off
⬥ Example finisher rotation (video):
⬥ Non- rotation tips:
• Do an with 3t to start the fight.
• Kill portal with in
• Use  on Taraket as he flies back and phase him.
• Kill Bloated while and block Taraket while he spawns Carrier.
• Do a rotation on Taraket once he spawns Carrier.
⬩ Utilise 4TAA
⬩ Use in the middle of the rotation to clear skeletons.
⬩ Using  and flicking between
  and
and  when Taraket casts
  can help.
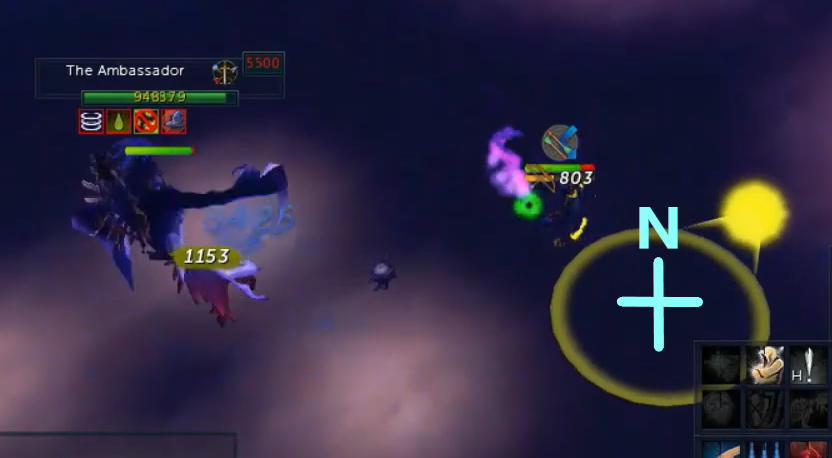
Kranon, the Ambassador
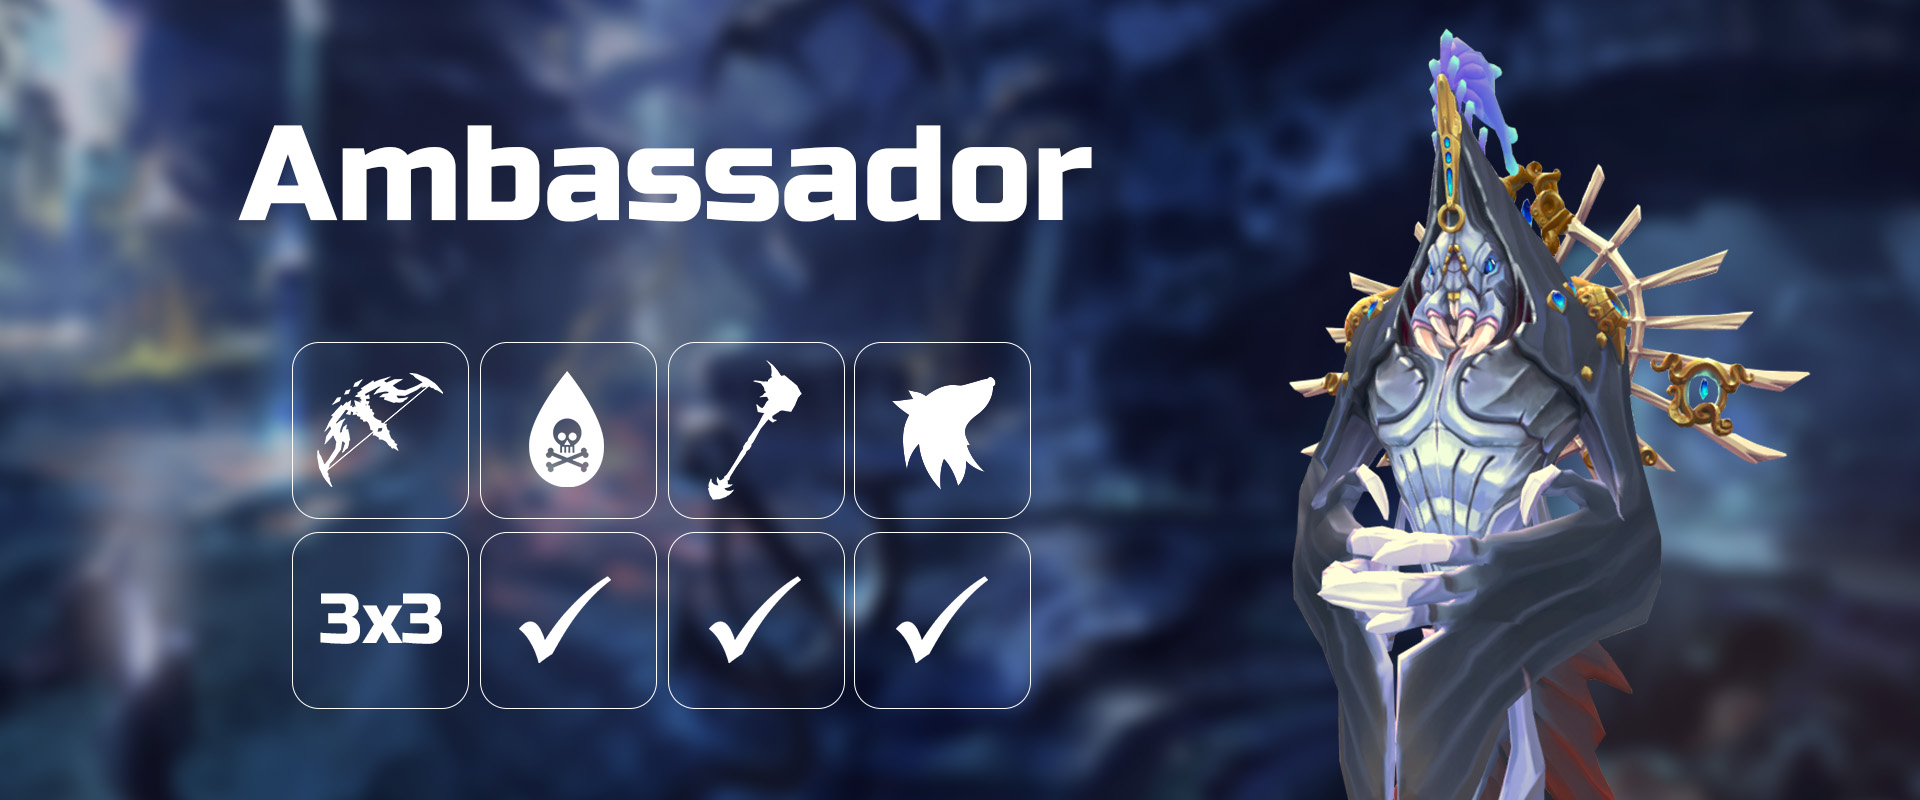
At the bottom of the abyssal section awaits Kranon, the Ambassador, the final boss of the Elite Dungeon 3. This boss has a moderate learning curve compared to most solo bosses and has a variety of mechanics ranging from DPS checks, area denial, self-healing, and the usage multiple combat styles.
The boss primarily attacks with  , with a
  after every 5 autos. The mage hit is replaced by a small but instant
  swipe if the player is in melee distance.
General Tips
⬥ Try to avoid using solid food. Stick to  +
+ 
•  can be used but generally isn't needed for mage.
⬥ Try to maximize the potential healing from Spinners and the Seiryu Heal at 400k to cut down on food usage throughout the fight.
⬥ You can use 
 throughout the fight.
⬥ Flanking  can be utilized throughout the fight by stepping directly underneath the Ambi.
• This is less applicable if using
⬥ Drop purple smokes at the edges of your and run to the other edge after (example of position below).
• That said, wherever you drop the smoke, there should be always an area you can go to in your that is free of smoke.
⬥ During P4, directly under Ambi to avoid getting pushed out when blocking smokes.
_Phase 1
Your goal is to get Ambi to below 650k in a rotation or less.
⬥ Phase 1 notes
Stand in melee distance if uncomfortable with taking the magic auto.
⬥ Example p1 rotation:
+ + + → → → autocast → → → () → → 2-hit → → → → → → →  + → →
+ → →
Phase 2 - Spinners
Walk south and slightly west to get into position for spinners.
⬥  after clearing the last spinner as you will not have available for the next
⬥ Example Spinner (should be similar for non-) rotation
• 1st: (sw spinner): (pre) → →
• 2nd: + → → basic
• 3rd: + → → + basic
• 4th: → → basic
• 5th: + → → basic
• 6th: → → basic
• When the beam reaches where the 1st (sw) spinner was, do + → build with defensives → →
⬩ Your should be right before or at the "0 fragments were reabsorbed!" message.
⬥ Post-spinners example:
Phase 3 - 650k-400k
You should blow past this phase with a rotation and skip the second black hole most of the time.
⬥ You can black hole is not wanting to miss out damage from rotation.
• Stun as needed if is down
⬥ Example post-spinners :
(In ) → → → → → → → 2-hit → → → → →
Phase 4 - Ritual (400k-0 HP)
After your , Ambi should have entered this phase. Improvise a rotation until your next is up and either or finish off the kill depending on Ambi's HP.
If Ambi has less than 100k HP when is off cooldown:
Finish off Ambi with powerful abilities.
⬥ Example finish (no )
→ → → → → → → → improvise
If Ambi has more than 100k HP when is off cooldown:
 and finish off Ambi with powerful thresholds and
⬥ Non- rotation tips:
• Unlike , you can utilise →  right after casting . To do this you must stay under Ambi as you .
• You can follow the same spinner rotation.
⬩ Save  to block an explosion if you only manage to clear 5 spinners.
• Do a standard DPS rotation for p1. Prioritise → → → → .
• Remember to  the black hole.
• Keep track of cooldown after first post-spinners and use an + as soon as possible to finish off the kill.
• Remember to keep adren up after second for
Mobs
Rotations for mob clearing should be around the same for and non- users.
⬥ Rotations below are more of suggestions to give an idea of AoE opportunities and ability prioritzation at different parts of the dungeon. If you find yourself needing more abilities to clear mobs due factors such as the lack of or inability to 4TAA, improvise accordingly.
• Target cycling and using basics is a good way to check and finish off leftover mobs as sometimes their bodies take awhile to disappear after dying.
• Most auto + abil combos shown below utilises 4TAA. Looking at the example run would work the best to help visualise how to work autos into your clear.
• Running while using abilities and 4TAA-ing can be difficult but it will make mob clear much smoother.
⬥ Camp for almost all mobs except:
• Bridge of death:
• Warped skeletons: 
Pre-Crassian
+  diagonally from entrance to start the dungeon and walk to lure the mobs together.
2 Scuttlers 2 Scouts
Stand in the middle and → → → . + diagonally then to the next scouts. Beware of  activating here and killing your primary target.
2 Scuttlers 3 Scouts
Do a + then when Scuttlers gather do → + . Using Target Cycle and basics should get you to 100%. + +
3 Warriors 2 Scouts
Target middle warrior and + → → , to Zealots quickly to capitalise on duration.
2 Zealots
(In ) + one Zealot and then target the other and → +  . Cut the corner with + to proceed.
⬥ usage + corner cut example:
2 Zealots 2 Scouts
in the middle and target a Zealot and → . to Zombies after.
6 Zombies
Go in the middle and the furthest zombie. Then and + release when zombies gather. zombie left with most HP. Move to the next batch as you use Target Cycle and basics to finish off.
6 Zombies
+ → and cross the plank.
4 Zombies 1 Armoured zombie
while running to the middle. Target armoured zombie and → . Then target the highest HP normal zombie and → +
2 Zealots
Target Zealot and charge into 3t + + → and build to 100. into Crassian.
Post-crassian to pre taraket
After Crassian,  until the next barrier.
⬥ example:
1 Zealot 4 Scuttlers
Target Zealots and run to the middle and + → → or . + into the middle of Zombies.
8 Zombies
on yourself and + the furthest zombie from you. → to clear almost all zombies and use Target Cycle and basics while running to finish off. Proceed and jump off the cliff.
1 Necromancer 2 Huge Skeletons
Target necromancer and + → → . Position yourself to hit both huge skeletons. outwards and target a necromancer when the barrier opens.
1 Necromancer
While running past, + →
3 Armoured Zombies
Target the middle zombie and → 3t + → . Go through door and + to middle of the next room. You will experience an FPS drop here.
2 Necromancers
on Necromancer and + → the other. Proceed to bridge and + . Stand in the following position so that the Sea Horrors will back away from you instead of engaging you once damaged.
⬥ Mage standing position:
1 Necromancer 2 Sea Horrors [Bridge of Death]
and target the Necromancer → → 3t + → + and use Target Cycle and basics to finsih off Sea Horrors. diagonally to Sotapannas.
3 Sotapannas
Target middle Sotapanna and + → → . Diagonally + and proceed to the barrier before Taraket.
2 Necromancers 2 Huge Skeletons
Target a Necromancer and use → → to avoid having cooldown issues in Taraket. After that, build to 100% adrenaline and + to enter instance, then to Taraket and
⬥ Taraket entry example:
Post-Taraket to pre-Ambassador
→ towards Sea Witch after finishing Taraket.
1 Sea Witch 2 Armoured Zombies
Group the mobs together while targetting the Sea Witch and + → → 3t + + basic.
1 Kalgerion Demon
Clear the demon with  + → while moving to the barrier. After it dies quickly to the necromancer on the opposite side of the wall.
⬥ example:
1 Necromancer
+ → while running towards next Necromancer.
1 Necromancer
→ and + to the next Necromancer.
1 Necromancer
→ while runnning to the next Necromancer.
1 Necromancer
→ → → finish off and to cliff + dive ledge.
5 Warriors 1 Scuttler
then diagonally to lure warriors and scuttler. while running and target a warrior → → (tc) + → →
2 Warped Skeletons
+ a skeleton, then the other → and to Zealots.
3 Zealots + 2 Warped Skeletons
and target a Warped Skeleton walking to you → → 3t + → and finish off any reminaing mobs. + to scouts afterward while avoiding the minibosses as much as possible.
2 Warped Skeletons + 2 Scouts
Wait for skeletons to walk over while , then target skeleton and → → . Build to 100% and + into instance.
Example Runs
⬥ Non- run
https://www.youtube.com/watch?v=n3XV0Kc_ydg 13:58
⬥ run
https://www.twitch.tv/videos/1416911277 10:28