Bossing Path
Bossing Path
The goal of this channel is to guide players looking for where to start in their PvMing journey. Please note, this path isn't set in stone, because everyone learns in different ways. However, this is a decent route to follow. One thing to keep in mind is that if content starts to feel dry, or you just genuinely don't enjoy it, and move on to something else. Having an enjoyable experience while learning to boss is much more important than trying to stick to a fixed list of objectives.
Initial combat experience can be gained by doing general Slayer at your own pace. This can be used to get the hang of combat abilities and what they do. You can also take this chance to get used to some keybinds. Alternatively, you may practice on a dummy, though you won't gain any XP or GP, and the dummy doesn't fight back!
Bosses with limited learning opportunities
Some encounters in the game do not generally provide a great avenue to learn and improve your skills as a PvMer. These can be done for fun as you wish, however, we do not recommend them for self-improvement.
Bosses to Learn: Introductory
Bosses in this category serve as a great place to start in your journey to learn more about the combat system and engage in harder PvM content. While not as rewarding in terms of loot, they will provide you with many opportunities to improve your skillset.
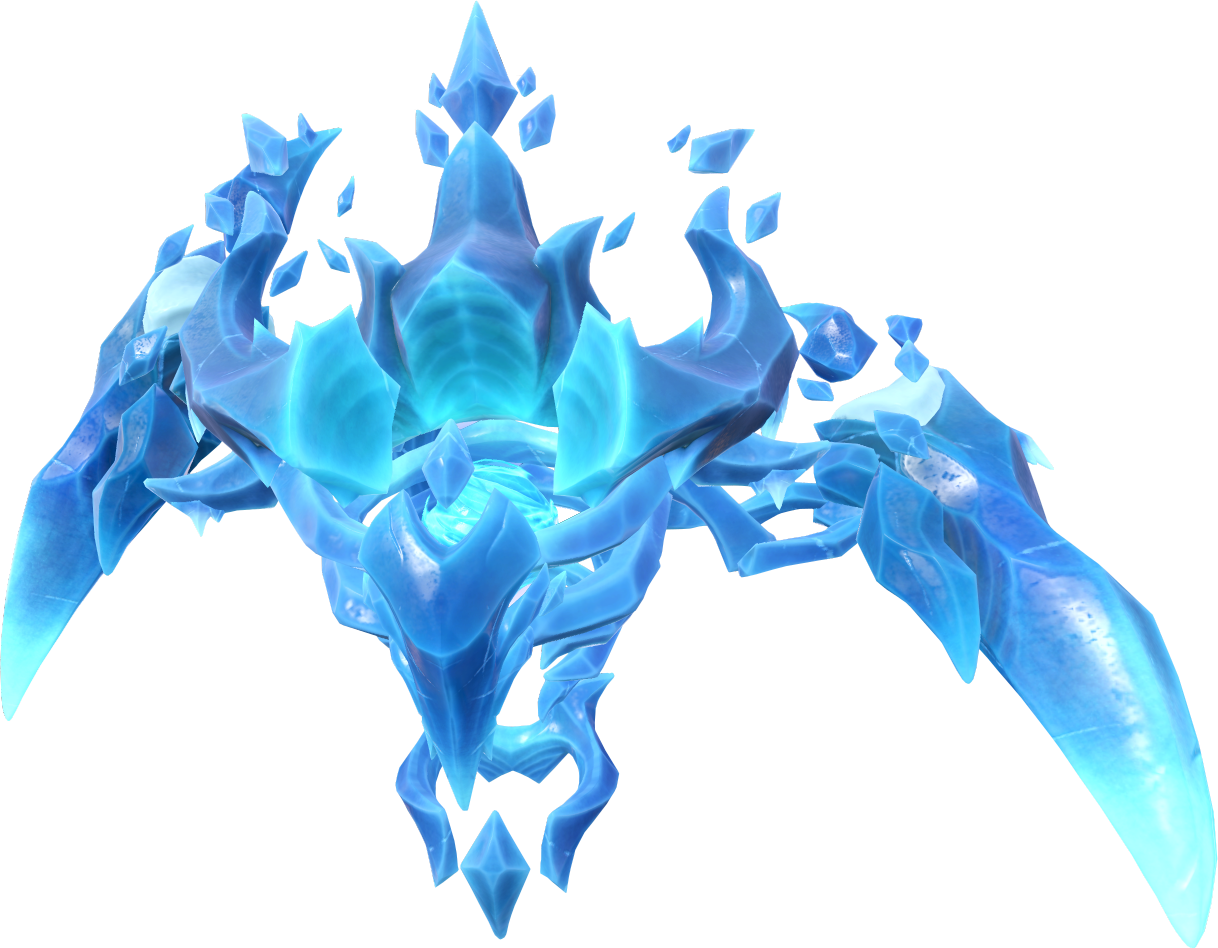
Arch-Glacor
Arguably the best boss for overall learning, Arch-Glacor provides a customizable bossing experience. In normal mode, the player may turn mechanics on and off to learn them at their own pace. Once comfortable with a few mechanics, the player can turn many mechanics on at once to test their knowledge. In hard mode, all mechanics are enabled, with a few changes, and survivability becomes more of a challenge. In general, it is recommended to start on normal mode, progress through the mechanics, and work up to unlocking & successfully completing a hard mode kill.
Note: For a basic overview of Arch-Glacor, please read #arch-glacor-basic
 and
and  ⬥ Practice precise movement across a large arena.
⬥ Learn basic prayer flicking, and eventually
⬥ Practice precise movement across a large arena.
⬥ Learn basic prayer flicking, and eventually  flicking.
 /
/  /
/  for Arch-Glacor's auto attacks.
⬥ Complete a 25 kill streak or a 250% enrage kill, in hard mode.
for Arch-Glacor's auto attacks.
⬥ Complete a 25 kill streak or a 250% enrage kill, in hard mode.
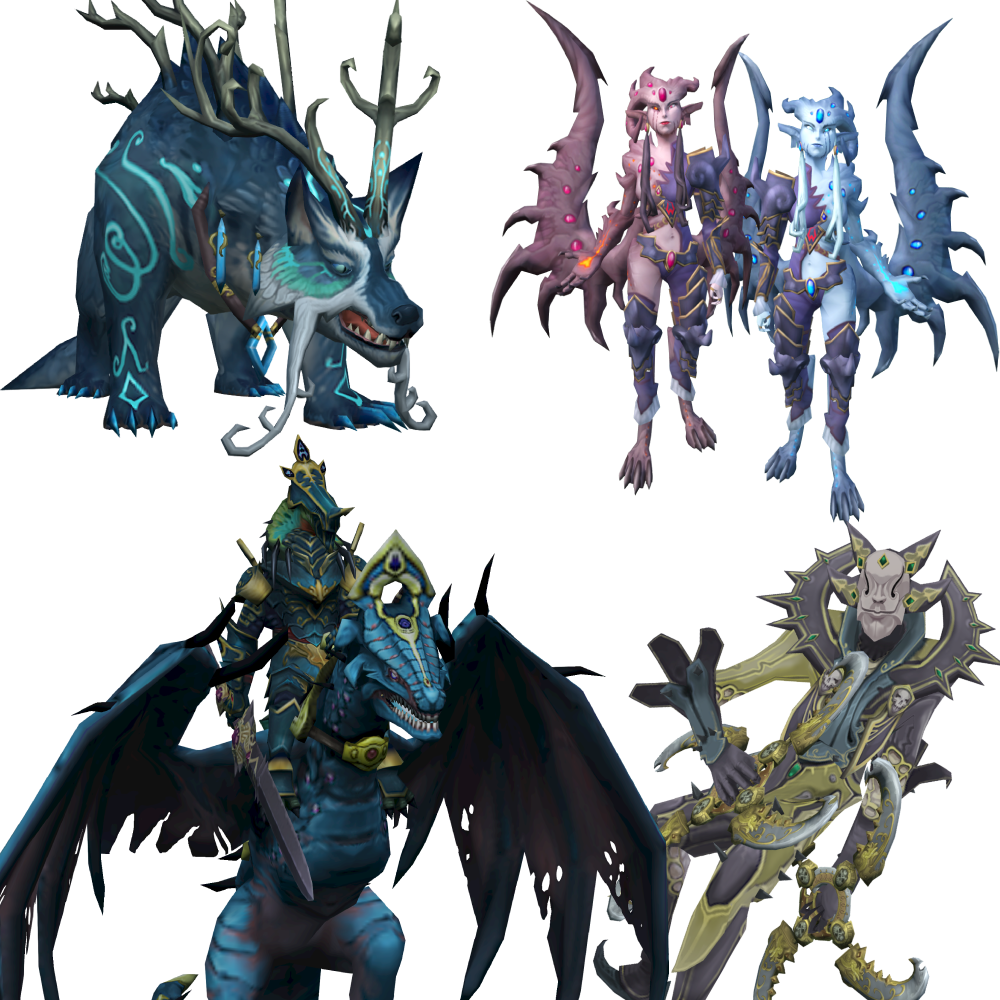
GWD2: the Heart of Gielinor
While not providing as flexible of an experience as Arch-Glacor, these four bosses can provide a host of learning opportunities. They offer their own lessons and can help keep the learning process fresh, rather than just camping Arch-Glacor. In general, the difficulty of the bosses making up the GWD2 area are (approximately) ranked as follows, from easiest to most difficult:
⬥ Vindicta & Gorvek (requires 80  - boostable)
⬥ Twin Furies (requires 80  - boostable)
⬥ Helwyr (requires 80  - boostable)
⬥ Gregorovic (requires 80  )
)
Note: For a detailed overview of each GWD2 boss, please reference #Gregorovic - Normal Mode / #Helwyr - Normal Mode / #Twin Furies - Normal Mode / #Vindicta - Normal Mode
 (Vindicta/Helwyr),
  (Helwyr) and
  /
/  /
/  /
/  /
/  ) to defeat the bosses more quickly.
⬥ Learn basic prayer flicking.
) to defeat the bosses more quickly.
⬥ Learn basic prayer flicking.
Bosses to Learn: Intermediate
These bosses will force you to build upon your foundations. Expect more complex mechanics, higher required damage output, and decreased survivability. Bosses are listed in approximate order of difficulty; however, you are free to pick and choose as you like. In general, all styles will be viable for each encounter, though some encounters may be easier using a specific style for the first few attempts. When in doubt, reference their associated guide for recommendations.
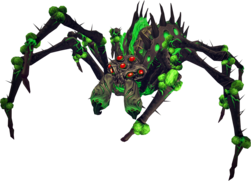
Araxxor
A very common milestone for those looking to advance into higher-tier PvM. With more complex mechanics, it will tend to punish players who are unaware of their surroundings or ability usage. It is highly discouraged to learn Araxxor in duo - it is significantly harder in a duo, and not worth doing.
Note: For a basic overview of Araxxor/Araxxi's mechanics, please read #araxxor-basic
Elite Dungeon 2: Dragonkin Laboratory
Generally considered the easiest of the three elite dungeons, ED2 provides a new kind of PvM experience: a large maze-like arena with lots of mobs, and three unique bosses. ED2 can be enjoyed alone or with friends. Due to the nature of the scaling of the dungeon, solo is considered more challenging. However, it is perfectly viable to learn in solo, as well. Players can challenge themselves to complete the dungeon faster and faster as they get more comfortable, through efficient pathing and effective usage of area-of-effect (AoE) abilities and equipment.
Other elite dungeons make for good options as well. After getting comfortable in ED2, feel free to explore the other two dungeons. In general, ED2 < ED1 < ED3 in terms of absolute difficulty; though, ED3's main difficulty lies in the Ambassador, its final boss. The dungeon itself is relatively straightforward compared to ED1.
Note: For a basic overview of the dungeon, please read #ed2-basic

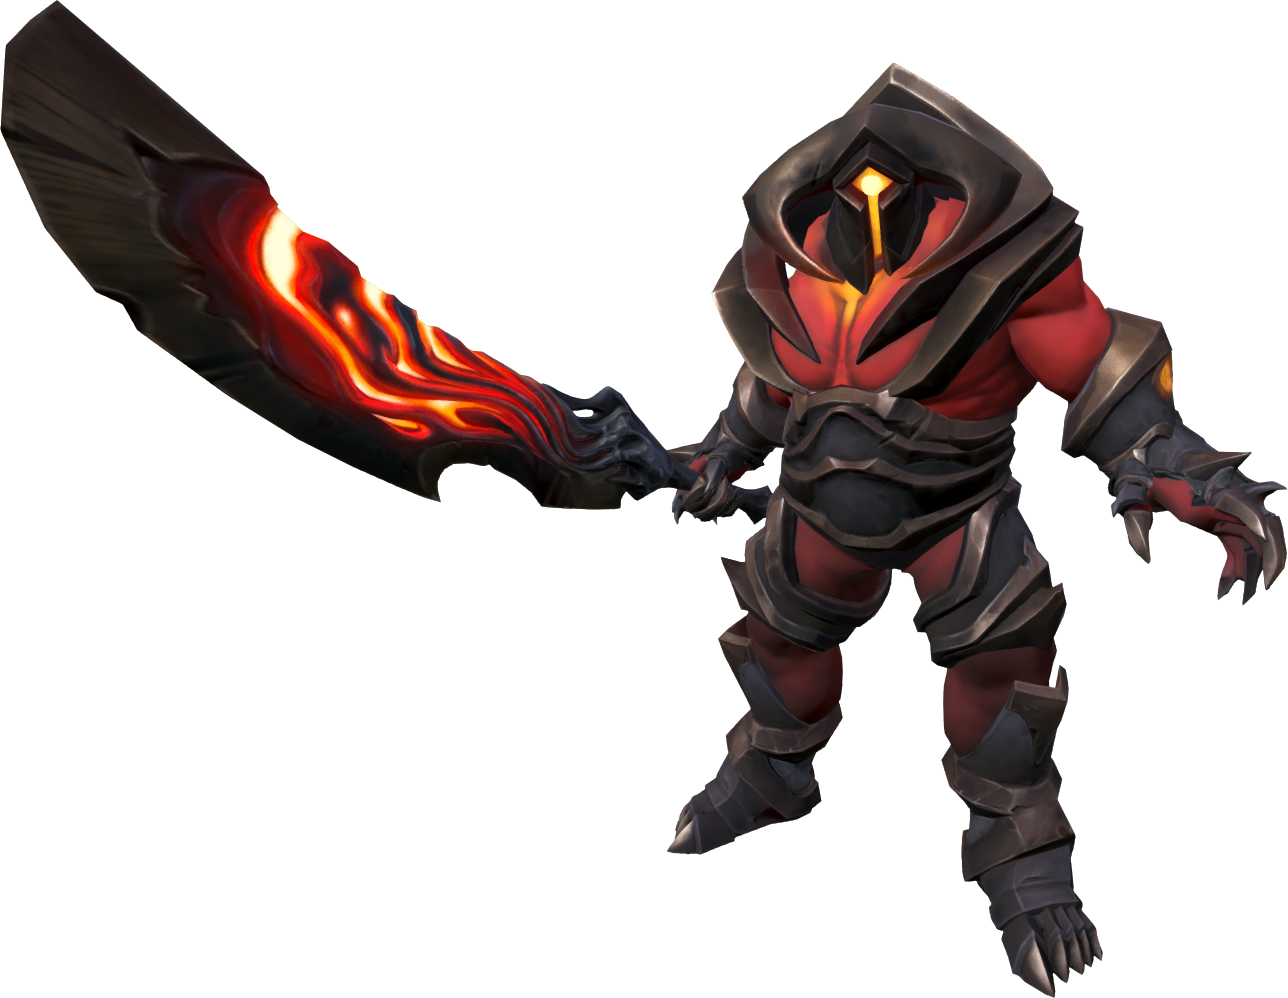
TzKal-Zuk (Normal Mode)
Similar to an elite dungeon, the TzKal-Zuk encounter is comprised of more than just one boss. In this case, you will face multiple waves of enemies, before facing Zuk himself at the end.
After accomplishing the suggested advanced milestones, if you like, you can freely pursue hard mode for a sizeable step up in difficulty.
Note: For a basic overview of TzKal-Zuk, please read #TzKal-Zuk Basic
Bosses to Learn: Advanced
At this stage of your learning, there are a lot of options to further your experience and refine your skills. You can revisit previous encounters and try to push farther & faster, or, attempt to learn something harder. The following encounters are ones that we suggest you start with to make a meaningful step into becoming a high-level PvMer.
Raksha
This higher-tier boss encounter provides a good challenge along with the prospect of decent rewards. Raksha provides the player with the opportunity to improve multiple aspects of their PvMing skillset. It can be fought alone, or with a friend in a duo. In general, the easiest way to get your first few kills is to duo in the DPS role. After a handful of kills and becoming more familiar, it is encouraged to either start tanking in a duo or soloing. Soloing from the get-go is also perfectly viable.
Note: For a basic overview of Raksha, please read #raksha-basic
Kerapac: Hard Mode
In hard mode, Kerapac can present a serious challenge for players who aren't efficient in dealing damage and using defensive abilities. Featuring the unique Warp Time  mechanic, the encounter feels unique and has a lot of learning opportunities. Hard mode Kerapac can be enjoyed alone or with friends. The fewer the participants, the harder the encounter. It is recommended to either duo or solo when learning, as a trio does not provide enough of a challenge at this stage to be recommendable. Eventually, the goal is to solo.
Note: For a basic overview of hard mode Kerapac, please read #Kerapac HM Basic Guide
Next Steps
If you've made it this far, you have all the tools you need to step into just about any encounter in the game. The skills you should have developed at this point include:
⬥ Maintaining high damage output while dealing with involved mechanics and keeping track of a boss's attack cycle
⬥ Using defensive abilities as needed to negate specific mechanics and incoming damage
⬥ Leveraging a variety of gear and abilities to deal with different scenarios and enemies
⬥ Moving efficiently throughout arenas of various sizes
⬥ Prayer flicking to both heal yourself and reduce incoming damage
Past this point, the content you choose to engage with is up to personal preference. When learning new content, it is important to take the same approach as this guide; that is, break your goal down into steps, and tackle them one at a time. In general, it is encouraged to try and find content that challenges you and that you genuinely enjoy doing, rather than suffering through something just to chase a drop (though, we all understand this is easier said than done).
Best of luck in your PvMing adventures, and don't forget to check #directory for any guide you may need, and leverage #pvm-help / #pvm-help-forums as you like.