Magic ED1
Temple of Aminishi (Magic Advanced)

Introduction
The Temple of Aminishi is the first Elite Dungeon which is done for its consistent GP of Ancient Scales  used to make the Elite Sirenic
  armour. Although technically the shortest of the 3 dungeons, it will take much skills in terms of rotation discipline and handling the high KO-potential mechanics to achieve the optimal 6 kph.
Each solo run of ED1 is worth  18,839,938 in Ancient Scales.
General Notes
⬥ Rotations are written to utilize the Greater Chain ability  and assume 4TAA is used; however, neither is required to effectively do this dungeon.
and 4TAA.
⬥ Boss rotations assume you have the Invigorating 4  perk on your armour.
⬥ It's recommended to set your anti-spam delay on  to 1 via the Lectern at Anachronia.
⬥ You can or  a tick before each gate unlocks to save a tick on every entry.
Preset and Relics
Preset Notes
⬥ You can have a specific preset for Seiryu with  ,
,  and
and 
• These are however fairly insignificant boosts.
• It's also possible to include dominion mines  only in this preset and take them away from the main preset.
⬥ It's possible to bring Lucky Charms  for some extra profit at the cost of Dungeoneering tokens.
⬥ Mobile  perk is a must have on gear.
• Alternatively, replace Font of Life  with Shadow's Grace
⬥  Luck of the Dwarves will not improve the number of scales dropped.
⬥ Assumes  are used.
Sanctum Guardian

The first boss of the Temple of Aminishi follows a straightforward attack pattern containing highly damaging attacks which are capable of KOing someone unprepared.
There are two options for approaching this boss fight. A learner friendly strategy has you teleport out of the dungeon before entering the fight and attacking the boss from north side of the arena. It is however recommended to lure Arhats behind the boss making them not attack you.
Strategy
⬥ Aim to disrupt your dumping of DPS as little as possible to finish off Sanctum within the  rot if using
⬥ Autocast  until
until  has been used.
⬥ Example rotation: +  →
→  +
+  →
→  →
→  + (swap to
  ) →
) →  → → (
→ → ( if needed)
  →
→  →
→  →
→ 
 → 2-hit
  → → → → → ( if high adren)
  →
→  → improv to finish kill
⬥ If not using , take advantage of  whenever Sanctum spins for her water jet attack.
Masuta, the Ascended
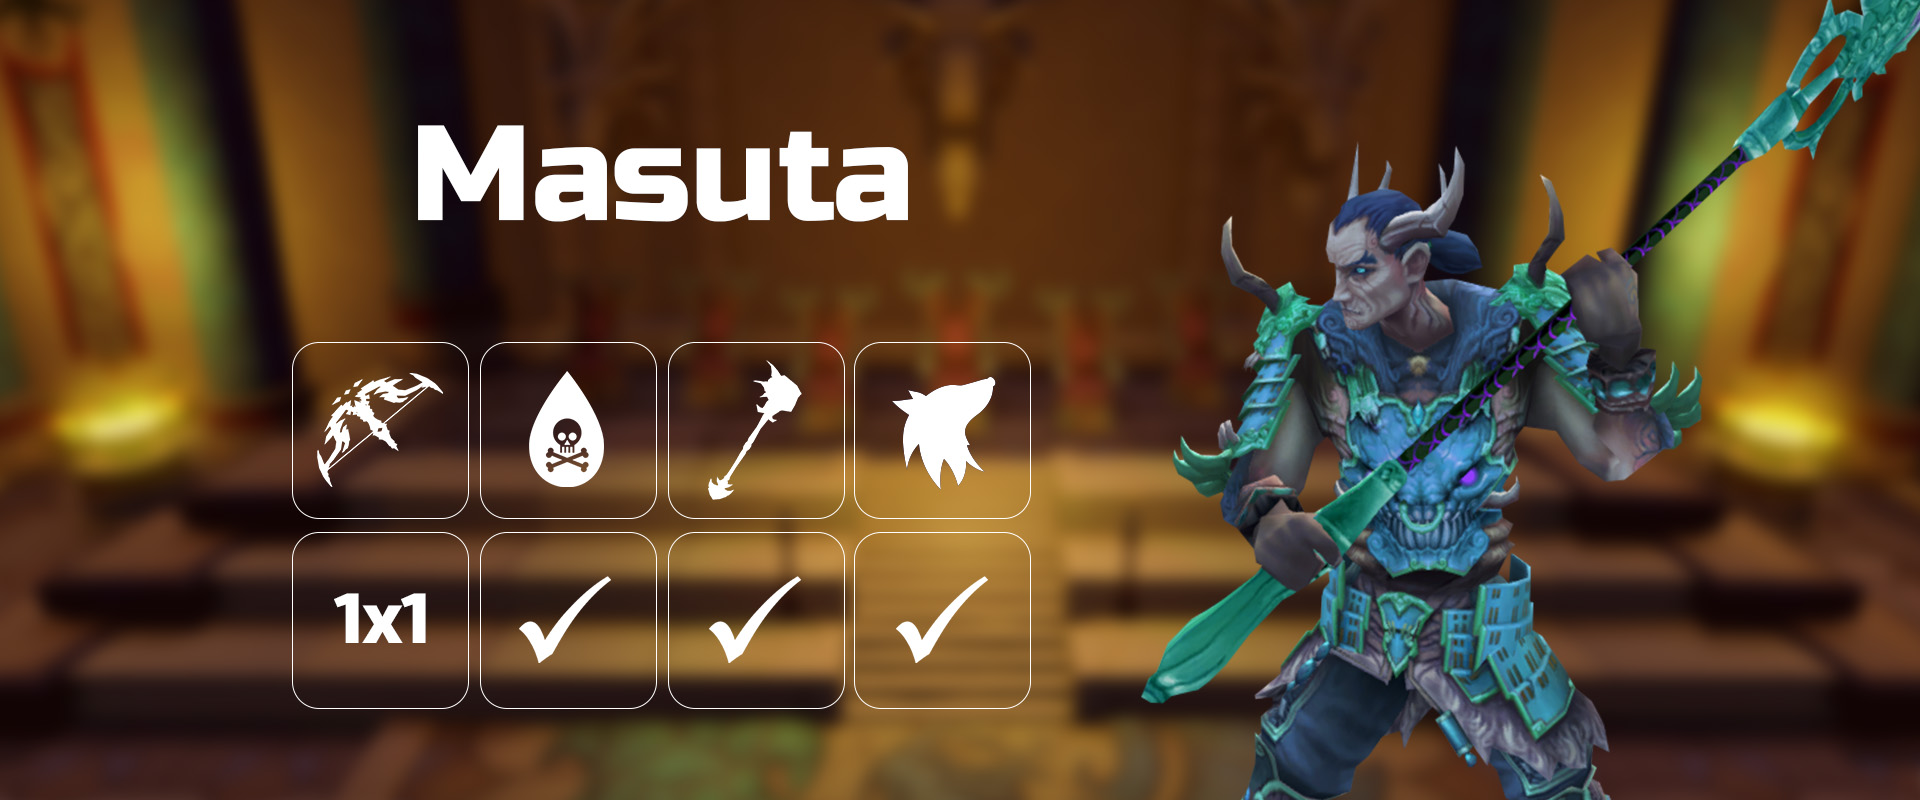
Masuta, the second boss of the dungeon, keeps true to the dungeon's theme of heavy damage dealt and high KO potential. Using a variety of hard-hitting mechanics and boasting attacks from all three combat styles, Masuta is a noticeable difficulty spike up from the first boss.
Strategy
⬥ Phase 1 Notes
• Due to the rng nature of Masuta's attack pattern, this fight heavily involves improvising rotations especially when paired up with  procs.
Phase 1
⬥ + → + → → + → → use your best judgement depending on adren to decide whether to use or or →
⬥ Masuta’s hurricane is semi-random and cancels your so save thresholds for spin if possible.
• Otherwise, → spam is not a bad alternative to during spin if everything else is on cooldown.
⬥ Remember to manage Masuta's Tsunami properly, even if it requires early cancellation of channelled abilities. You may have to use  or abandon your if Masuta does an early 2nd Hurricane.
⬥ You can when Masuta is doing his hurricane.
Waters (Phase 2)
⬥ Push Masuta with scare tactics 
 south so you can reach him from the southern edge.
⬥ Kill waters that can reach you while standing at the edge, and ignore the rest.
⬥ Soulsplit  and hit Masuta between water spawns to save food. Use
  if needed.
⬥ Masuta as he gains defence in this phase.
⬥ Reapply sometime during this phase.
⬥ At around p1 phase time + 1min5s:  → build with basics to 100% → → → ( for adren if needed) → → build to 100% → stall
• early so  is available in time for Seiryu.
• If not using , do not bother with . Do a (pre) and while using
Phase 3
⬥ Release + → → → → → 2-hit →
• Skip last if Masuta is low hp and instead
• after if low on adren.
⬥ If not using , do a normal rotation.
⬥ Save for Seiryu.
Seiryu, the Azure Serpent
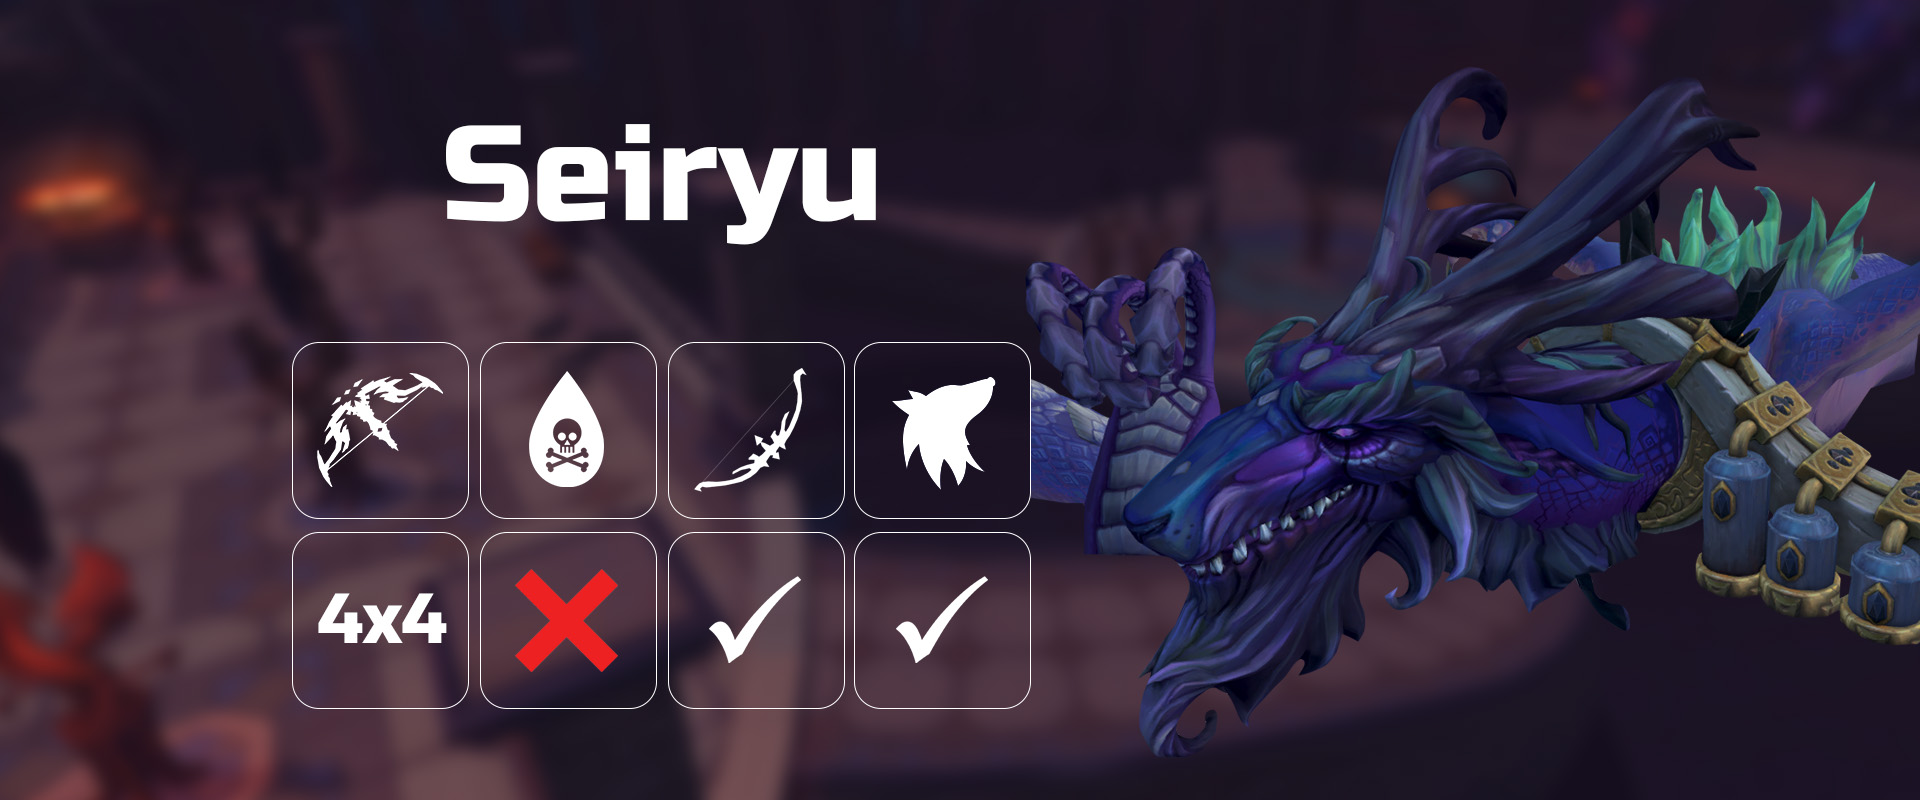
The final fight of the dungeon, Seiryu does not require much food but challenges one's ability to manage cooldowns and rotation.  is the hardest style to 1 cycle with but will still be somewhat consistent with the proper rotation. Alternatively, one can consider using hybrid strategies to guarantee the 1 cycle.
Strategy
⬥ Face → + → → + → → → improvise a good rotation with / thresholds
• Prioritize doing thresholds first because you want them to be available for crystals (specifically ).
• Saving for crystals can help with 1cc consistency.
• Make sure to get 12 stacks before going up to crystals.
• You might have to use more basics before because you want to save
⬥ further away from head (East / West) so you can dodge Seiryu's tendril attack without leaving Flank  range.
• Be ready to move away from south wall at ~50s mark when the Black Hands start appearing.
FSOA 1 cycle rotation
⬥ Use the Kal'Gerion Demon spec before going up
⬥ Crystal 1:
• (tc) + + →  + → → → → →
  → + → → + → /
  → if not dead
⬥ Crystal 2:
• + → + → → + → → → → + → → + → → → → improv
⬥ Crystal 3:
• s → r → → ( for more consistent 3rd, otherwise won’t hit) → →
⬥ Notes
• Save your adrenaline potion and limitless for usage on the crystals.
• Build to 12 stacks prior to going up to the crystals.
Non-FSOA 1 cycle rotation
⬥ Face: Do not use . do an and swap to , phase Seiryu with powerful thresholds and an .
• Try to get HP low to juice 
• Use the Kal'Gerion Demon spec before going up
• IMPORTANT: Be at the jump spot as soon as possible and go up as soon as possible with 100% adren
⬥ Crystal 1:
• IMPORTANT: immediately when you're up followed by and  , autocast
• Walk to the edge of and
• Utilise +
• Clear first crystal with and
⬥ Crystal 2
• Start with then , followed by powerful basics
• Fit in a 2-hit and before your ends.
• Build to and swap to for a to finish off second crystal
⬥ Crystal 3
• and ASAP and use the moment it comes off cooldown.
⬩ You will fail the 1 cycle if you late.
• + → +  → + + as soon as 6th heal pops up → + → + 2-hit → → → + →
Mobs and Movement
These rotations should be similar regardless if is owned as is not utilised for clears. Autocast
Pre-Sanctum
4 Elite Sotapannas
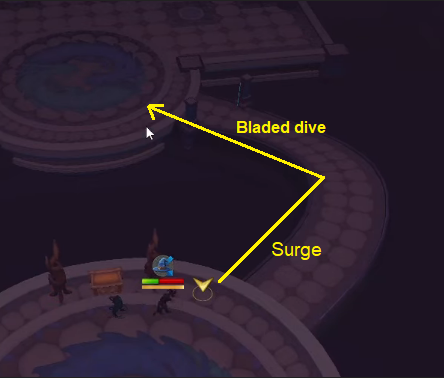
+ as shown in the picture:
(tc) + +  → → → finish with basics.
  and
and  +
+  to next cluster.
9 Elite Sotapannas
 → basics until mobs group → → + 4t + → finish with basics
3 Elite Sakadagami
→ →  → + → finish with basics
4 Elite Sakadagami + 1 Elite Sotapanna
→ → → . Target east Sadakagami + → the remaining grouped up Sadakagami. Run into corner to be ready to lure next gate while clearing this one.
3 Elite Sakadagami
Group mobs → + → → + → basics to finish if needed.
3 Elite Sakadagami
→ → 4t + + → finish with basics
Post Sanctum to Pre Masuta
2 Cloaked Zealots
→ → to the 2 Cloaked Zealots. + → → + → (finish with basics if needed)(you don't here because you want to save it for next gate)
3 Cloaked Zealots
+ → → + 4t + → finish with basics. to next Cloaked Zealot.
1 Cloaked Zealot
+ → /
3 Cloaked Zealots
+ → → + → (finish with basics if needed)
6 Cloaked Zealots
→ → + → (targeted mob which gives most AoE damage for ) → finish with basics
2 Elite Sakadagami
→ →  → + remaining Sadakagami
4 Renegade Menaphite Soldier + 2 Eastern Mercenary
2 Mercenaries under stairs: → → →
4 Renegades: → + basic → 4t + + → → (finish with basics if needed)
4 Cloaked Zealots
(While running before getting around corner) → + → → + → → finish with basics
Post Masuta to pre-Seiryu
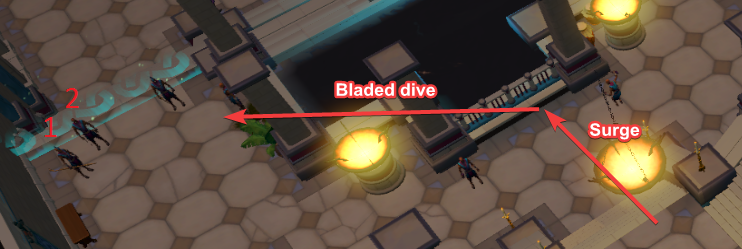
3 Defence Pylon
+ onto platforms → → middle pylon from distance → once gets released → other 2 pylons → → finish remaining pylons with basics. Use and → to get behind Seiryu's head.
Example Runs
FSOA example - https://www.youtube.com/watch?v=bM5RHBAqEkU - 8:57
Non-FSOA example - https://www.youtube.com/watch?v=b6Xq0kJ0dZE - 10:45