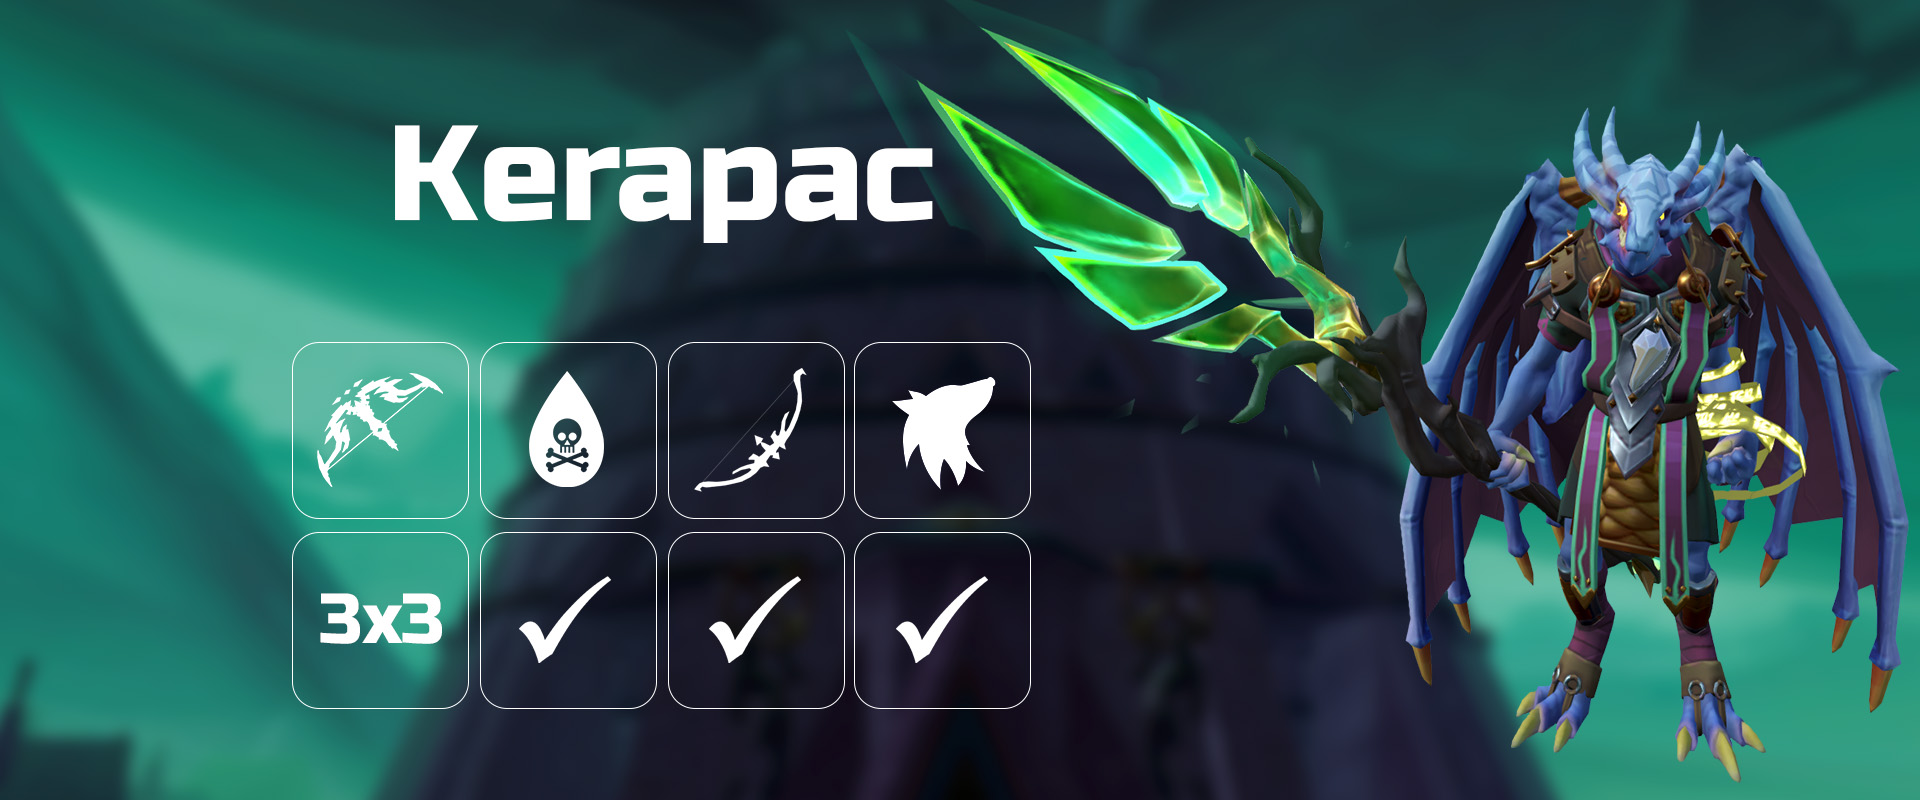
Solo HM Ranged
Kerapac, the Bound - Solo Ranged

Introduction
This guide assumes you are already familiar with the basic mechanics of Kerapac which can be seen here #kerapac-hm-basic and own BIS gear in Ranged.
It is highly recommended to have a Nodon dragonkin slayer task  as the helmet boost does work. You may also use the Premier Artefact
  to have a 10% chance to not decrease the slayer task count with each kill.
This strategy aims to keep HP below max from P1 to P3 to continually heal with  and
and  , thus maximising hitsplats with
  passive to maximise
  damage which has excellent synergy with
Preset and Relics
Overview
⬥ Use  +
+  with
with  + autofire set to 0
⬥ Rotations assume slayer task and  on anachronia stand.
⬥ P1 rotation assumes stalled  on War's dummy.
• For more information see !preincend
⬥ Do not  and
and  on the same tick.
• Only  after seeing the
  icon on buff bar (at least 1t apart).
⬥ Manually spam  whenever you need health.
⬥ Have  active for a smoother P4.
⬥ For 
 you can equip
  back immediately after casting
  .
.
⬥ Use  to lower your hp at the start and whenever you reach max HP P1-3.
⬥ Tank Kerapac slams if <70k HP left.
Phase 1
⬥ Use  1 tick after yellow text appears above Kerapac.
⬥ If <50% for  improvise and try to end the phase at 2
  stacks.
 +
+  →
→ 
 →
→  → (
→ ( if <50% adren) →
  →
→ 
 →
→ 
 →
→  + walk under →
  →
→ 
 →
→  →
→  →
→  →
→  →
→  →
→ 
 →
→  →
→  →
→  →
→  →
→ 
Phase 2
 +
+  →
→ 
 →
→  →
→  →
→ 
 →
→  +
+ 
 → walk under after
  ends →
  →
→  →
→  →
→ 
 →
→  →
→  →
→  →
→  →
→  +
+  to south clone spot →
  →
→  →
→  →
→ 
Phase 3
 →
→  →
→  →
→ 
 →
→  →
→  +
+  → walk under after
  ends →
 →
→  →
→  →
→  →
→  →
→  → finish with
  /basics if needed
Phase 4
⬥ Keep high hp by spamming food and  throughout P4.
⬥ After killing south echo Kerapac is tagged with  basic to extend the bik arrow duration.
⬥ Camp  for the 1st clone. Afterwards swap to
  and only
  flick if you're careful.
⬥ Equip  if getting to dangerously low HP.
⬥ South echo
 →
→ 
 + enter clone → basics until 3
  stacks →
  →
→ 
 →
→ 

 → basics until echo is dead → tag
  with a basic +
  towards NE between remaining echoes
⬥ North and west echoes
 →
→  +
+  + equip
  →
→  →
→  /
/  →
→  →
→  +
+  → target north echo +
  →
→ 
 →
→  →
→  → finish off north and east echoes with
 and basics →
  east and target
⬥ Kerapac
 basic →
 →
→  →
→ 
 →
→ 
 →
→  → finish with
  /
/
 /basics
Example Kills
https://youtu.be/ebuANMI5RuU 2:42
Content Provided by: #hightdetal
Formatting Maintained by: #hightdetal