Solo HM Melee
Kerapac, the Bound - Solo Melee
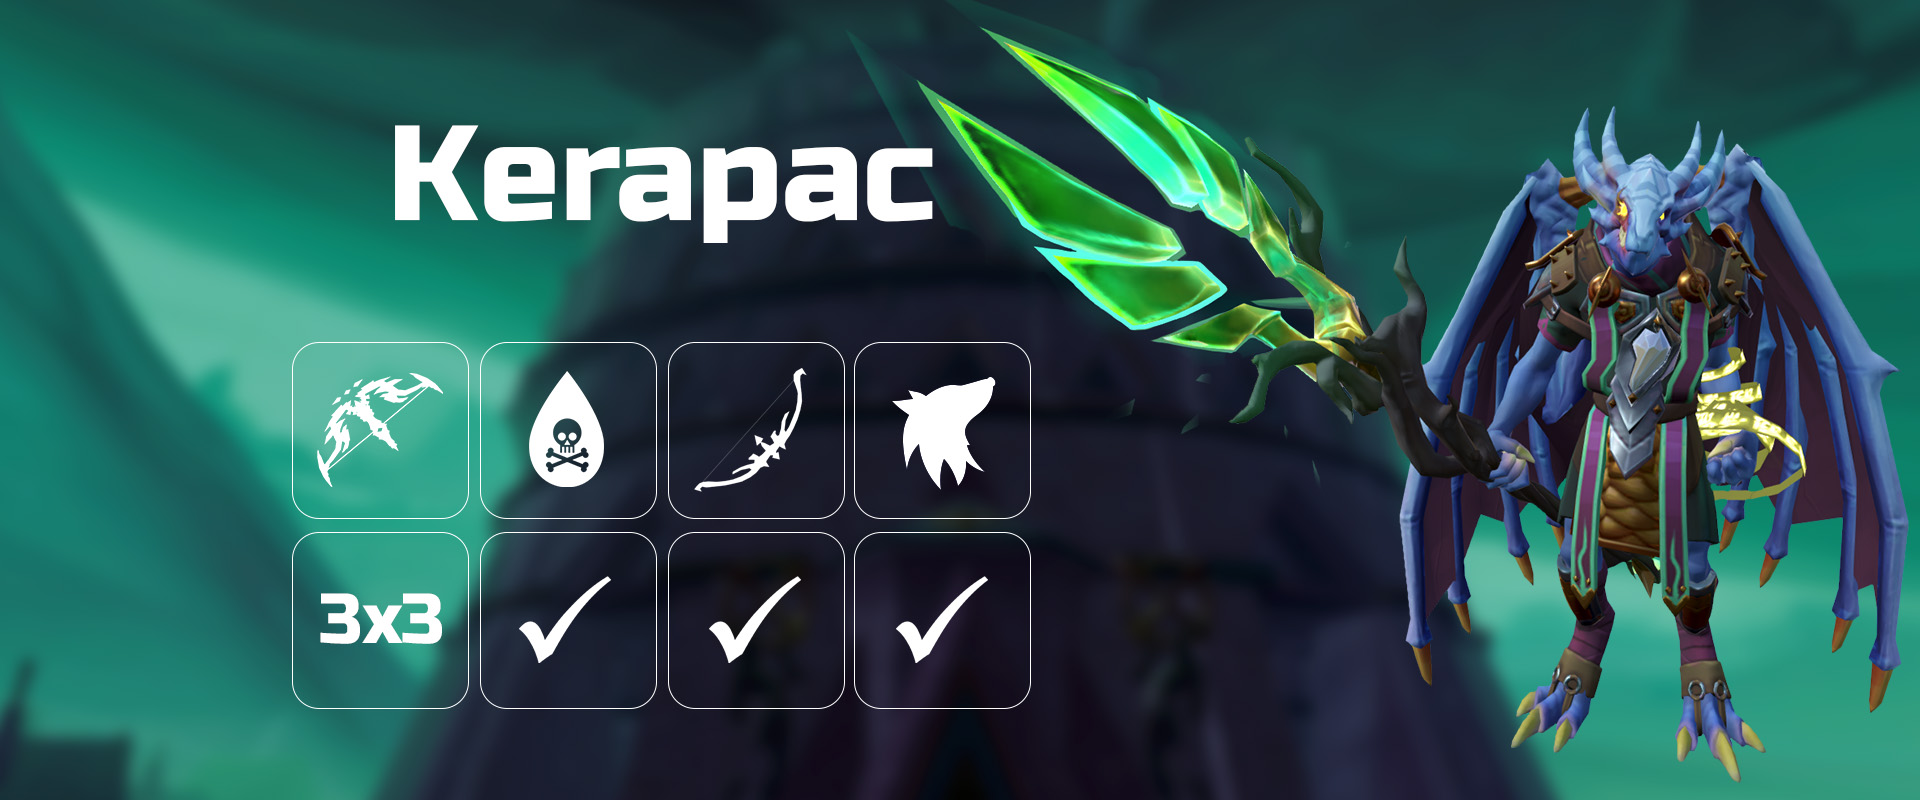
Introduction
This guide assumes you are already familiar with the basic mechanics of Kerapac which can be seen here #kerapac-hm-basic and own BIS gear in Melee.
It is highly recommended to have a Nodon dragonkin slayer task  as the helmet boost does work. You may also use the Premier Artefact
  to have a 10% chance to not decrease the slayer task count with each kill.
Preset and relics
Additional Info
⬥ You have to be on a slayer task 
⬥ Challenging parts:
• Learning to walk under  to avoid rift without cancelling
  takes precision.
• Players' damage taken in Phase 4 can snowball if clones are not killed fast.
⬩ Learners may find it hard to use  in the last phase.
⬩ Learners can consider using  instead of
  to heal more.
⬩ However, brewing down too fast can lead to slower echo kills and thus taking much more damage.
⬩ Improvising rotations with  or
or  (with a
  ) might be better than following the rotation below and brewing if the kill is not going well.
⬥ The rotations listed below assume the following:
• All  are used 1 tick before ability they are listed with.
⬩ Using both on the same tick will cause players to warp to their state post ability cast.
• Players swap to  for
for  and back to
  immediately after.
• All bleeds (
 ,
,  ,
,  ,
,  ) are cast with
  unless specified otherwise.
• All channelled abilities ( ,
,  ,
,  ) are 4-hit unless specified otherwise.
• Players run under  before using
Pre-fight

 and then
 at War's Retreat.
Phase 1
 +
+  +
+  →
→  +
+  →
→ 
 → bleed
 →
→ 
→  + walk under to avoid Rift →
  →
→  →
→  →
→  →
→ 
 →
→  → equip
  +
+  →
→  →
→  →
→  +
+  →
→  →
→  + 2t
+ 2t  →
→  → switch to
  → (basics until phased) →
  → equip
  +
+ 
Phase 1 notes
⬥ Optimally release bled 
 with
with 
⬥  before
  if >50% adren.
⬥ If you phase immediately on  , wait 2 ticks after the
  GCD and immediately
  for phase 2 (8-tick
  method).
Phase 2
 →
→ 
 →
→  →
→  →
→ 
 + 2h auto →
  +
+ 
 → 3-hit
 (walk under on tick 2 to avoid Rift) →
  →
→  →
→ 
 →
→ 
 → 2-hit
  →
→  →
→  →
→  →
→  (+
(+  → continue with basics if not phased immediately after first jump) →
  → equip
  +
+ 
Phase 2 notes
⬥ Optimally stall and release the second 
 along with
 using
using  to have
  boost also apply to the first hit of
⬥ If you phased immediately on the last  , wait 2 ticks after
  GCD and immediately
  for P3 (8-tick
  method).
Phase 3
 →
→ 
 →
→  →
→  → s
→ s  → r
→ r  +
+ 
 →
→  + 3-hit
  (walk under on tick 2 to avoid Rift) →
  →
→  →
→ 
 →
→ 
 → 2-hit
  →
→  →
→  →
→  →
→  +
+  →
→  →
→  → equip
  +
+  → wait 1 tick
Phase 3 notes
⬥ Optimally stall and release the 
 (using
  with
with  ) and then cast
  on the same tick to have
  boost also apply to the first hit of
⬥ There is little benefit to skipping 2 jumps on P3.
⬥ Optimally you can pre- →
→ 
 going into P4 if you do skip 2 jumps the same way you close out P1 and P2.
Phase 4
Echo 1: 
 →
→  →
→  →
→  +
+  3-hit
3-hit  →
→ 
Echo 2:  3-hit
3-hit  →
→  →
→ 
Echo 3:  →
→  →
→  →
→  →
→  +
+  →
→  →
→  →
→  + 2h-auto →
 :
:  →
→  +
+  +
+  →
→ 

 + 2h auto →
  →
→  →
→  →
→  →
→ 
Phase 4 notes
⬥  on
on  is only used if echoes are cleared perfectly as
  won't be up 1 tick before
 otherwise.
Example Kills
https://youtu.be/ZBS_sdANqAI 15 KPH (Melee)
https://www.youtube.com/watch?v=T_74UQhwH_w 3:15
https://www.youtube.com/watch?v=BkbUKcGQL-8 2:58